The difference between banana bread that works and banana bread that doesn't usually comes down to a handful of specific things: how ripe your bananas are, how you mix the batter, and how you read your oven. This guide covers all of it clearly, so whether this is your first loaf or your fiftieth, you know exactly what you're doing and why.
What Makes This Recipe Reliable
Most banana bread failures trace back to one of three things: under-ripe bananas that don't have enough natural sugar and moisture, overmixed batter that develops too much gluten and turns tough, or an oven temperature that's technically correct but doesn't account for how individual ovens actually behave. This recipe is built around avoiding all three.
The ingredient ratios are designed for maximum moisture without making the loaf wet or undercooked. Brown sugar adds a deeper, molasses-forward sweetness that pairs better with banana than white sugar alone. Melted butter (not softened, not creamed) keeps things simple and contributes to the dense-but-tender crumb that good banana bread is known for. And the recipe uses just enough flour to hold everything together without making the loaf heavy.
Ingredients
Makes: 1 standard loaf (9x5 inch pan)
Active time: 15 minutes
Total time: 75–80 minutes (including baking)
Skill level: Beginner
3 very ripe bananas (about 1 ½ cups mashed – the riper and darker, the better)
⅓ cup (75g) unsalted butter, melted and slightly cooled
¾ cup (150g) packed brown sugar (light or dark both work)
1 large egg, room temperature
1 teaspoon pure vanilla extract
1 teaspoon baking soda
¼ teaspoon fine salt
1 ½ cups (190g) all-purpose flour
Optional add-ins: ½ cup chopped walnuts or pecans, ½ cup chocolate chips, or 1 teaspoon cinnamon mixed into the dry ingredients.
Step-by-Step Instructions
Step 1: Get Your Oven and Pan Ready
Preheat your oven to 350°F (175°C). Grease a 9x5 inch loaf pan generously with butter or cooking spray, then dust lightly with flour, tapping out the excess. Alternatively, line the pan with parchment paper with an overhang on the long sides so you can lift the loaf out easily. Getting the pan prep right before you start mixing ensures the loaf releases cleanly after baking.
Step 2: Mash the Bananas
Peel the bananas and add them to a large mixing bowl. Mash them thoroughly with a fork until mostly smooth – a few small lumps are fine and actually desirable, but you don't want large chunks. The goal is a wet, almost paste-like consistency. If your bananas are very ripe (deeply speckled or almost entirely black), they'll mash easily and release a lot of natural moisture and sweetness. This is exactly what you want.
Step 3: Add the Wet Ingredients
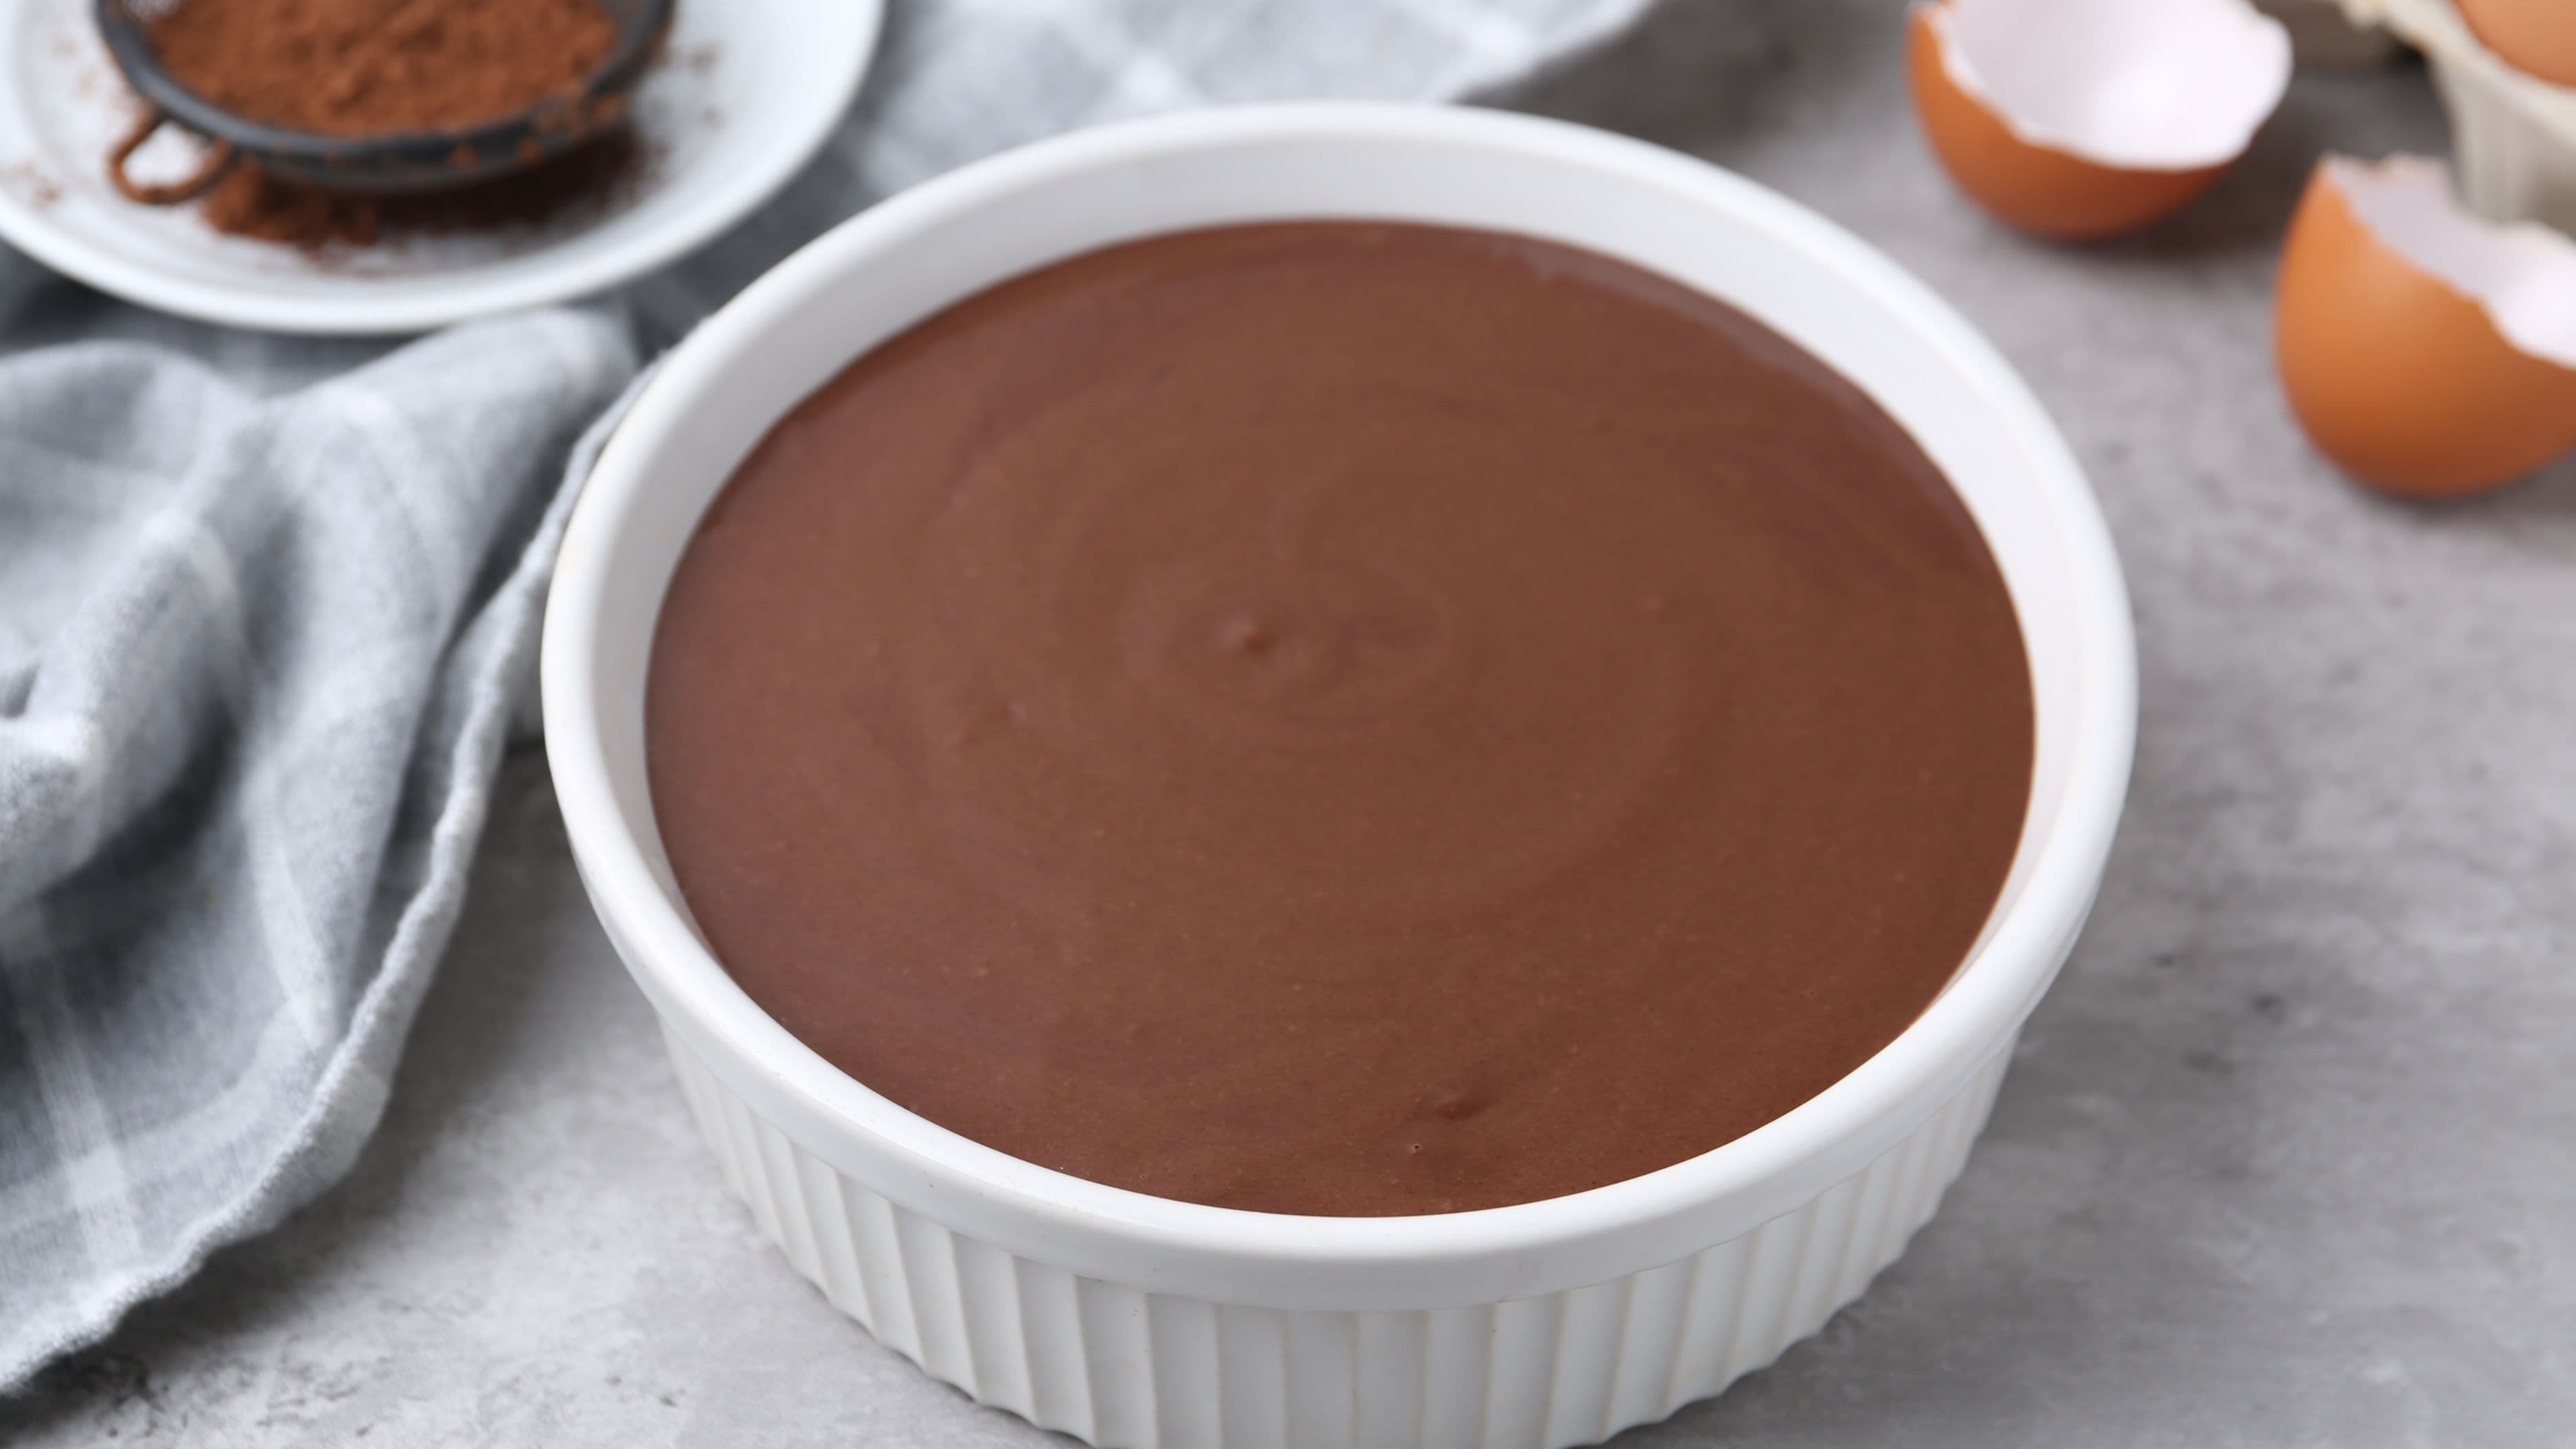
Add the melted butter to the mashed bananas and stir to combine. Add the brown sugar and stir until it's fully incorporated and no dry clumps remain. Add the egg and vanilla extract, and stir again until the mixture is smooth and cohesive. At this stage the batter will look glossy and slightly syrupy – that's correct.
Step 4: Add the Dry Ingredients
Sprinkle the baking soda and salt directly over the banana mixture and stir briefly to combine. Then add the flour all at once. Using a rubber spatula or wooden spoon, fold the flour in with a gentle, sweeping motion until just combined. This is the most important step in the whole recipe: stop mixing the moment you no longer see dry flour streaks. A few small lumps of flour are completely fine. Overmixing at this stage is the most common reason banana bread turns out tough rather than tender, and it takes only ten or fifteen extra stirs to go too far.
If you're adding mix-ins like nuts or chocolate chips, fold them in now with the same gentle hand.
Step 5: Pour and Bake
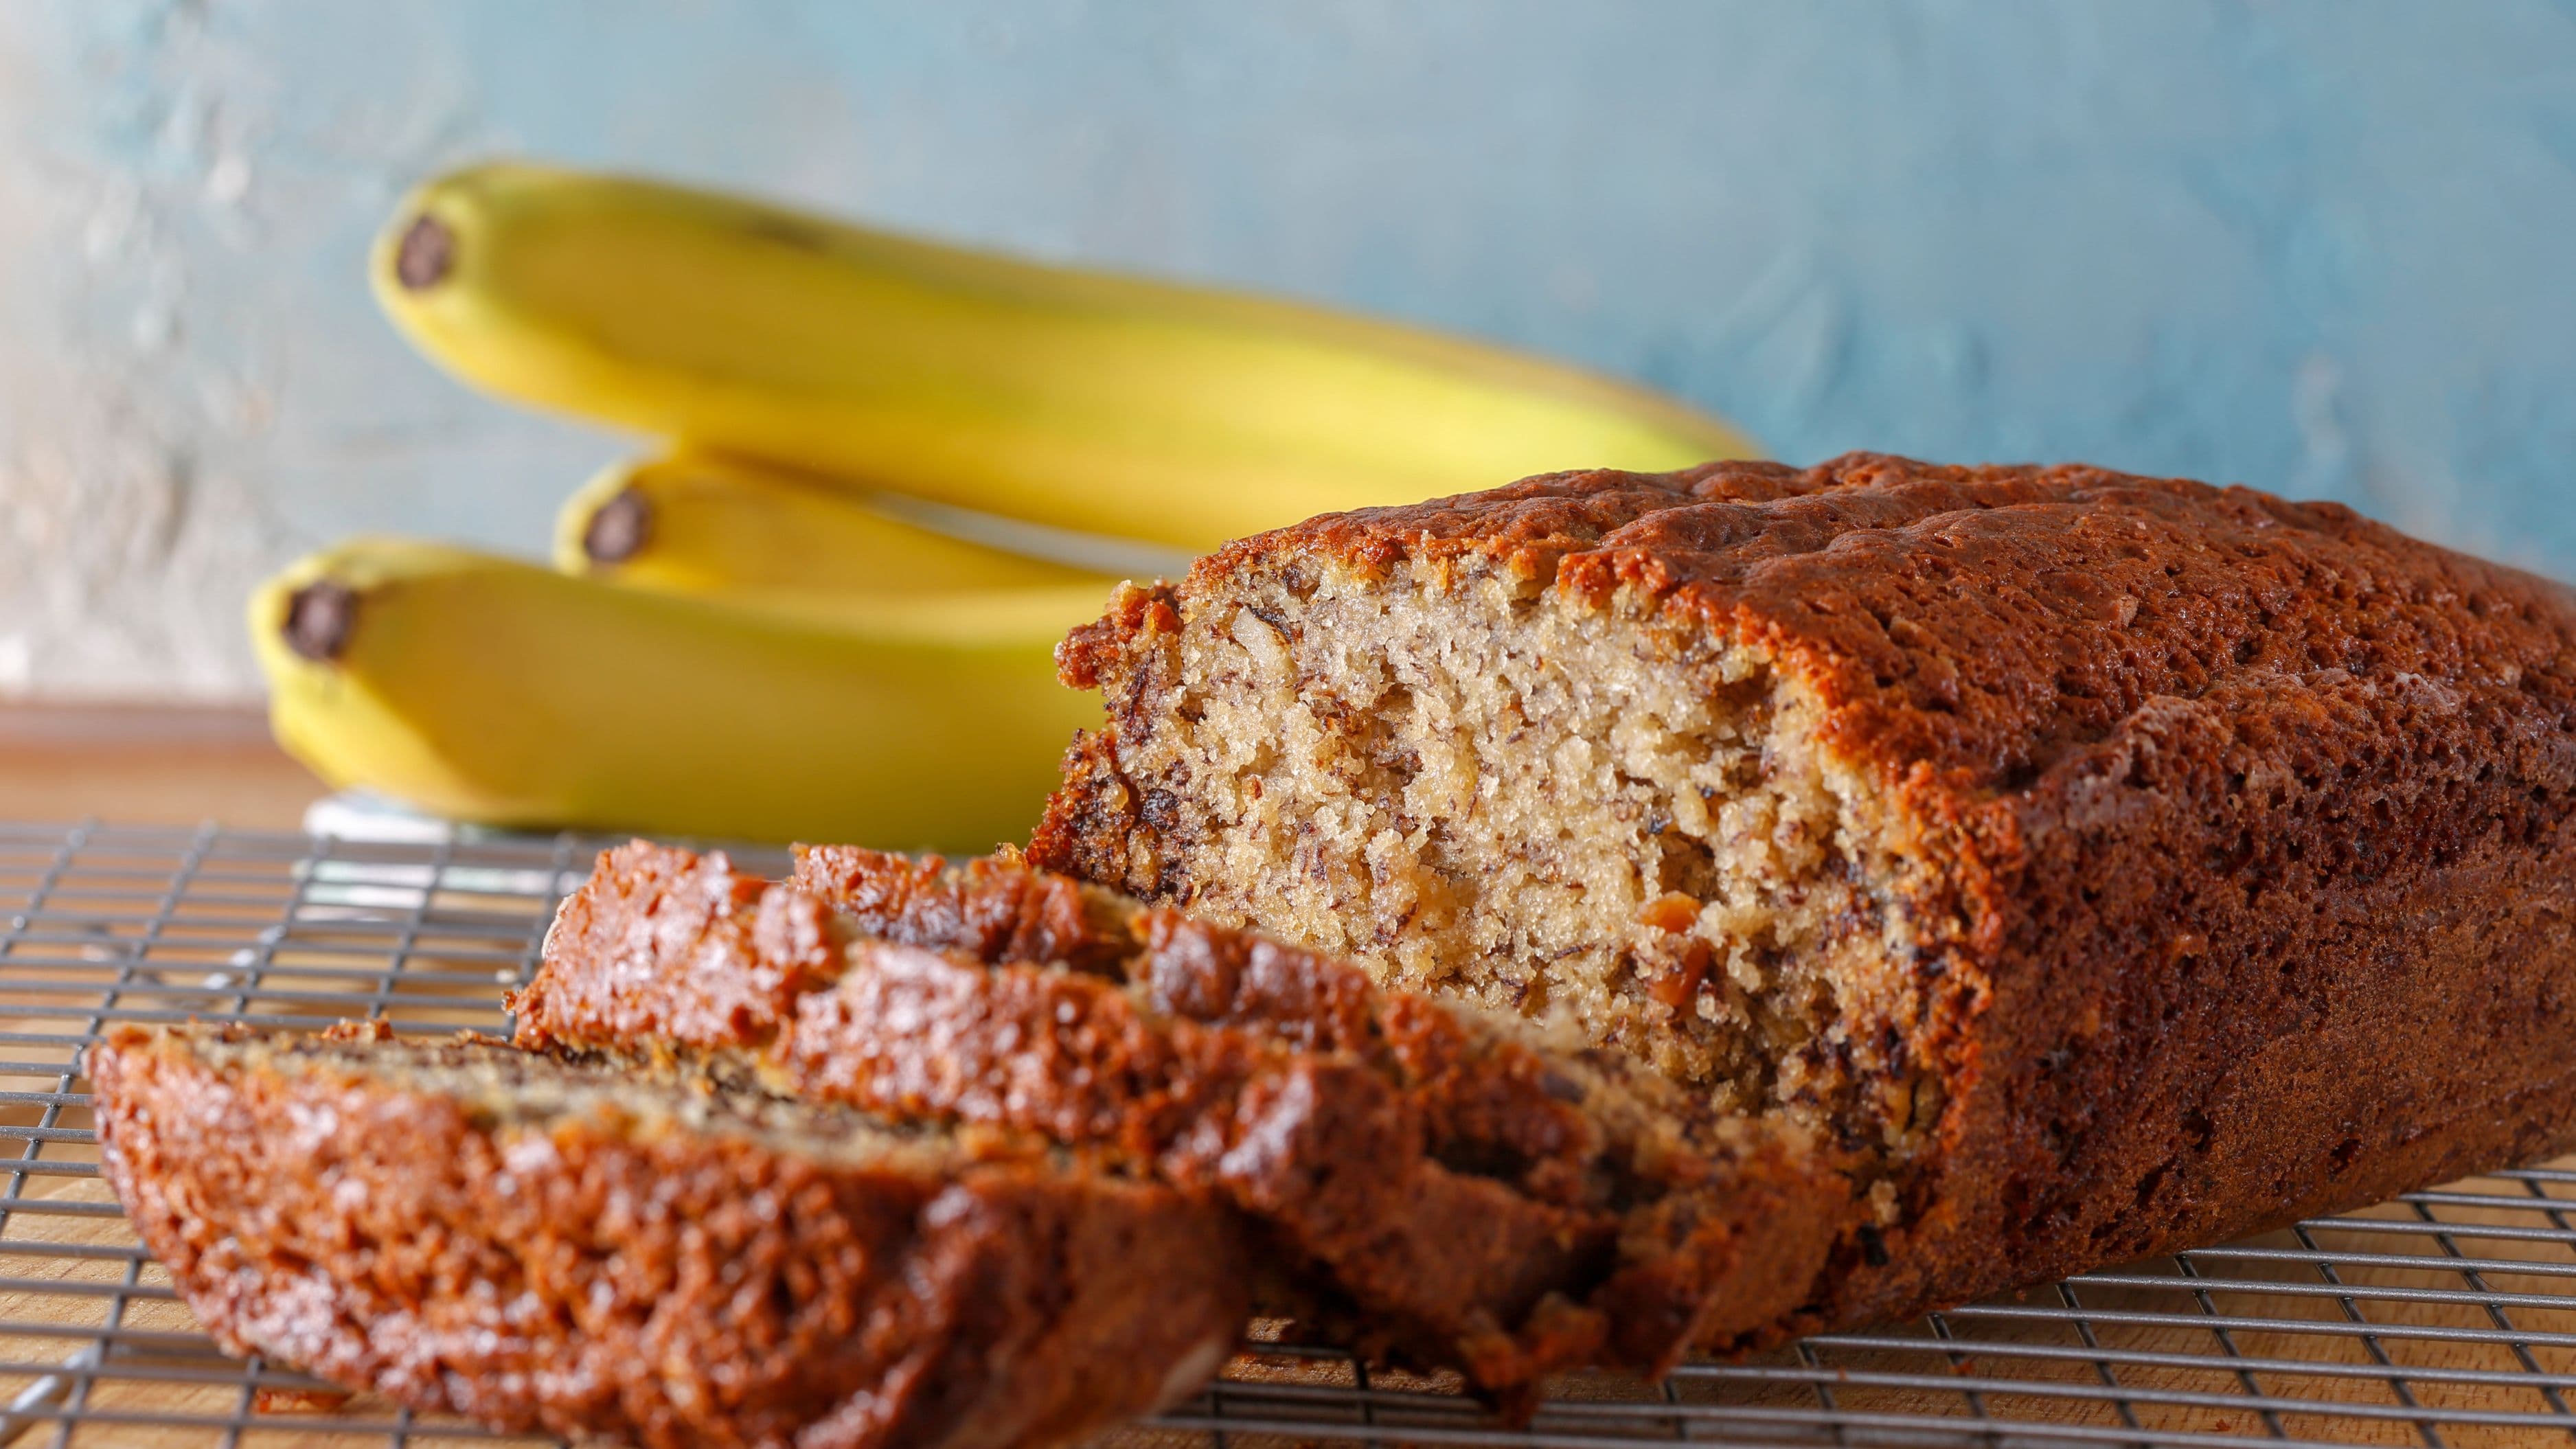
Pour the batter into your prepared pan and spread it evenly with the spatula. Give the pan a gentle tap on the counter to release any air bubbles. Bake on the center rack for 55–65 minutes. The bread is done when a toothpick or thin knife inserted into the center comes out with just a few moist crumbs – not wet batter, but not completely dry either. The top should be deep golden brown and slightly cracked down the center, which is a hallmark of a properly baked banana bread.
Start checking at 55 minutes. If the top is browning too quickly before the center is set, loosely tent it with a piece of aluminum foil and continue baking.
Step 6: Cool Before Slicing
This step is easy to rush and worth not rushing. Let the loaf cool in the pan for 10 minutes, then turn it out onto a wire rack. Allow it to cool for at least 20–30 minutes before slicing. Banana bread continues to set as it cools, and cutting into it too early results in a gummy, undercooked-looking center even when the loaf is fully baked. The patience pays off – the texture improves noticeably as it cools.
Tips for the Best Results
Use the ripest bananas you can find. This cannot be overstated. Under-ripe bananas – even ones that look yellow and ready to eat – do not have enough sugar or moisture to produce banana bread with real banana flavor. The ideal bananas for this recipe are heavily speckled with brown spots, or even mostly black on the outside. They may look past their prime for eating, but they are at their absolute peak for baking.
If you're in a hurry, you can ripen bananas quickly by placing unpeeled bananas on a baking sheet and baking at 300°F for 20–30 minutes until the skins are completely black. Allow them to cool completely before using – they'll be soft, sweet, and perfect.
Measure flour correctly. Scooping directly from the bag with your measuring cup packs the flour and can add significantly more than the recipe intends, which makes the loaf dry and dense. Instead, spoon the flour lightly into the measuring cup and level off the top with a straight edge. Better yet, use a kitchen scale – 190 grams is accurate and removes the guesswork entirely.
Room temperature egg matters more than you think. A cold egg added to warm melted butter can cause the fat to solidify into small lumps rather than blending smoothly. Take the egg out of the refrigerator 15–20 minutes before you start, or place it in a bowl of warm water for five minutes.
Know your oven. Most home ovens run slightly hot or cold. If your banana bread regularly browns on the outside before the center is set, your oven likely runs hot – try reducing the temperature by 10–15°F. If it takes much longer than 65 minutes, your oven may run cool. An inexpensive oven thermometer placed inside the oven tells you exactly what temperature you're actually baking at.
Variations Worth Trying
Chocolate chip banana bread: Fold ½ cup of semi-sweet chocolate chips into the batter just before pouring into the pan. The chips sink slightly into the crumb and create pockets of melted chocolate in every slice.
Nutty banana bread: Fold in ½ cup of roughly chopped walnuts or pecans. Toasting the nuts first in a dry skillet for 3–4 minutes before adding them deepens their flavor considerably.
Spiced banana bread: Add 1 teaspoon of cinnamon, ¼ teaspoon of nutmeg, and ¼ teaspoon of ground ginger to the flour before folding it in. The spices don't overpower the banana but add warmth that works particularly well in colder months.
Cream cheese swirl: Blend 4 ounces of softened cream cheese with 2 tablespoons of sugar and 1 egg yolk until smooth. Pour half the banana bread batter into the pan, add the cream cheese mixture in dollops, top with the remaining batter, and swirl gently with a knife before baking. The result is a loaf with a tangy, creamy layer running through the center.
Mini loaves or muffins: Divide the batter among a greased muffin tin or two smaller 8x4 inch loaf pans. Muffins bake in about 20–25 minutes; smaller loaves in 35–45 minutes. Check for doneness the same way – a toothpick should come out with just a few moist crumbs.
What to Avoid
Don't use under-ripe bananas. If the bananas are still firm and predominantly yellow, the bread will be pale, barely sweet, and missing the deep banana flavor that makes the difference between a good loaf and a great one. Wait another few days, or use the quick oven-ripening method described above.
Don't overmix once the flour goes in. Gluten develops when flour is mixed with liquid, and overmixed batters produce tough, bread-like texture instead of the tender, cakey crumb that banana bread should have. Fold gently and stop as soon as the flour disappears.
Don't open the oven door before 45 minutes. Opening the oven too early allows heat to escape and can cause the center of the loaf to collapse as it's trying to set. If you need to check on it, do so at the 50-minute mark at the earliest.
Don't underbake to avoid over-browning. A toothpick that comes out with wet batter means the loaf needs more time, not a lower temperature. If the outside is browning too fast, cover with foil rather than pulling it out early.
FAQ
Why did my banana bread sink in the middle? The most common causes are underbaking, opening the oven door too early, or too much liquid in the batter (usually from very large bananas – if your mashed banana exceeds 1 ½ cups, use a little less). A sunken center that looks wet when sliced means it needed more time in the oven.
Can I substitute oil for butter? Yes. Use the same quantity of a neutral oil like vegetable or sunflower oil. Oil produces a slightly moister crumb than butter and extends the loaf's shelf life by a day or two. The flavor is a little less rich but still good.
How do I store banana bread? At room temperature, wrapped tightly in plastic wrap or stored in an airtight container, banana bread keeps well for 3–4 days. In the refrigerator, it keeps up to a week but can dry out slightly. For longer storage, slice the cooled loaf, wrap individual slices in plastic wrap, place in a zip-lock bag, and freeze for up to 3 months. Individual slices thaw at room temperature in about 30 minutes.
Can I make this recipe without eggs? Yes. Replace the egg with a flax egg (1 tablespoon ground flaxseed mixed with 3 tablespoons water, left to gel for 5 minutes) or with ¼ cup unsweetened applesauce. The texture will be slightly denser but still very good.
My loaf is browning on top but raw in the middle – what went wrong? This is almost always an oven temperature issue. Cover the top loosely with aluminum foil and continue baking until a toothpick inserted in the center comes out with just a few moist crumbs. Going forward, try reducing your oven temperature by 15°F – your oven likely runs hot.
A Note on Making It Your Own
This recipe is a solid, reliable base that works exactly as written – but it's also designed to be adaptable. Once you've made it once and understand how the batter should look and feel at each stage, you'll have the confidence to adjust sweetness, add spices, fold in different mix-ins, or experiment with whole wheat flour (swap up to half the all-purpose flour for whole wheat for a slightly heartier loaf with more depth). That's how a recipe goes from something you follow to something that belongs to you.
📚 Sources
King Arthur Baking – Banana Bread Science and Technique: https://www.kingarthurbaking.com/blog/2020/04/02/banana-bread
Serious Eats – The Science of Banana Bread: https://www.seriouseats.com/banana-bread-recipe-tips
America's Test Kitchen – Baking Tips: Why Ripe Bananas Matter: https://www.americastestkitchen.com/articles/6553-ripe-bananas-baking
USDA FoodData Central – Banana nutritional data: https://fdc.nal.usda.gov/fdc-app.html#/food-details/1102653/nutrients
Joy of Baking – Quick Bread Troubleshooting Guide: https://www.joyofbaking.com/QuickBreads.html