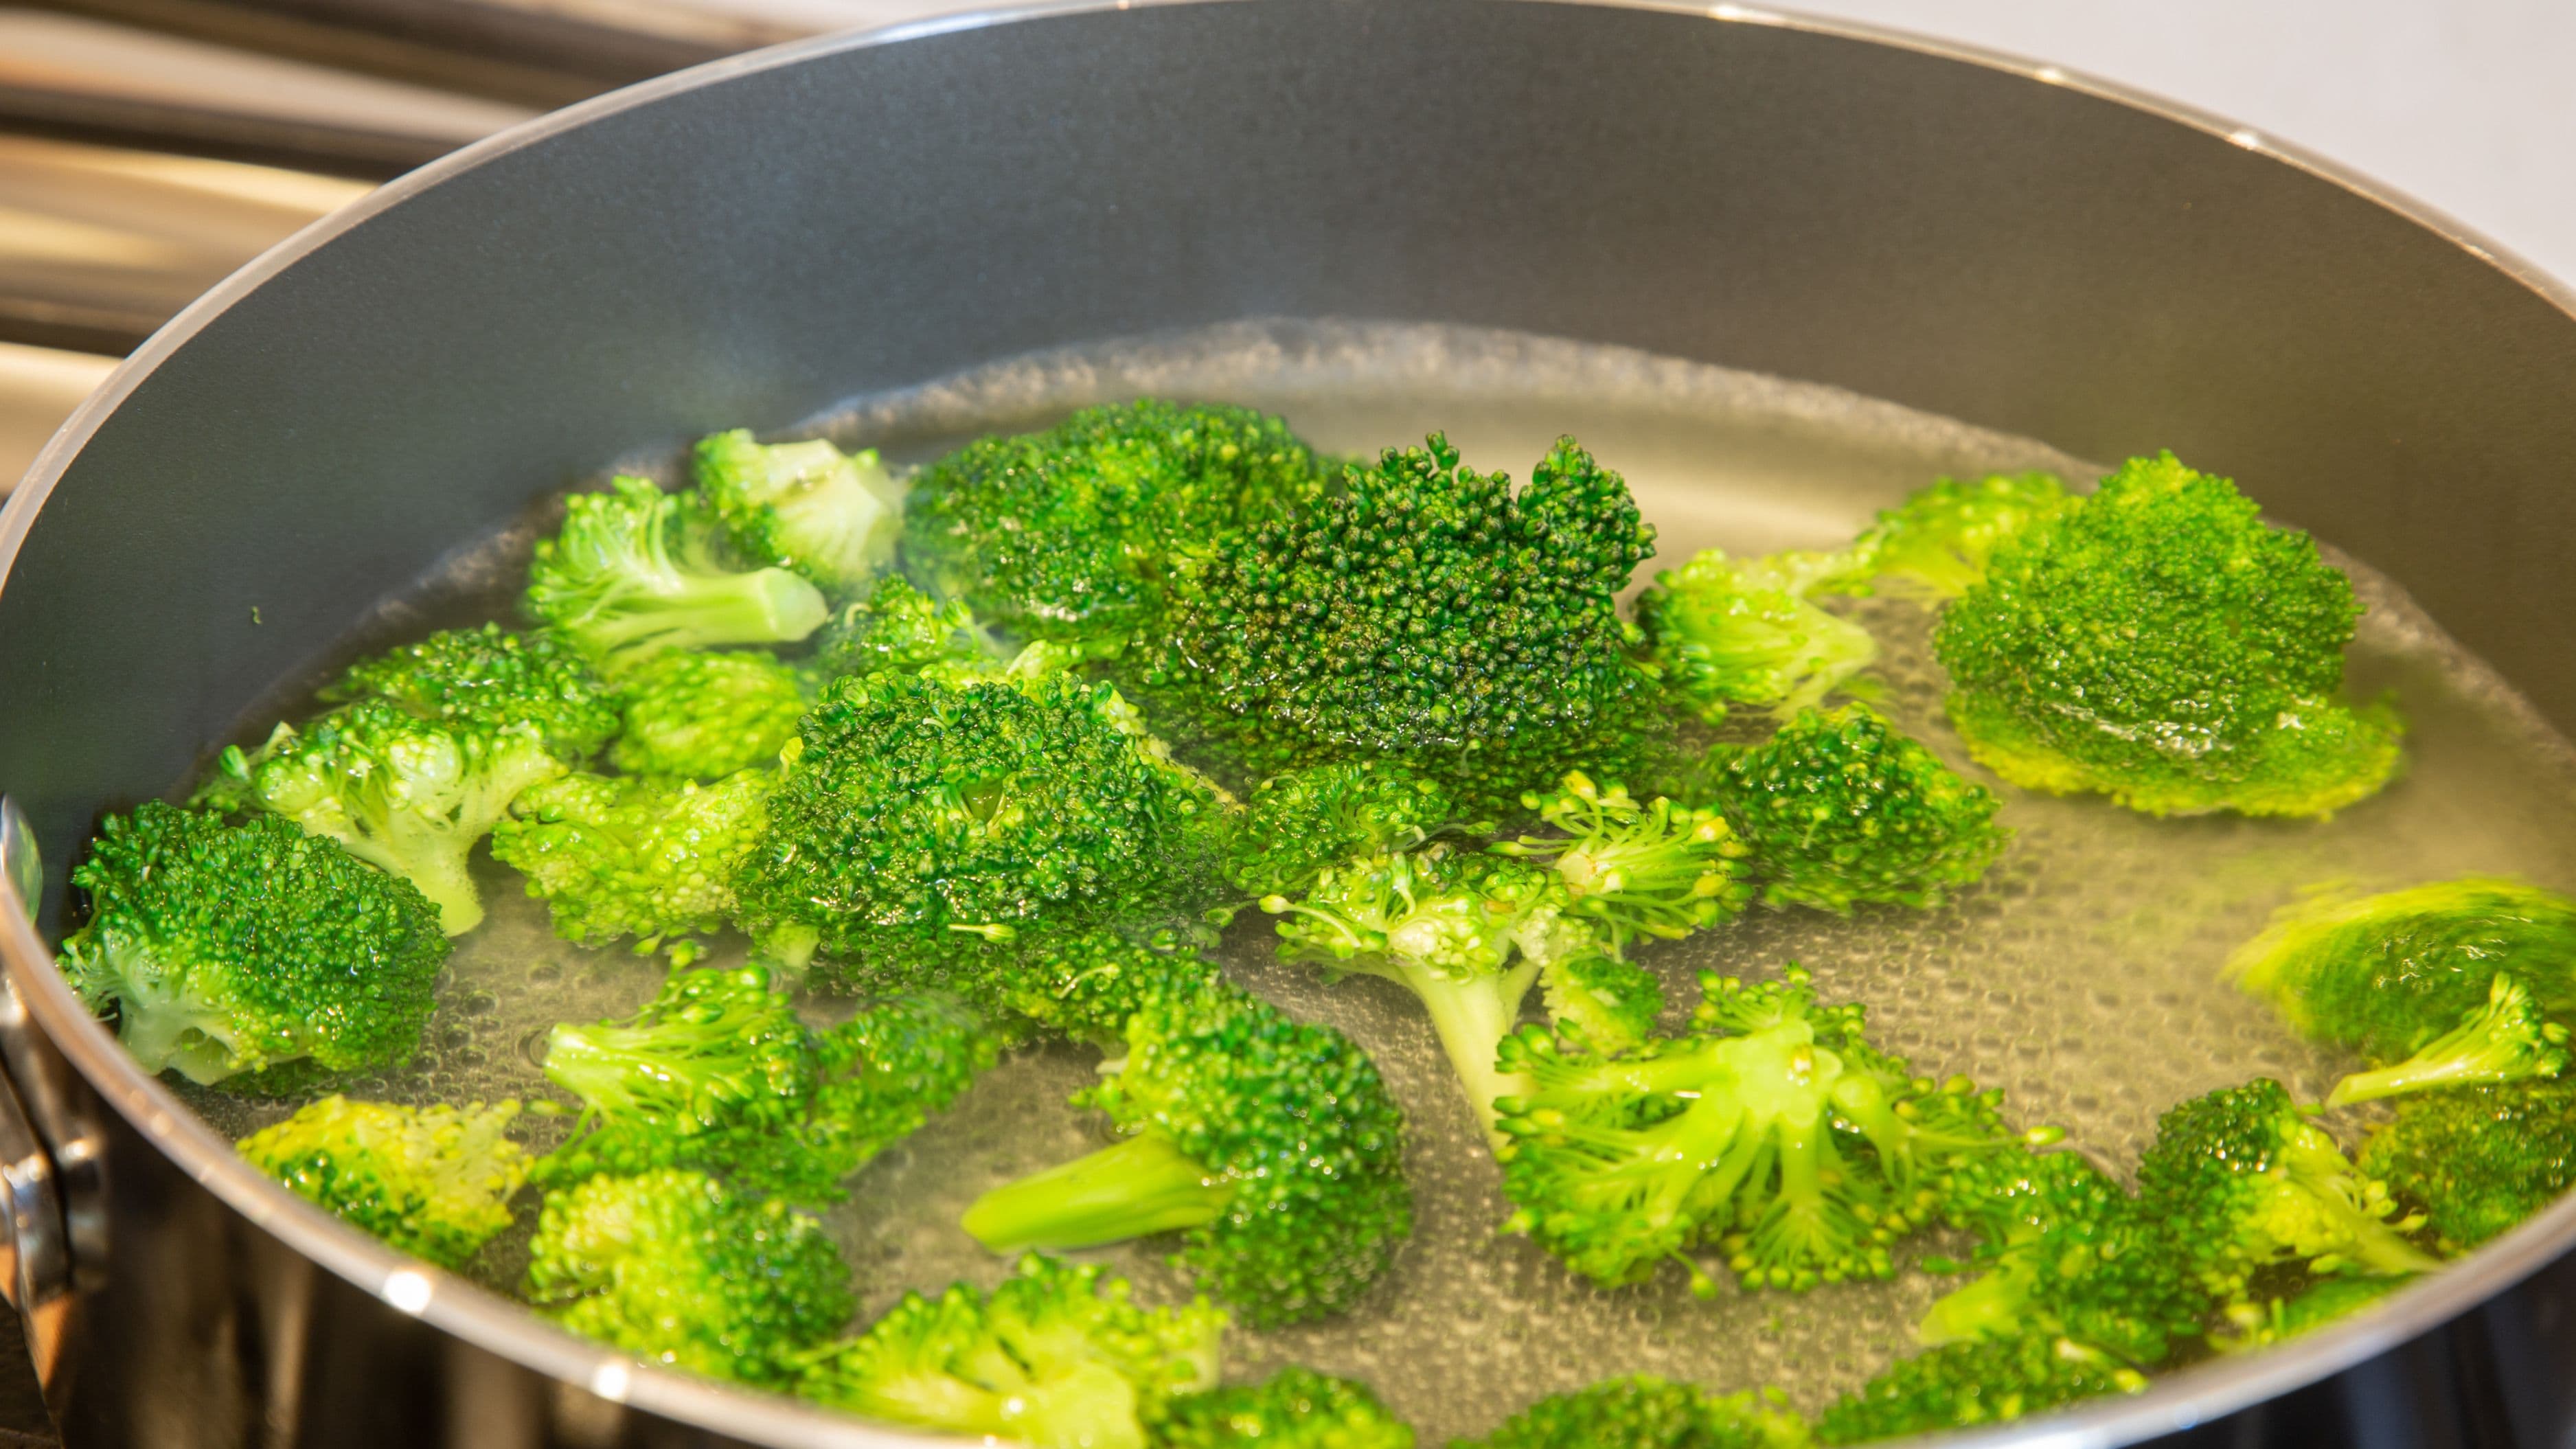
This guide covers the how, the why, and the practical situations where blanching makes a real difference in your cooking.
What Blanching Actually Does
When you drop a vegetable into boiling water, a few things happen very quickly. The heat destroys enzymes inside the vegetable that would otherwise cause it to lose color, soften, and eventually brown over time. It also loosens the cell structure slightly, which makes the texture more tender without fully cooking it through. And the brief exposure to intense heat sets the bright green color in vegetables like broccoli, green beans, and asparagus – a reaction called chlorophyll stabilization – giving them that vivid, appealing look you see in restaurant salads and vegetable platters.
The ice bath is the other half of the technique and it's just as important as the hot water. Plunging vegetables into ice water immediately stops the cooking process. Without it, the residual heat inside the vegetable keeps cooking it even after you've pulled it out of the pot, which means it continues softening and losing color. The ice bath locks in the texture and color at exactly the right moment, which is why both steps are essential.
What blanching doesn't do is fully cook the vegetable. It's a partial-cook technique – you're partway there, not all the way. That's exactly the point in most situations where blanching is called for.
How to Blanch Step by Step
The process is simple and the same for almost every vegetable. Here's how to do it reliably.
Step 1: Get the water boiling. Use a large pot with plenty of water – at least 4 quarts for a standard batch. Add a generous amount of salt, similar to pasta water. The salt seasons the vegetable slightly and also helps maintain a higher temperature when the vegetables go in.
Step 2: Prepare your ice bath. Fill a large bowl with cold water and a generous amount of ice before you start cooking. You want it ready to go the moment the vegetables come out of the pot. Don't wait to make it while the vegetables are in the water.
Step 3: Add the vegetables. Drop them in all at once and start timing immediately. Keep the heat on high. The water temperature will drop briefly when the vegetables go in, but it should come back to a boil quickly in a large pot with enough water.
Step 4: Time it carefully. This is where vegetable-specific knowledge matters. Green beans and asparagus typically need 2–3 minutes. Broccoli florets need about 2 minutes. Spinach and leafy greens need as little as 30–60 seconds. You're looking for a bright color and a texture that's barely tender – not soft, not raw. When in doubt, pull one out and taste it.
Step 5: Transfer immediately to the ice bath. Use a slotted spoon, a spider strainer, or tongs to move the vegetables directly from the boiling water into the ice water. Let them sit for the same amount of time they were in the boiling water, or until they're completely cold to the touch. Then drain and pat them dry.
When Blanching Is Worth It
Blanching isn't something you need to do every time you cook a vegetable. There are specific situations where it makes a clear, practical difference.
Before freezing vegetables. This is probably the most important use case for home cooks. Raw vegetables don't freeze well – the enzymes that cause deterioration keep working even at freezing temperatures, which is why frozen raw vegetables turn mushy and lose their color over time. Blanching before freezing deactivates those enzymes and locks in texture and color, so your frozen vegetables actually hold up well when you cook them later. If you grow vegetables in a garden, blanching before freezing is the technique that makes preserving your harvest worthwhile.
When you need to pre-cook vegetables for a dish that finishes fast. Stir-fries, pasta dishes, and quick sautés don't always have time to cook vegetables from raw. If you add raw broccoli to a stir-fry, by the time it's cooked through the rest of the dish may be overdone. Blanching vegetables ahead of time means they just need a minute or two in the pan to finish, which keeps everything coming together at the same pace.
For vegetable platters and salads where appearance matters. Raw green beans on a crudité platter are fine. Blanched green beans are visually striking – bright green, slightly tender, far more appealing. The same applies to broccoli, asparagus, sugar snap peas, and haricots verts. If you're hosting and want your vegetable dishes to look as good as they taste, blanching is the tool for it.
To make peeling easier. Tomatoes and stone fruits like peaches are much easier to peel after a brief blanch. Score an X on the bottom, drop them in boiling water for 30–60 seconds, then straight into the ice bath. The skin slips right off. This technique is particularly useful when you're making sauces, jams, or dishes where you want smooth, skin-free fruit without tearing the flesh.
Before roasting or grilling tougher vegetables. Dense vegetables like cauliflower, carrots, and potatoes can be blanched for a few minutes before going into a very hot oven or onto a grill. The blanching jump-starts the cooking so the interior becomes tender at the same time the exterior caramelizes. This is a shortcut that experienced home cooks use to get better results without fiddling with lower temperatures and longer cook times.
A Quick Reference: Blanching Times for Common Vegetables
These are starting points. Pull out one piece and taste or feel it – you're looking for bright color and barely tender texture.
Green beans: 2–3 minutes
Broccoli florets: 2 minutes
Cauliflower florets: 2–3 minutes
Asparagus (thin spears): 1–2 minutes
Asparagus (thick spears): 2–3 minutes
Sugar snap peas: 1–2 minutes
Spinach and leafy greens: 30–60 seconds
Carrots (sliced): 2 minutes
Edamame (in pods): 3–4 minutes
Tomatoes (for peeling): 30–60 seconds
Corn on the cob: 4 minutes
Tips That Improve Your Results
Salt the water well. A properly salted blanching pot – roughly one tablespoon of salt per four quarts of water – seasons the vegetable from the inside and enhances the final flavor. This matters more than most beginner cooks realize, especially when the vegetable will be eaten cold or at room temperature.
Work in batches if you're blanching a large amount. Adding too many vegetables at once drops the water temperature significantly, which means a longer cook time and less predictable results. Blanching in smaller batches keeps the process controlled.
Dry the vegetables thoroughly after the ice bath. Wet vegetables steam instead of sear when they hit a hot pan, and they won't crisp up in a stir-fry or on a grill. Pat them dry with a clean towel before cooking, or spread them on a sheet pan and let them air-dry for a few minutes.
Reuse the blanching water. If you're blanching multiple types of vegetables, you can generally reuse the same pot of water, especially if you're moving from milder to stronger-flavored vegetables. Skip reuse if you're going from strongly flavored vegetables (like broccoli or cabbage) back to delicate ones, as the flavor can transfer.
Common Mistakes to Avoid
Not having the ice bath ready before the vegetables go in is a timing problem that many people run into the first time. By the time you've scrambled together the ice and water, the vegetables have continued cooking on the counter. Prepare the ice bath first, every time, without exception.
Blanching for too long is the most common mistake and the one that defeats the whole purpose. If vegetables come out of the water soft or dull in color, they've gone too far. You can't undo overcooking, so it's always better to err on the short side and check frequently, especially the first time you blanch a particular vegetable.
Not using enough water is a subtler mistake that affects the results more than people expect. A small pot means the temperature drops dramatically when vegetables hit the water, which throws off your timing and leads to inconsistent texture. Use the largest pot you have and fill it generously.
Skipping the salting step is a missed opportunity. Blanched vegetables that aren't salted in the water taste flat, especially when served cold. The salt doesn't make the vegetable taste salty – it simply makes it taste more like itself.
FAQ
Do I have to use ice? Can I just run cold water over the vegetables? Cold running water will slow the cooking but won't stop it as quickly or completely as an ice bath. For a small batch of vegetables that you're eating right away, it's usually fine. For larger batches, meal prep, or anything you're freezing, a proper ice bath gives you more control and better results.
Can I blanch vegetables ahead of time? Yes – this is one of blanching's biggest practical advantages. Blanched vegetables keep well in the refrigerator for 2–3 days when stored in an airtight container once completely dry. Blanching and storing vegetables ahead of a dinner party or a busy week is a straightforward way to cut down on last-minute cooking time.
Does blanching remove nutrients? Some water-soluble vitamins, particularly vitamin C and some B vitamins, leach into the blanching water. The loss is relatively small given the short cook time, and is less significant than the nutrient degradation that happens during longer cooking methods. If this concerns you, the blanching water can sometimes be used as a base for soups or stocks to recapture some of what leached out.
Can I blanch fruit? Yes, for specific purposes. Blanching is used to make peeling tomatoes, peaches, nectarines, and plums easy, and to loosen the skins of almonds. The technique is the same – brief boiling water, straight to ice bath – though the timing is very short, usually 30–60 seconds.
What's the difference between blanching and parboiling? They're similar but used differently. Blanching is a brief, partial cook followed immediately by an ice bath to stop the cooking. Parboiling means partially cooking something in boiling water without the ice bath – you're just getting it part of the way done before finishing it another way (roasting, grilling, frying). Both involve brief boiling, but blanching specifically includes the shock step.
Final Thoughts
Blanching is one of those techniques that feels like a small extra step until you understand what it's doing – and then it becomes something you reach for regularly. It takes about five minutes to execute properly and improves the color, texture, and flavor of vegetables in ways that matter, whether you're prepping for the week, freezing a garden harvest, or trying to get a vegetable side dish to look as good as it tastes. Once the process feels automatic, you'll find yourself using it more often than you expect.
📚 Sources
Serious Eats – The Food Lab: The Science of Blanching Vegetables: https://www.seriouseats.com/blanching-vegetables
America's Test Kitchen – How and Why to Blanch Vegetables: https://www.americastestkitchen.com/articles/3796-how-to-blanch-vegetables
National Center for Home Food Preservation – Blanching Vegetables Before Freezing: https://nchfp.uga.edu/how/freeze/blanching.html
USDA – Complete Guide to Home Canning and Preservation: https://nchfp.uga.edu/publications/publications_usda.html
The Kitchn – What Is Blanching and How Do You Do It?: https://www.thekitchn.com/technique-how-to-blanch-vegetables-48892