This guide explains what braising does to meat at a physical level, how to apply the technique correctly at home, which cuts are worth braising, and what to watch for so your results are consistently tender rather than dry or tough.
What Braising Actually Is
Braising is a combination cooking method: you start by searing the meat in a dry pan over high heat to develop a browned crust, then finish it by cooking it partially submerged in liquid in a covered pot at a low temperature for an extended period. The liquid – which can be stock, wine, beer, tomato, water, or a combination – creates a sealed, humid environment inside the pot that keeps the meat moist while conducting heat slowly and evenly through it.
The low-and-slow approach is the defining feature. Braising temperatures are typically 160°C to 180°C (325°F to 350°F) in an oven, or a very low simmer on the stovetop – far below the aggressive heat of roasting or grilling. That low temperature is what allows time for the specific transformations that turn a tough cut into something genuinely tender.
What Happens to the Meat While It Braises
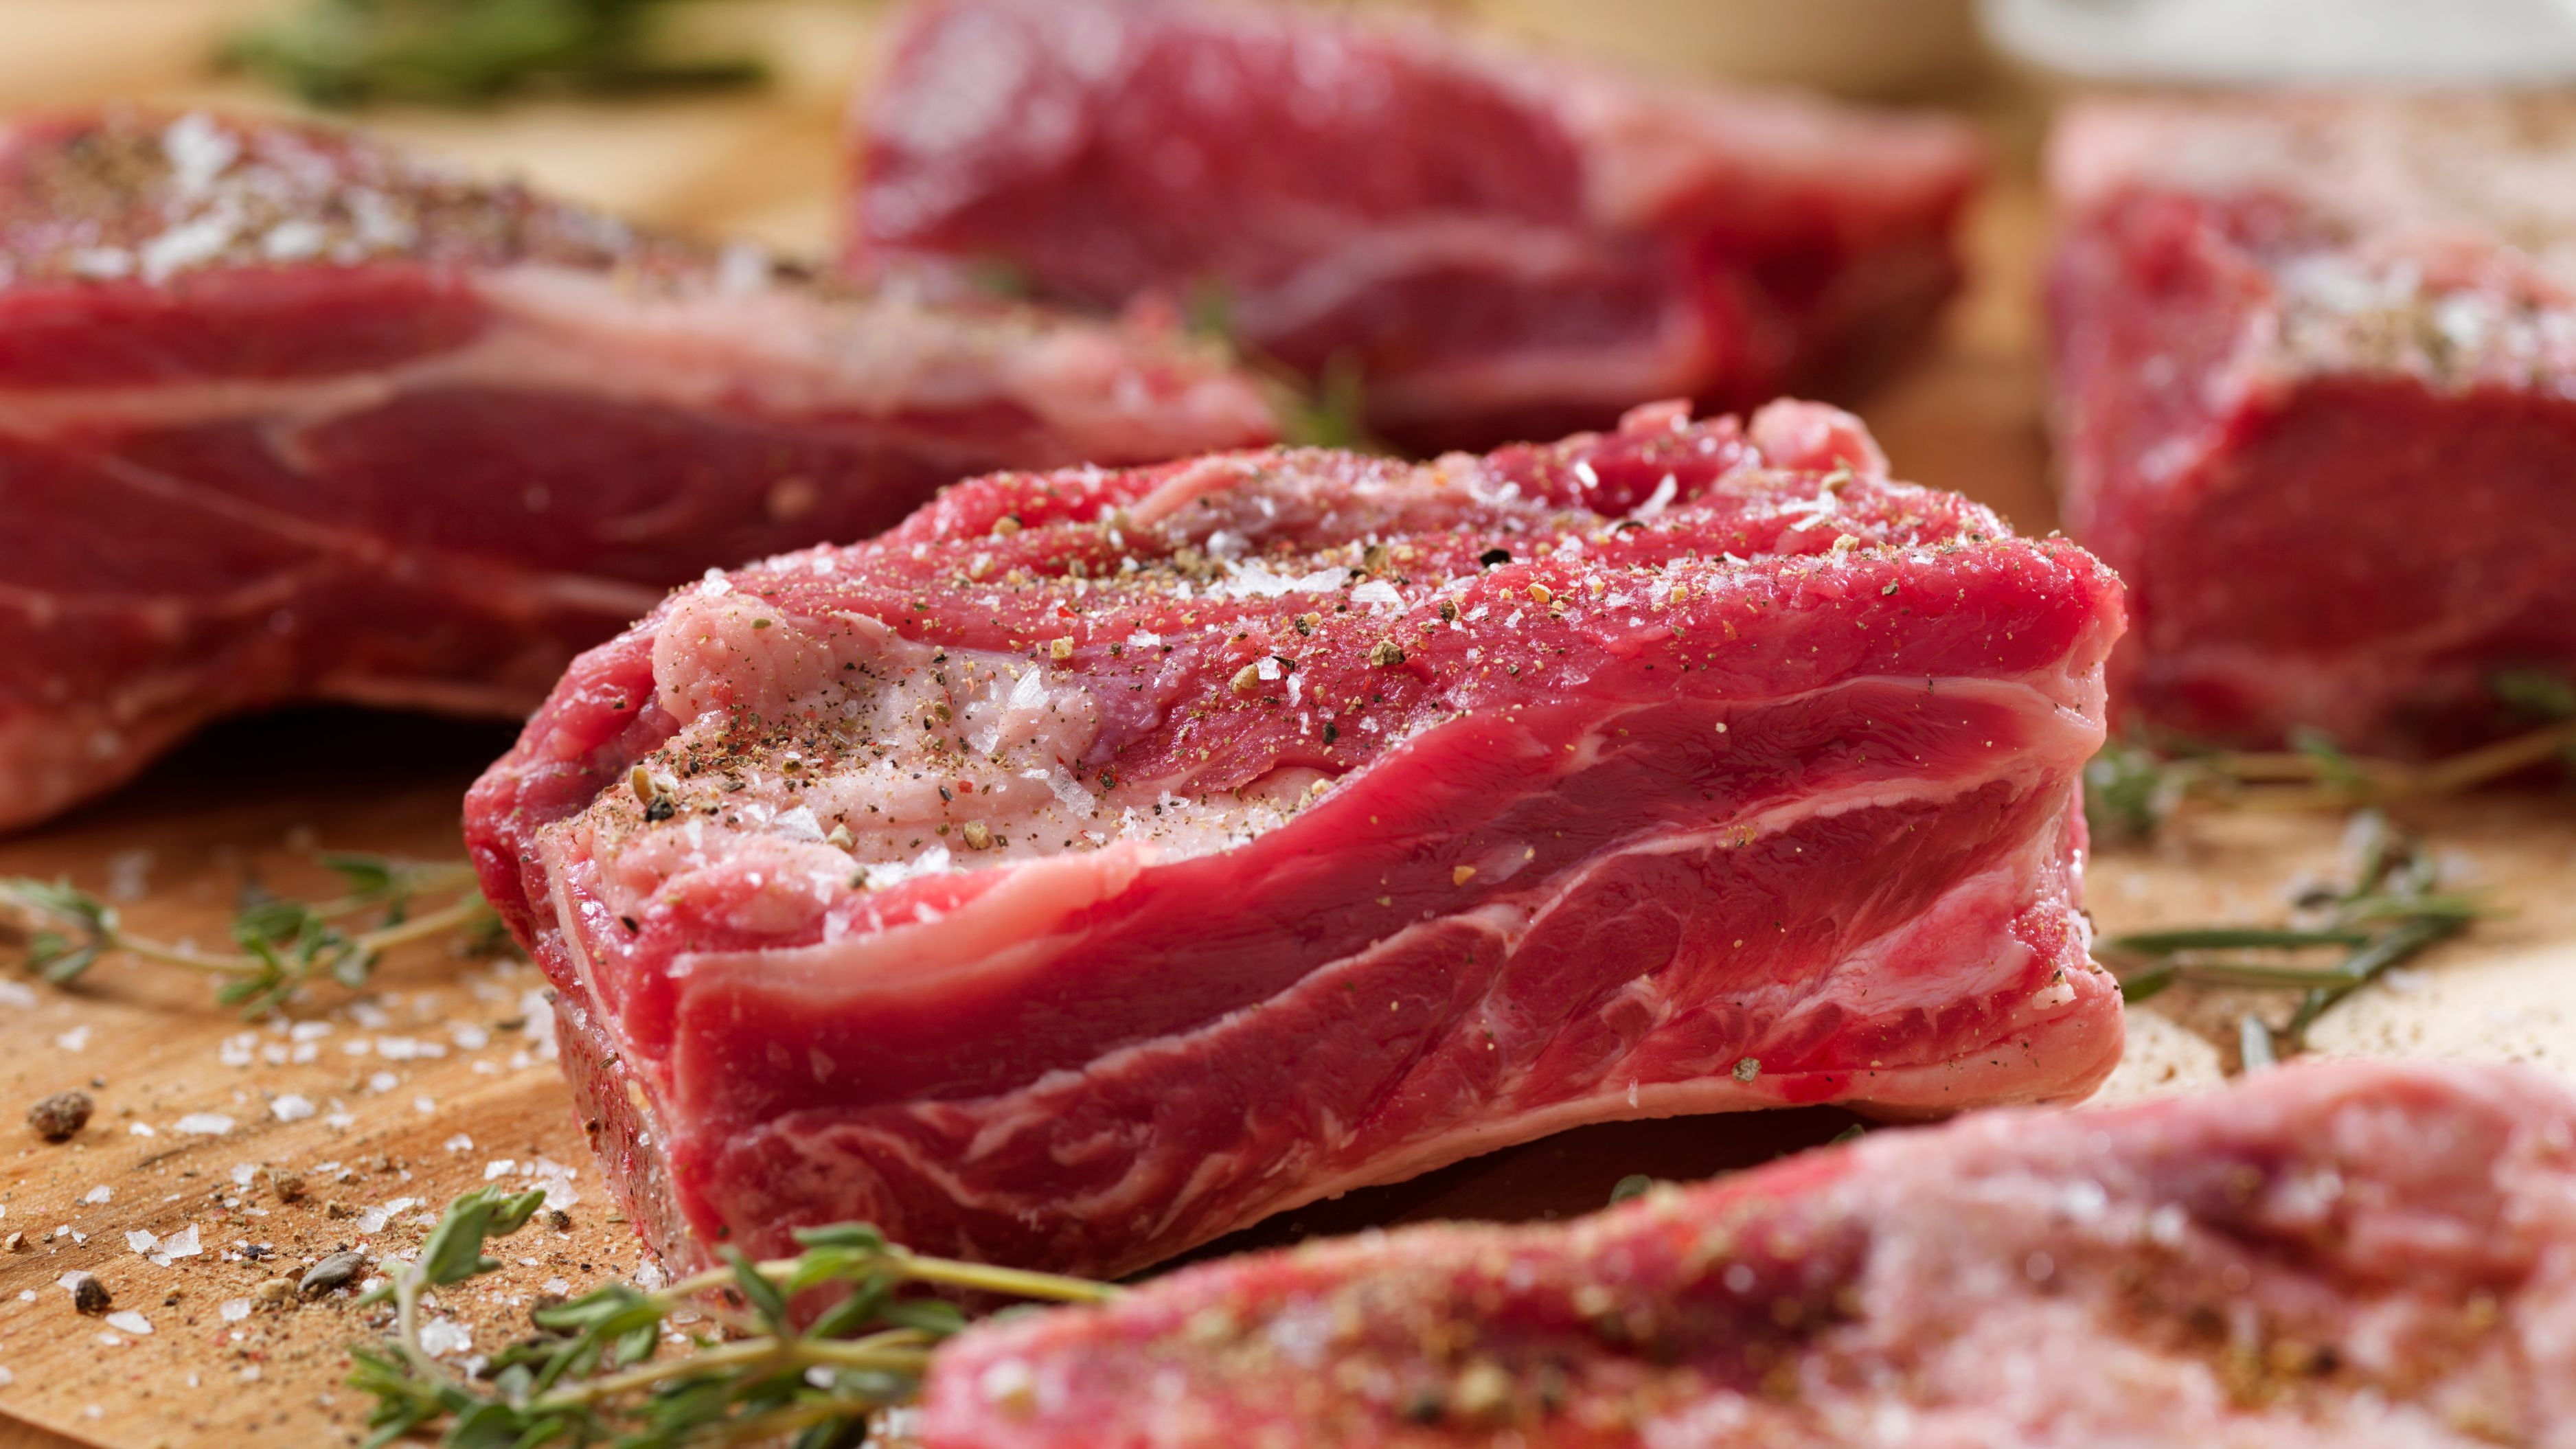
To understand braising, it helps to understand why some cuts are tough in the first place. Toughness in meat comes primarily from two sources: muscle fibers themselves, and connective tissue – specifically collagen – that runs through and around those fibers. Cuts from parts of the animal that do a lot of work – the shoulder, shank, brisket, cheeks, short ribs – are full of collagen because they need structural support. Cuts from less-worked muscles – tenderloin, ribeye – have little collagen and are naturally tender, but they have less flavor because they've done less metabolic work.
When collagen-rich cuts are cooked at high heat quickly, the collagen contracts and squeezes moisture out of the muscle fibers, making the meat both tough and dry. Braising solves this by working differently. Here's what happens step by step as the meat sits in that covered pot.
Collagen converts to gelatin. At temperatures above 71°C (160°F) and with sustained exposure to moisture, collagen strands begin to dissolve and convert into gelatin. This is the central transformation of braising. Gelatin is a smooth, soft, water-retaining protein that coats the muscle fibers and fills the spaces between them, creating a texture that's yielding and almost silky rather than tough and fibrous. This conversion takes time – hours rather than minutes – which is why the low-and-slow approach is essential. Cranking up the heat to speed things up doesn't help; it tightens the muscle fibers and drives out moisture before the collagen has time to convert, leaving you with dry, stringy meat.
Muscle fibers soften but stay intact. Muscle fibers themselves tighten and contract as they heat up, but at braising temperatures they do so gradually. The moist environment prevents them from drying out completely, and as the gelatin fills the surrounding tissue, the overall texture becomes tender even though the fibers have contracted. The goal isn't to disintegrate the meat – it's to reach the point where the fibers are tender enough to pull apart easily while still holding together in the pot.
Flavor develops and concentrates. The braising liquid absorbs fat, collagen, and flavor compounds released from the meat during the long cook. As it reduces slightly, it concentrates. By the end of a braise, the liquid has become something considerably more complex than what it started as – thicker, richer, and infused with the character of the cut. This is why braising liquid makes such an excellent sauce: it's already finished in terms of flavor development, it just needs to be reduced to the right consistency.
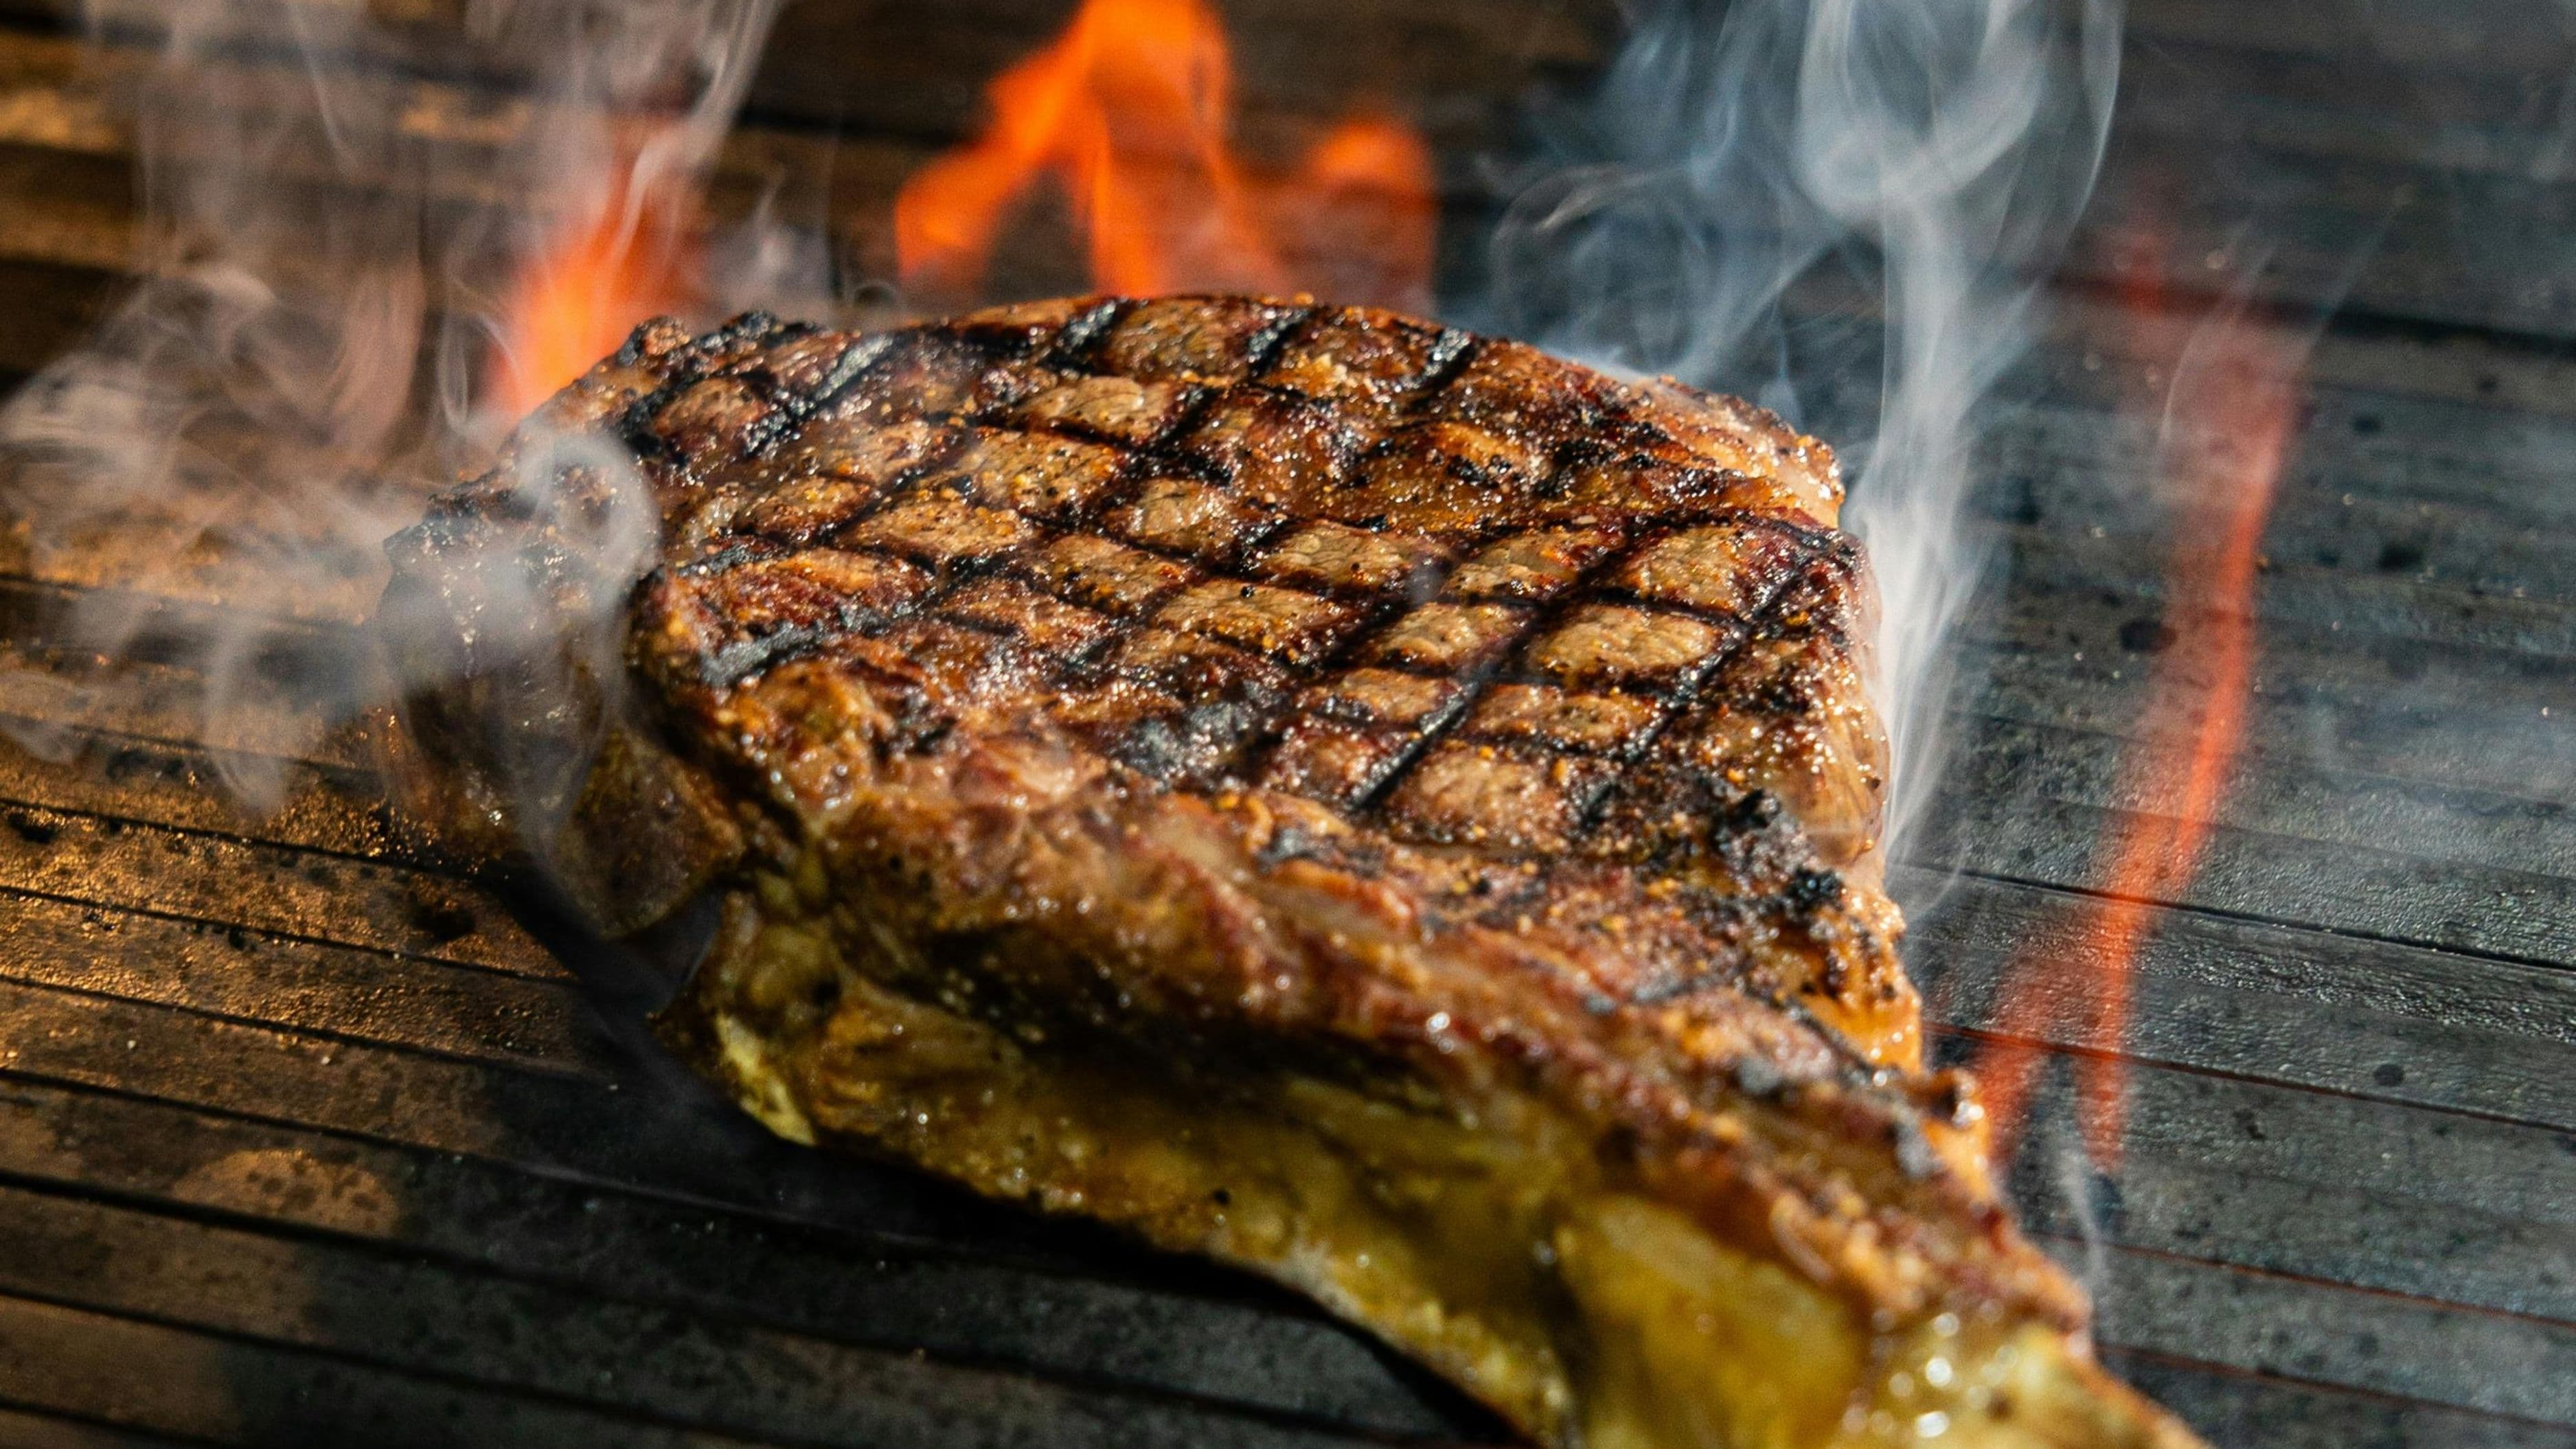
The sear contributes to both flavor and texture. The browning step before braising isn't decorative. Searing the meat in a hot, lightly oiled pan produces Maillard reaction products – the complex flavor compounds that develop when proteins and sugars are exposed to high heat. These compounds dissolve into the braising liquid during cooking and add depth to both the meat and the sauce. Skipping the sear produces a braise that's tender but noticeably flatter in flavor.
Which Cuts Benefit Most From Braising
Not every cut improves with braising. Naturally tender cuts – loin, fillet, sirloin – don't have enough collagen to convert, and long braising makes them dry and mealy rather than better. Braising is specifically for cuts with significant connective tissue.
Beef: Chuck (shoulder), brisket, short ribs, oxtail, cheeks, and shank (osso buco) are the classic braising cuts. Chuck is the most versatile and widely available, breaking down into tender, shreddable meat that works for everything from tacos to pot roast. Short ribs retain more structure and produce an exceptionally rich braising liquid. Brisket is the classic choice for long, slow braises where you want the meat to slice rather than shred.
Pork: Shoulder and leg cuts, pork belly, pigs' cheeks, and trotters all have the collagen content that braising rewards. Pork shoulder is particularly forgiving – it has a high fat and collagen content that makes it difficult to overcook, and it produces deeply flavorful pulled pork or carnitas with sustained braising.
Lamb: Shoulder and shank are the go-to braising cuts. Lamb shoulder is fattier and more forgiving; shank is leaner and produces a cleaner, more refined result that suits wine-braised preparations.
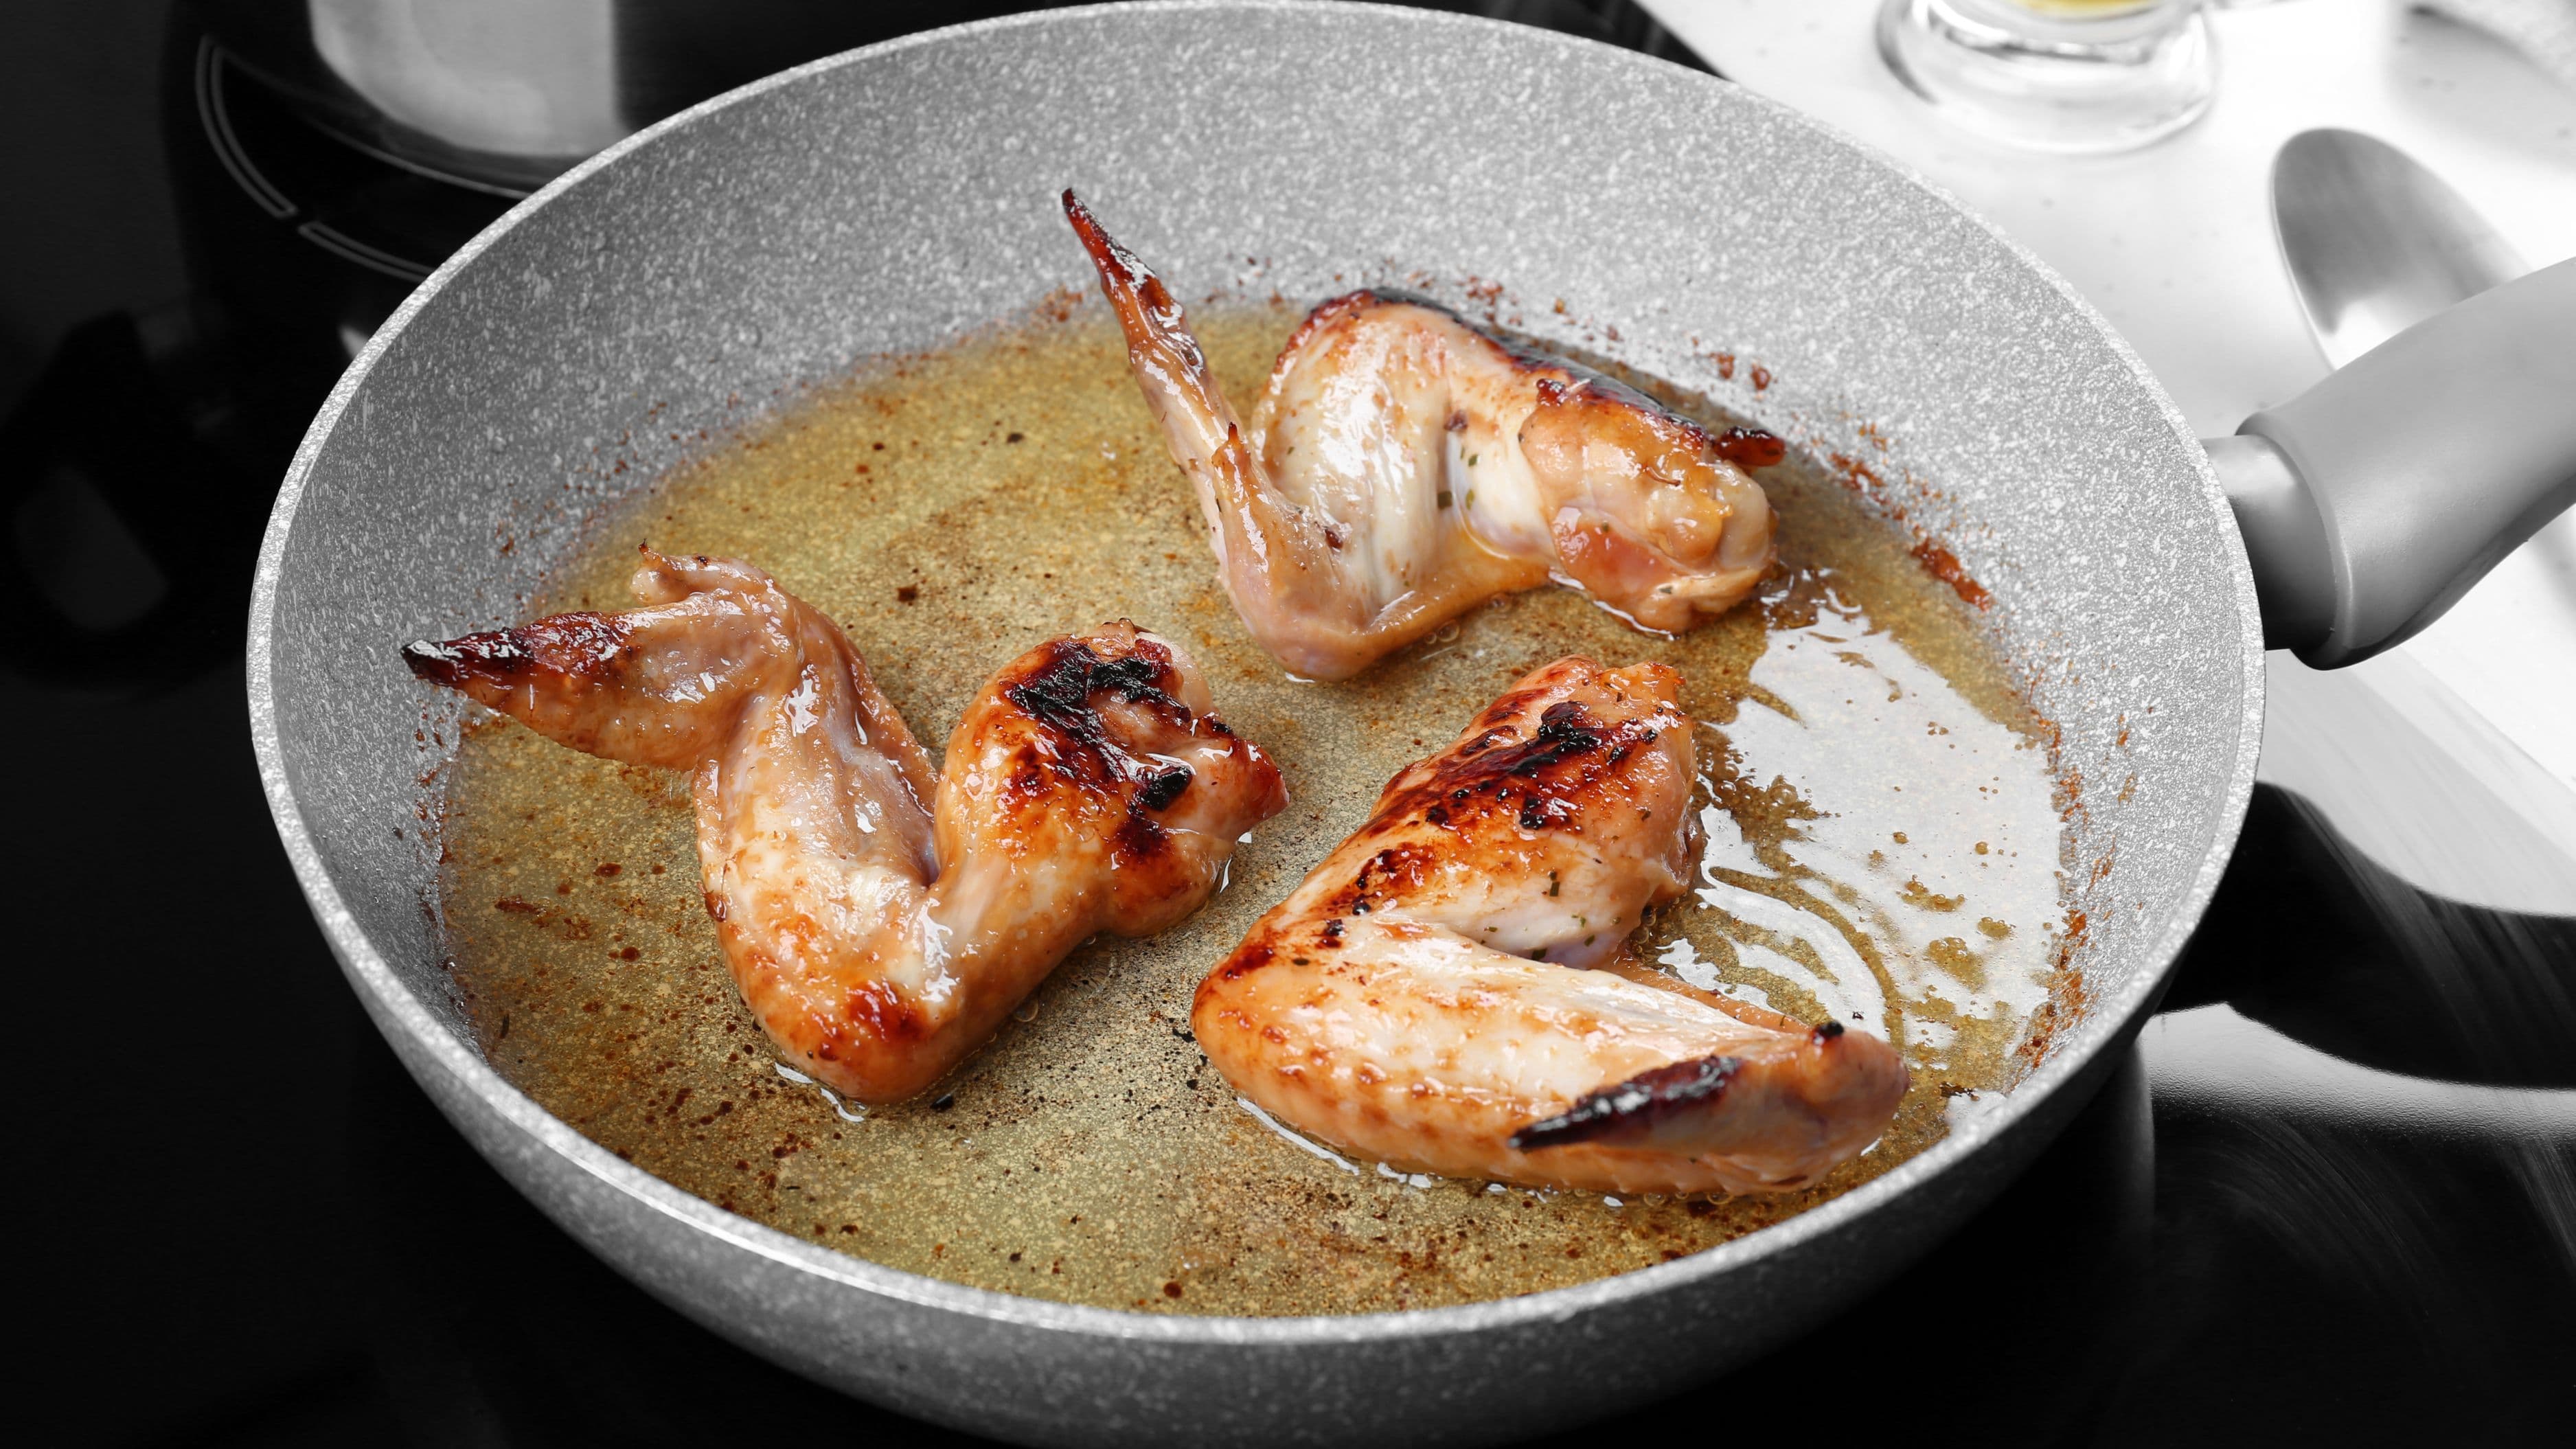
Chicken and other poultry: Chicken thighs and drumsticks braise well because they have more collagen and fat than breasts. Whole legs respond particularly well to long braises in wine or tomato-based liquids. Chicken breasts don't improve with braising and can become dry and chalky if braised for extended periods.
How to Braise at Home: The Basic Method
Braising is genuinely one of the more forgiving cooking techniques once you understand its requirements. The basic method is the same regardless of what you're braising.
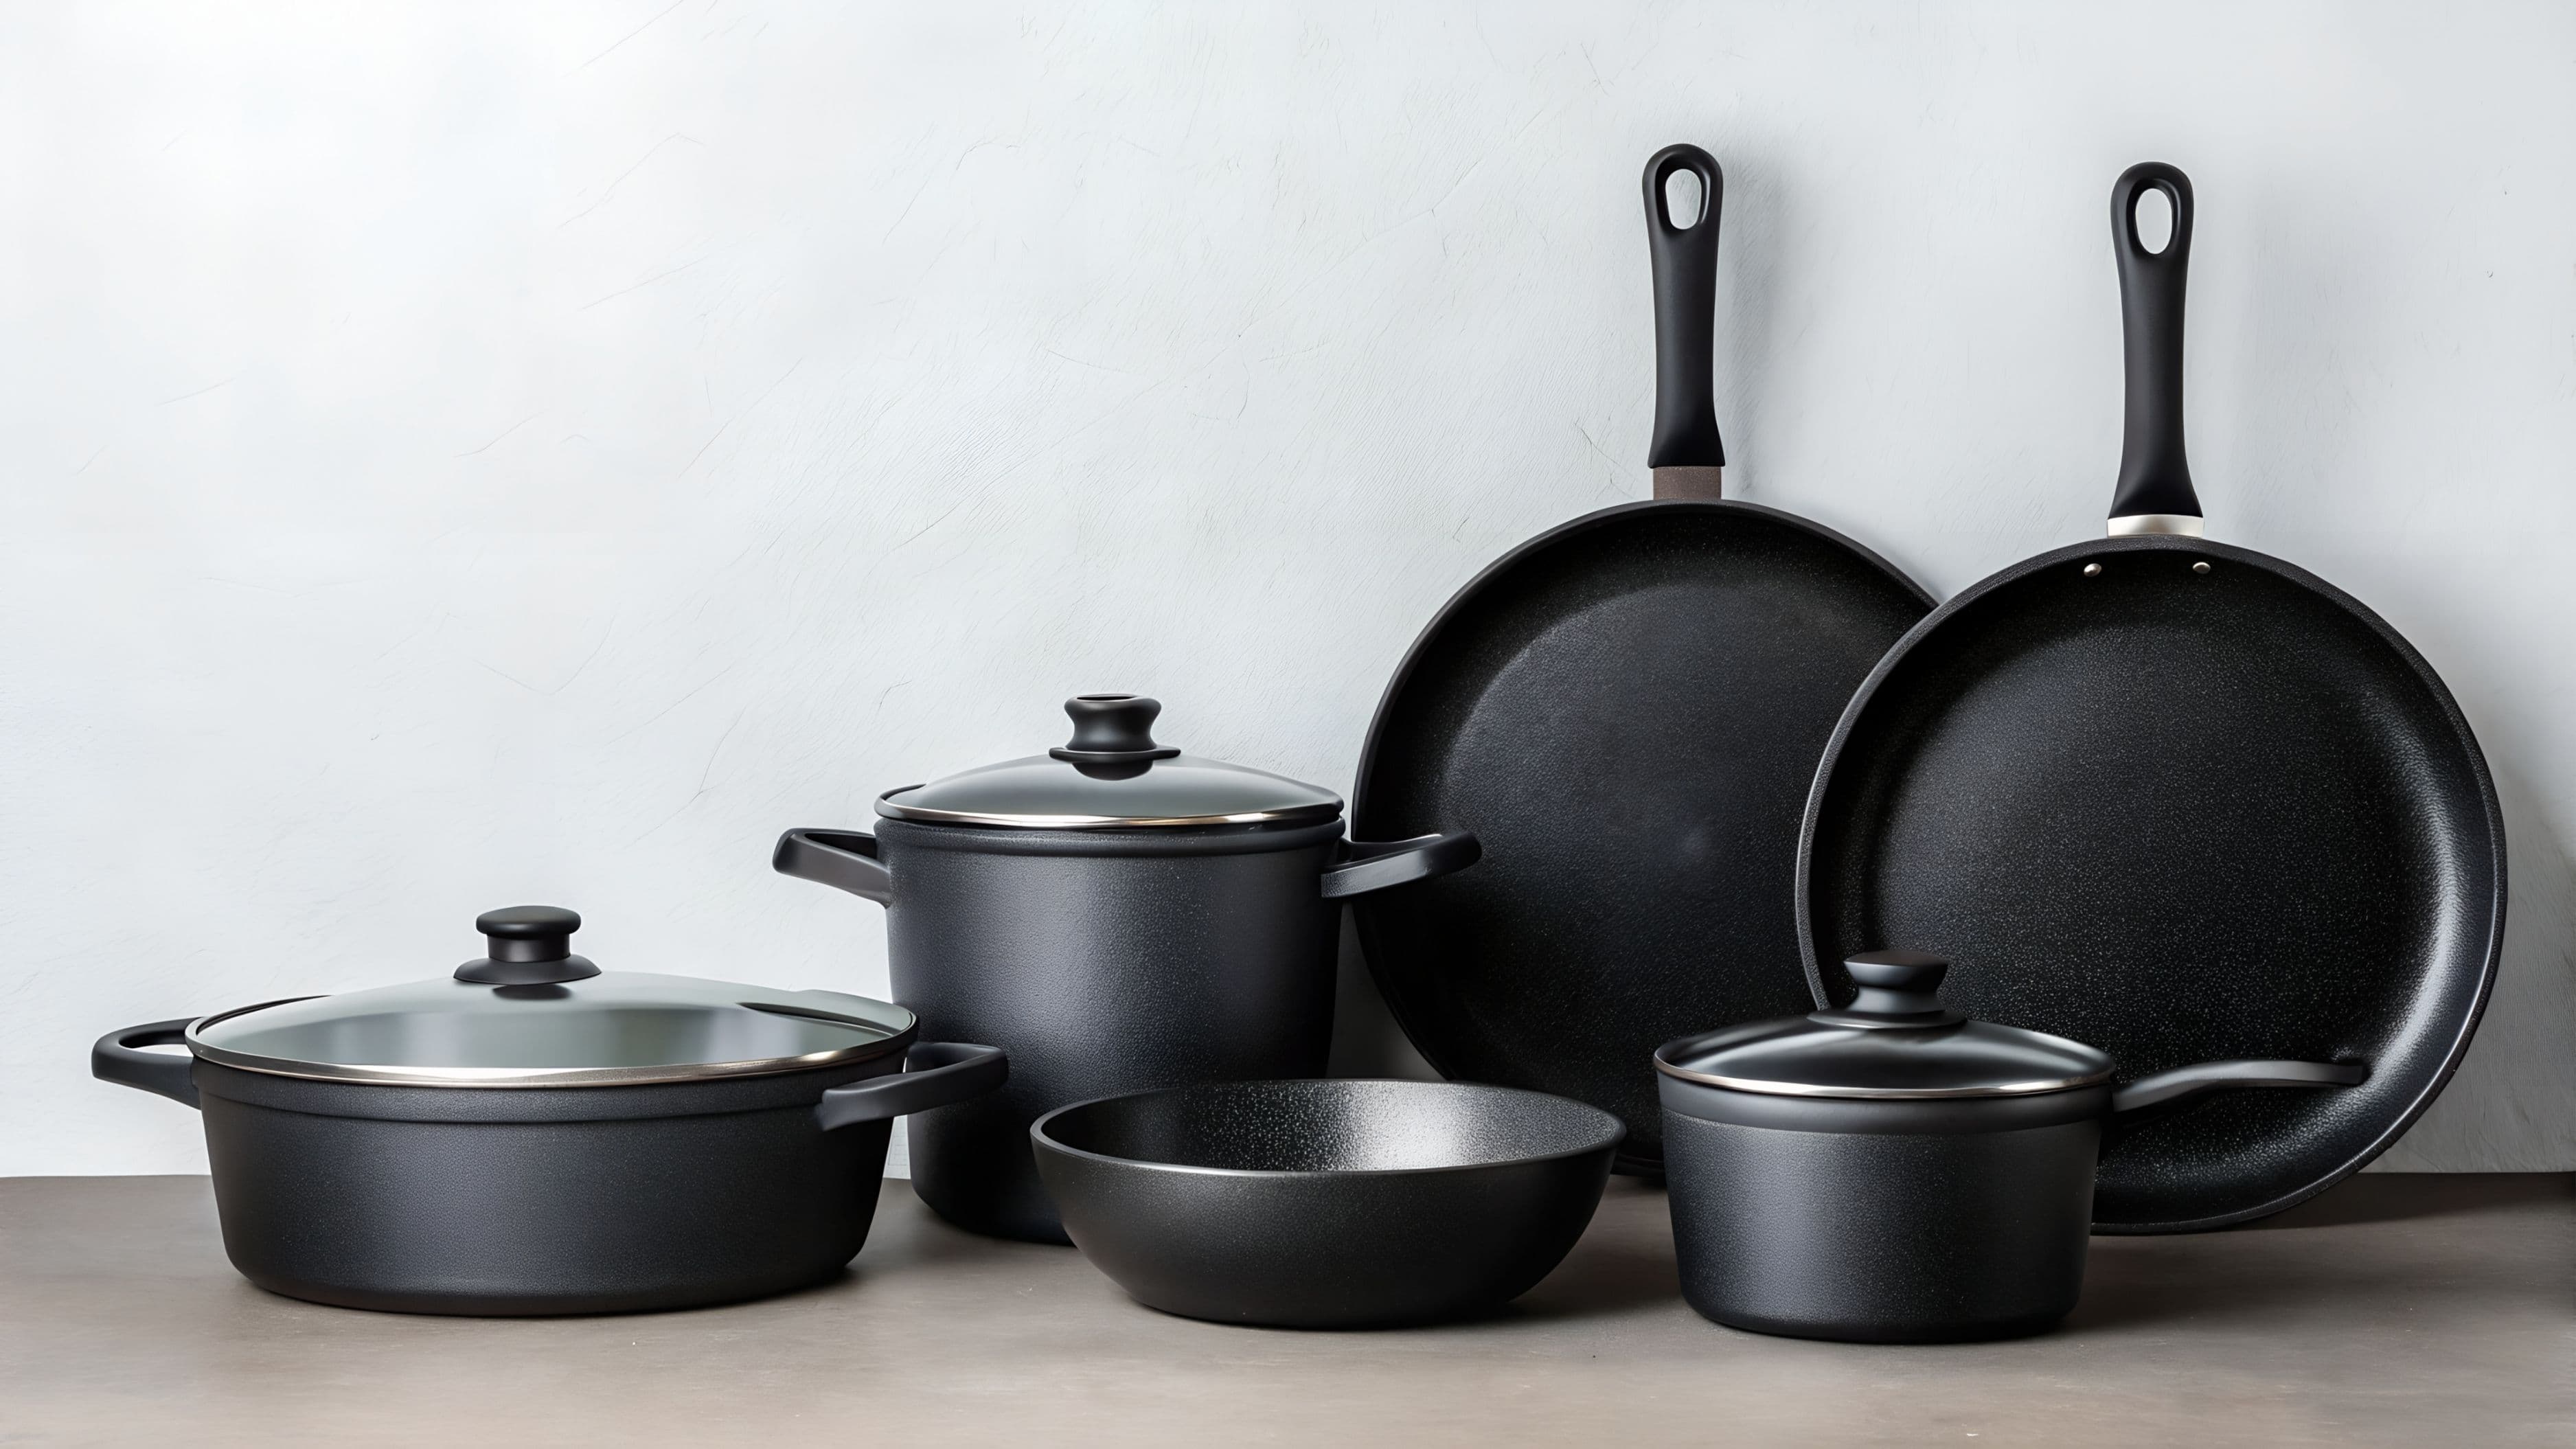
Choose your vessel. A heavy, lidded pot that can go from stovetop to oven is ideal – a Dutch oven or a cast iron casserole dish. The pot should be large enough to hold the meat without crowding, but not so large that the liquid doesn't come at least one-third of the way up the sides of the meat. Too much liquid dilutes the flavor of the braise; too little causes the exposed portion to dry out before the covered portion is done.
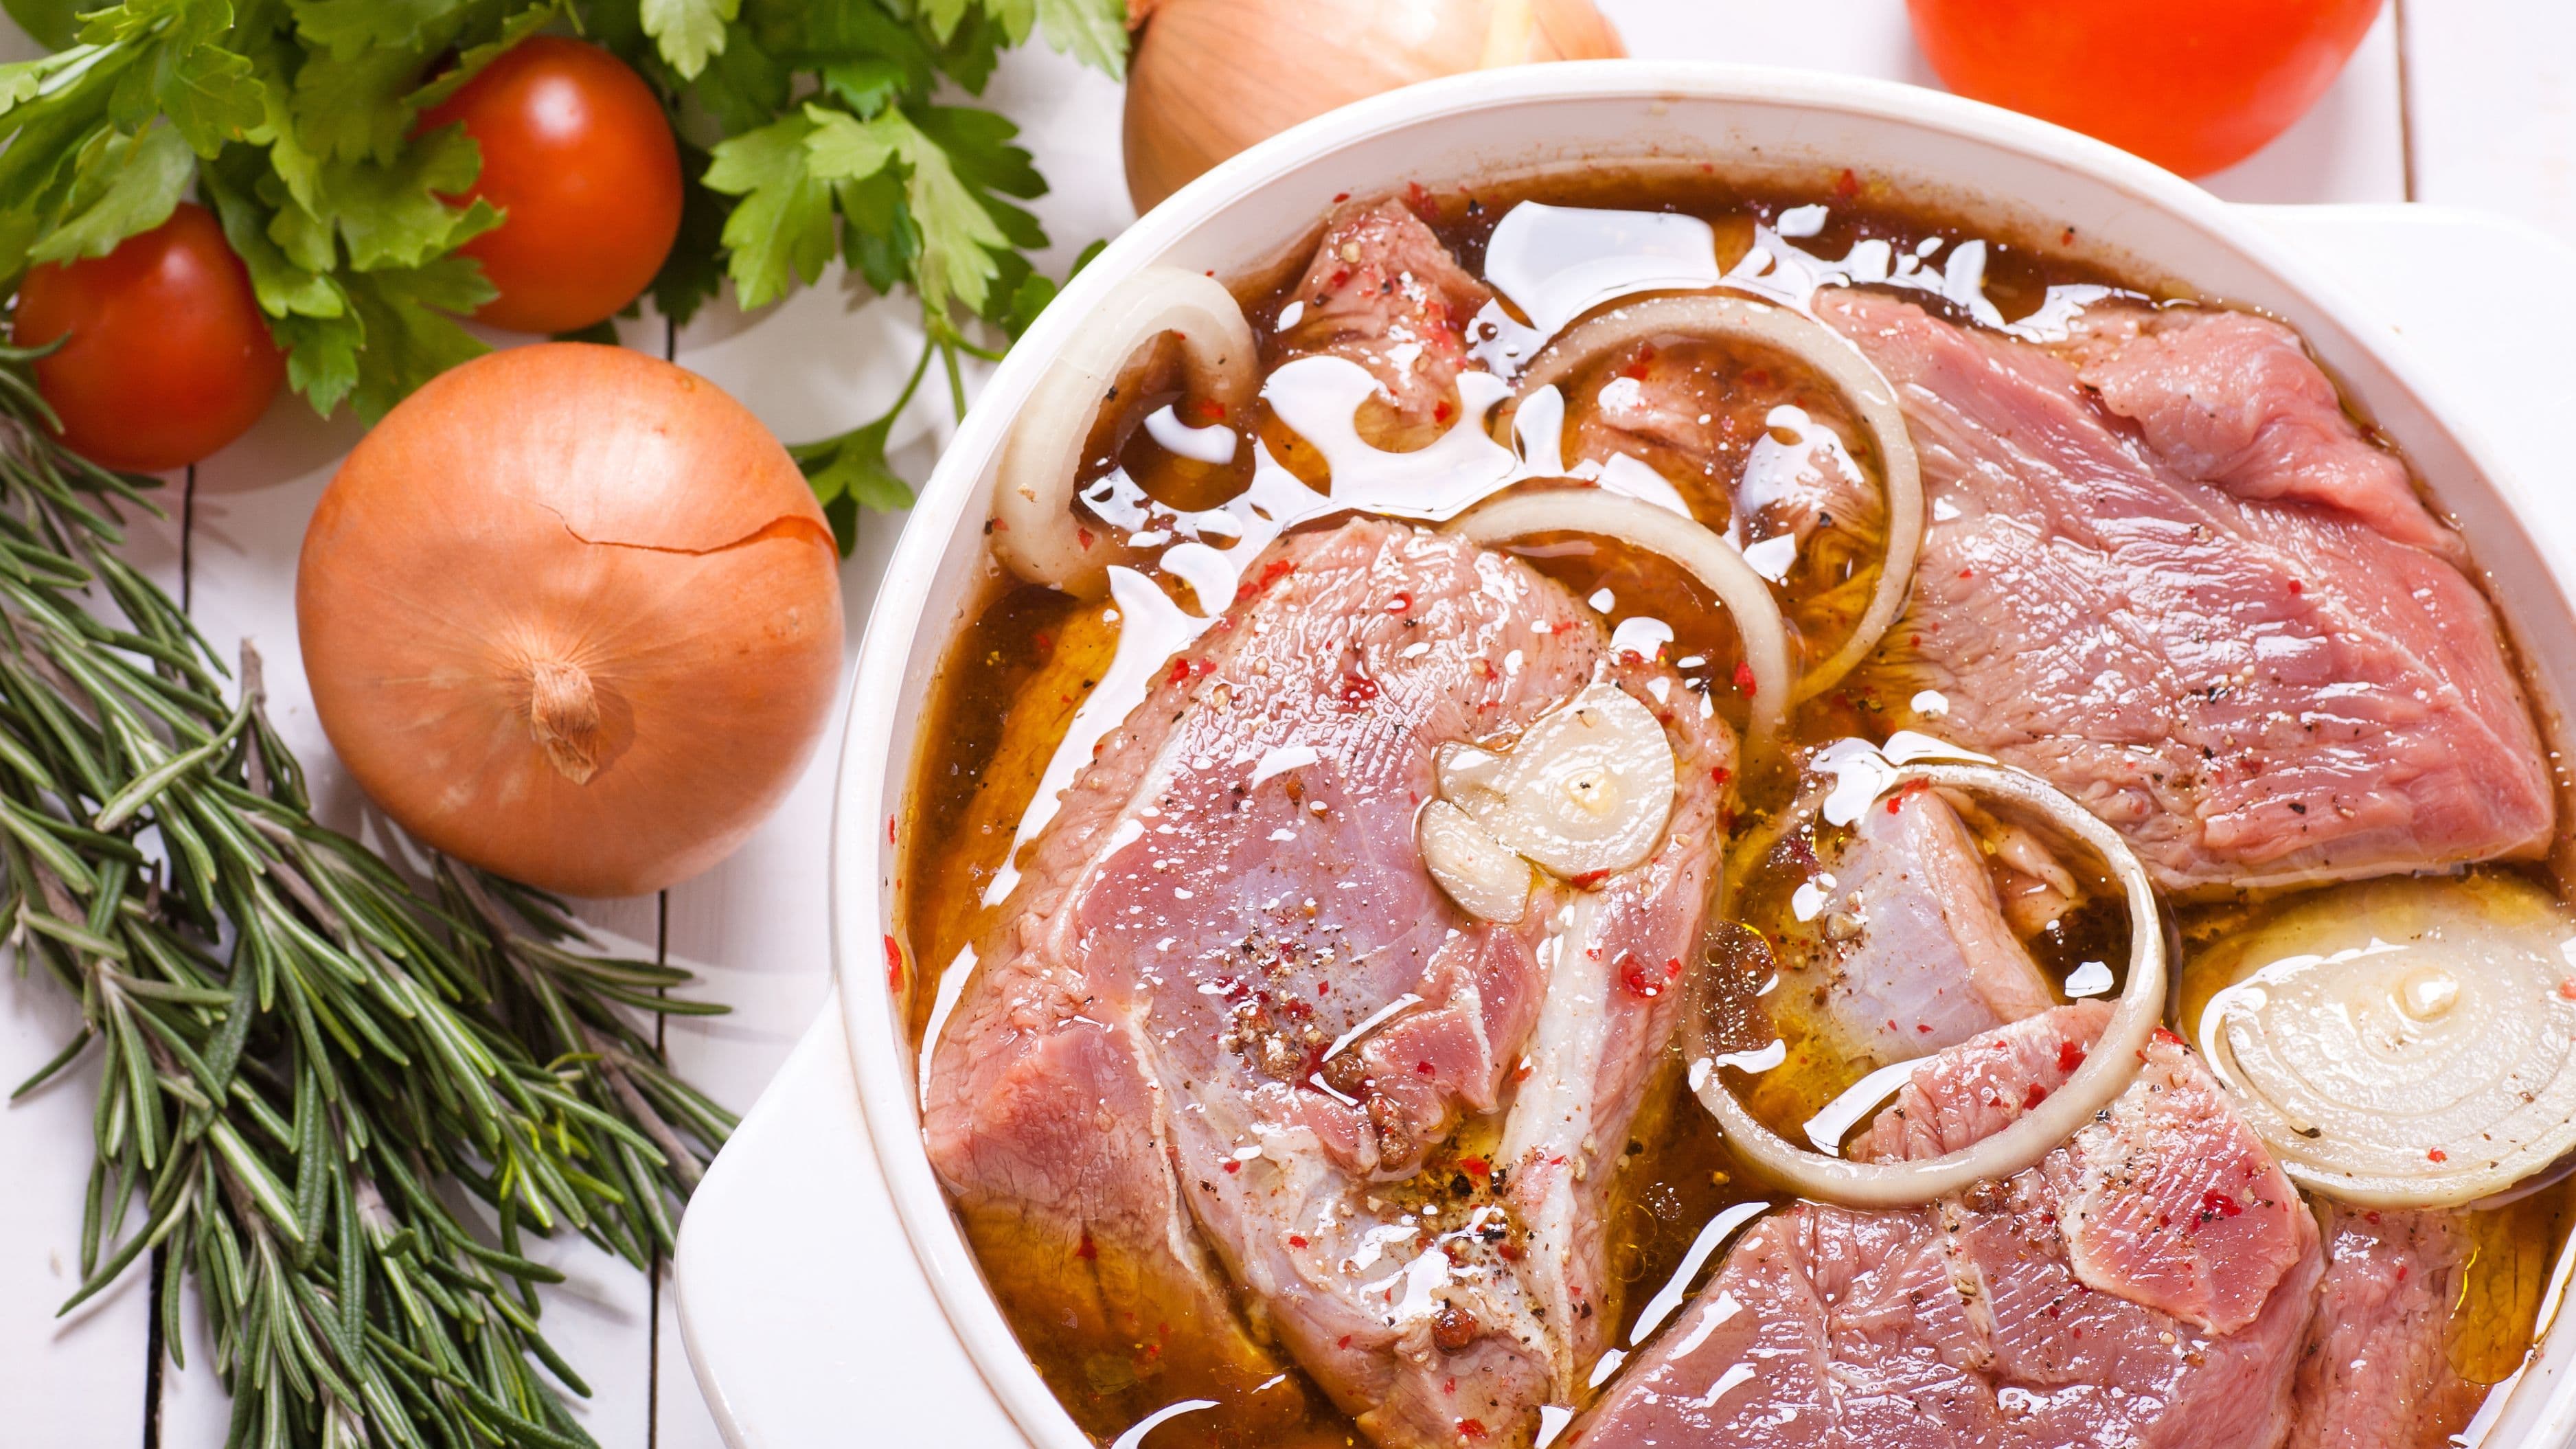
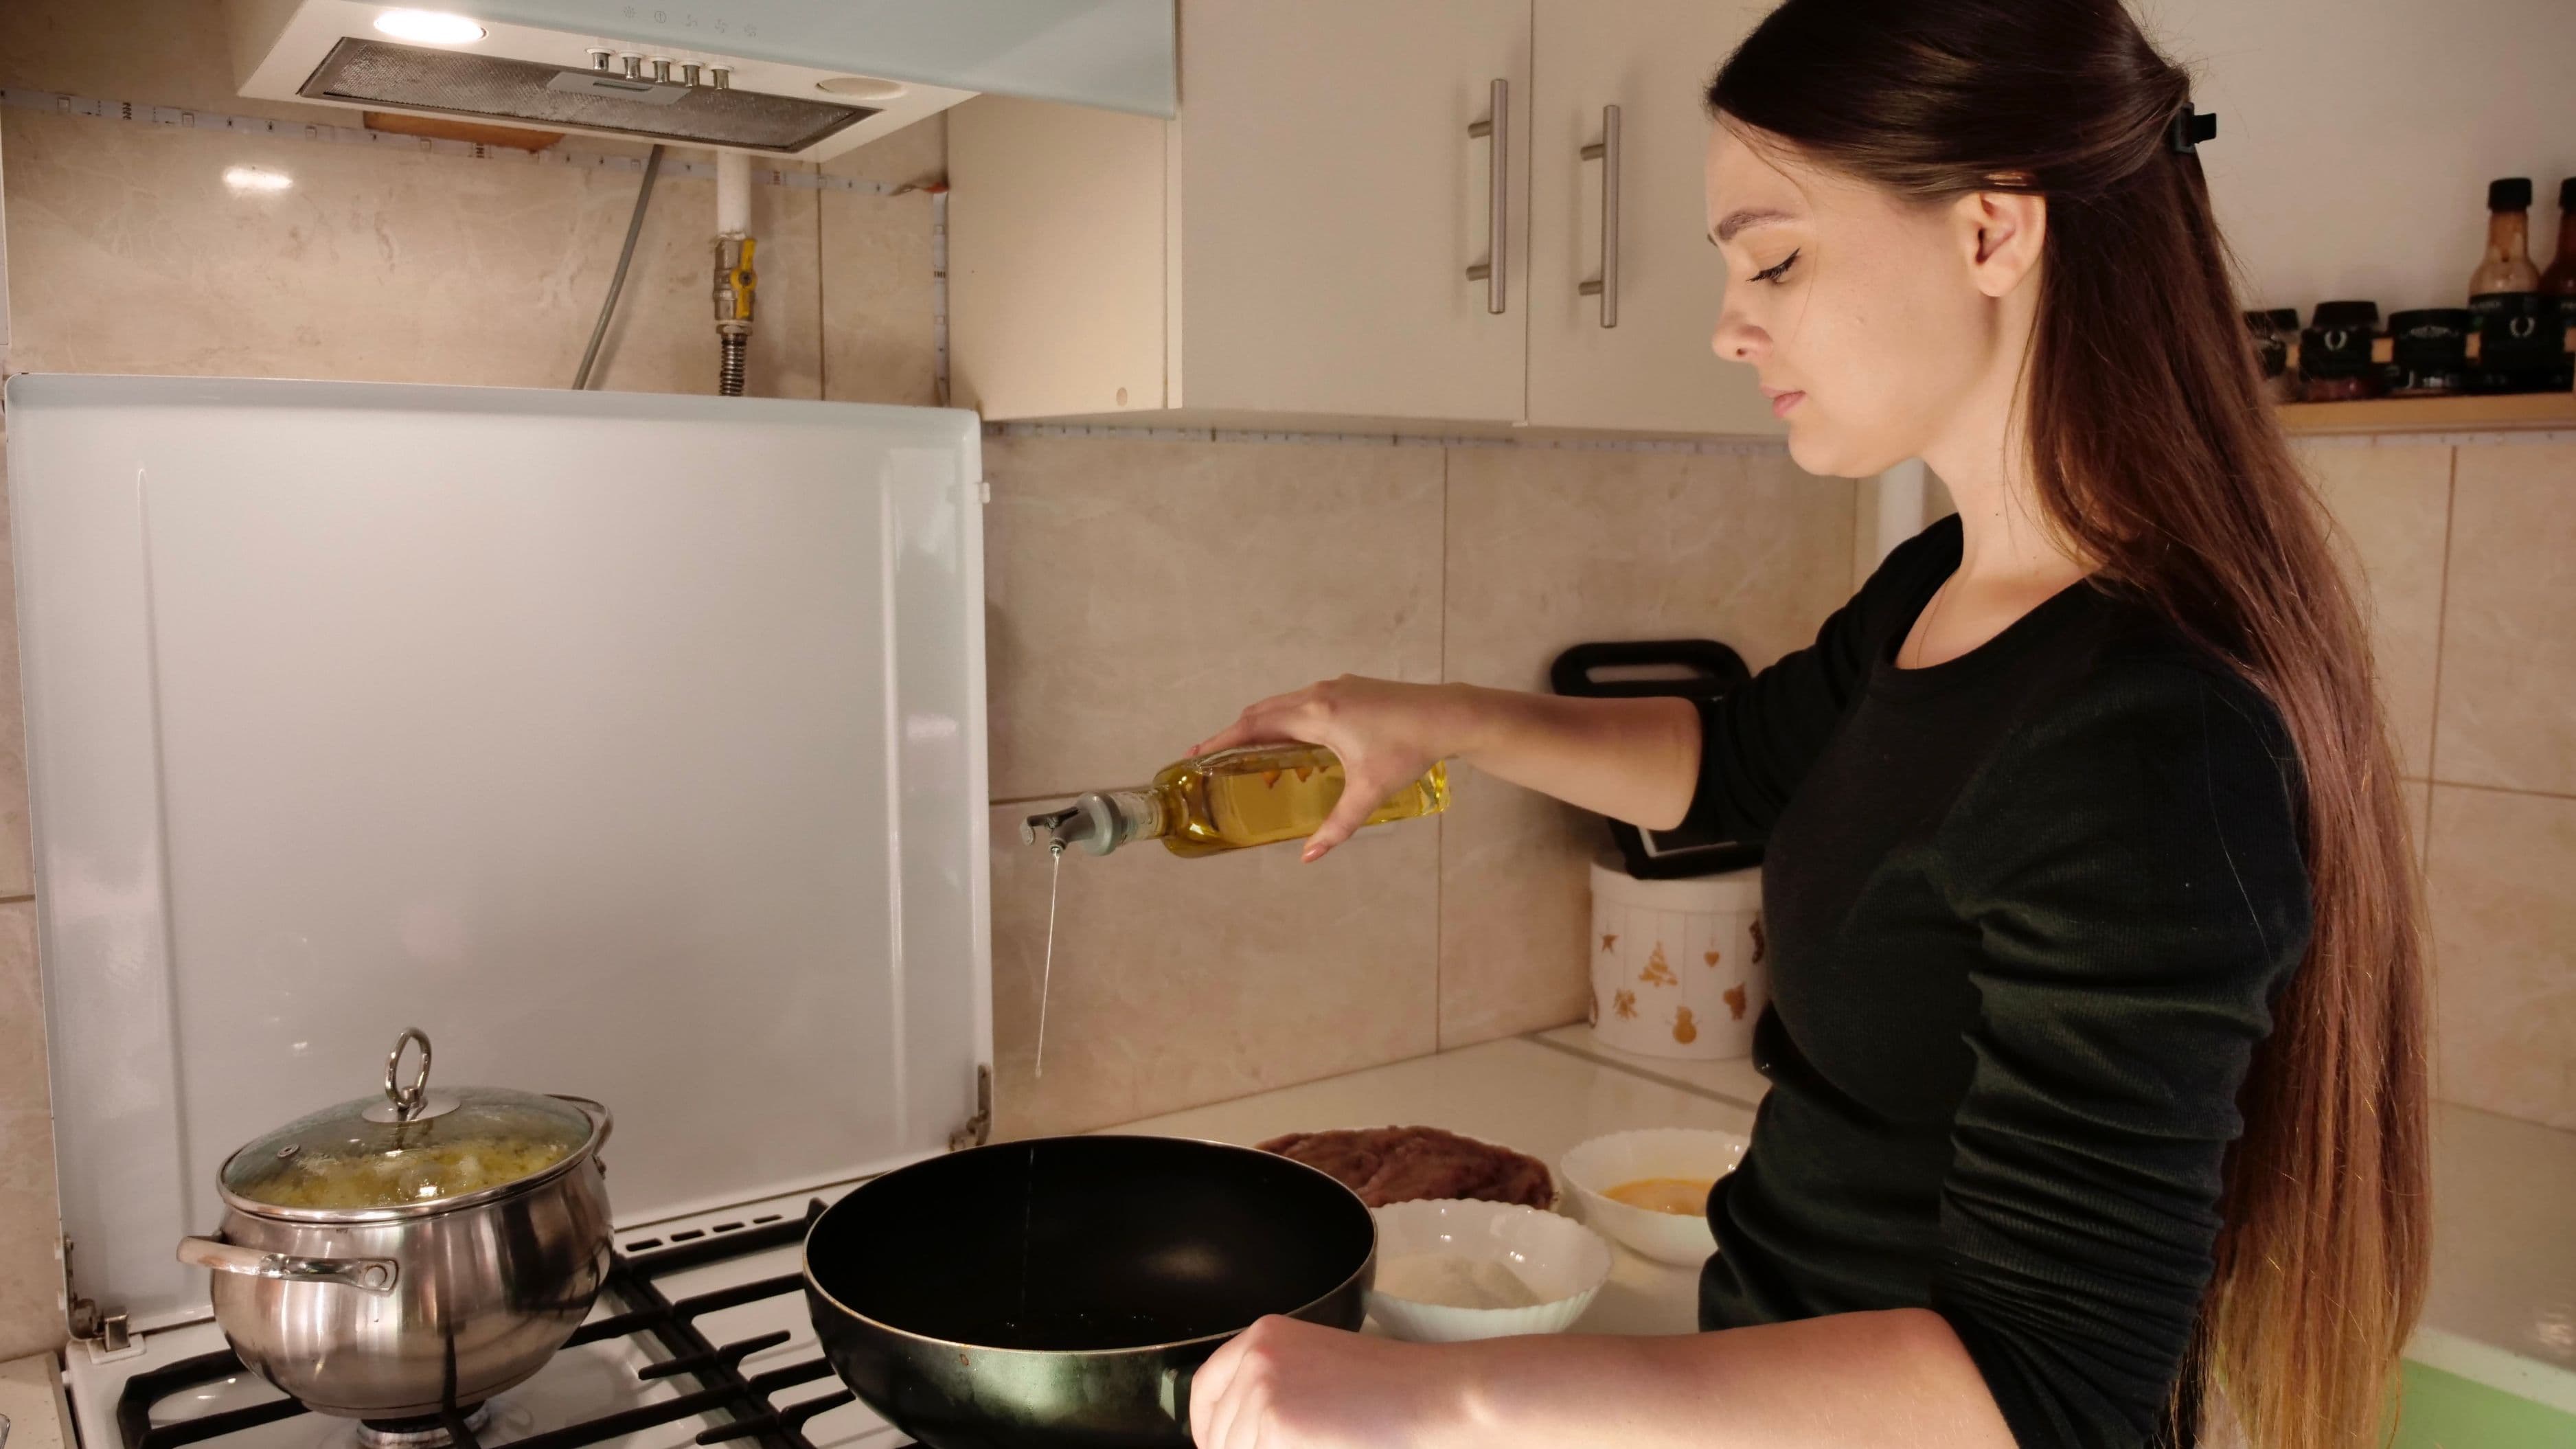
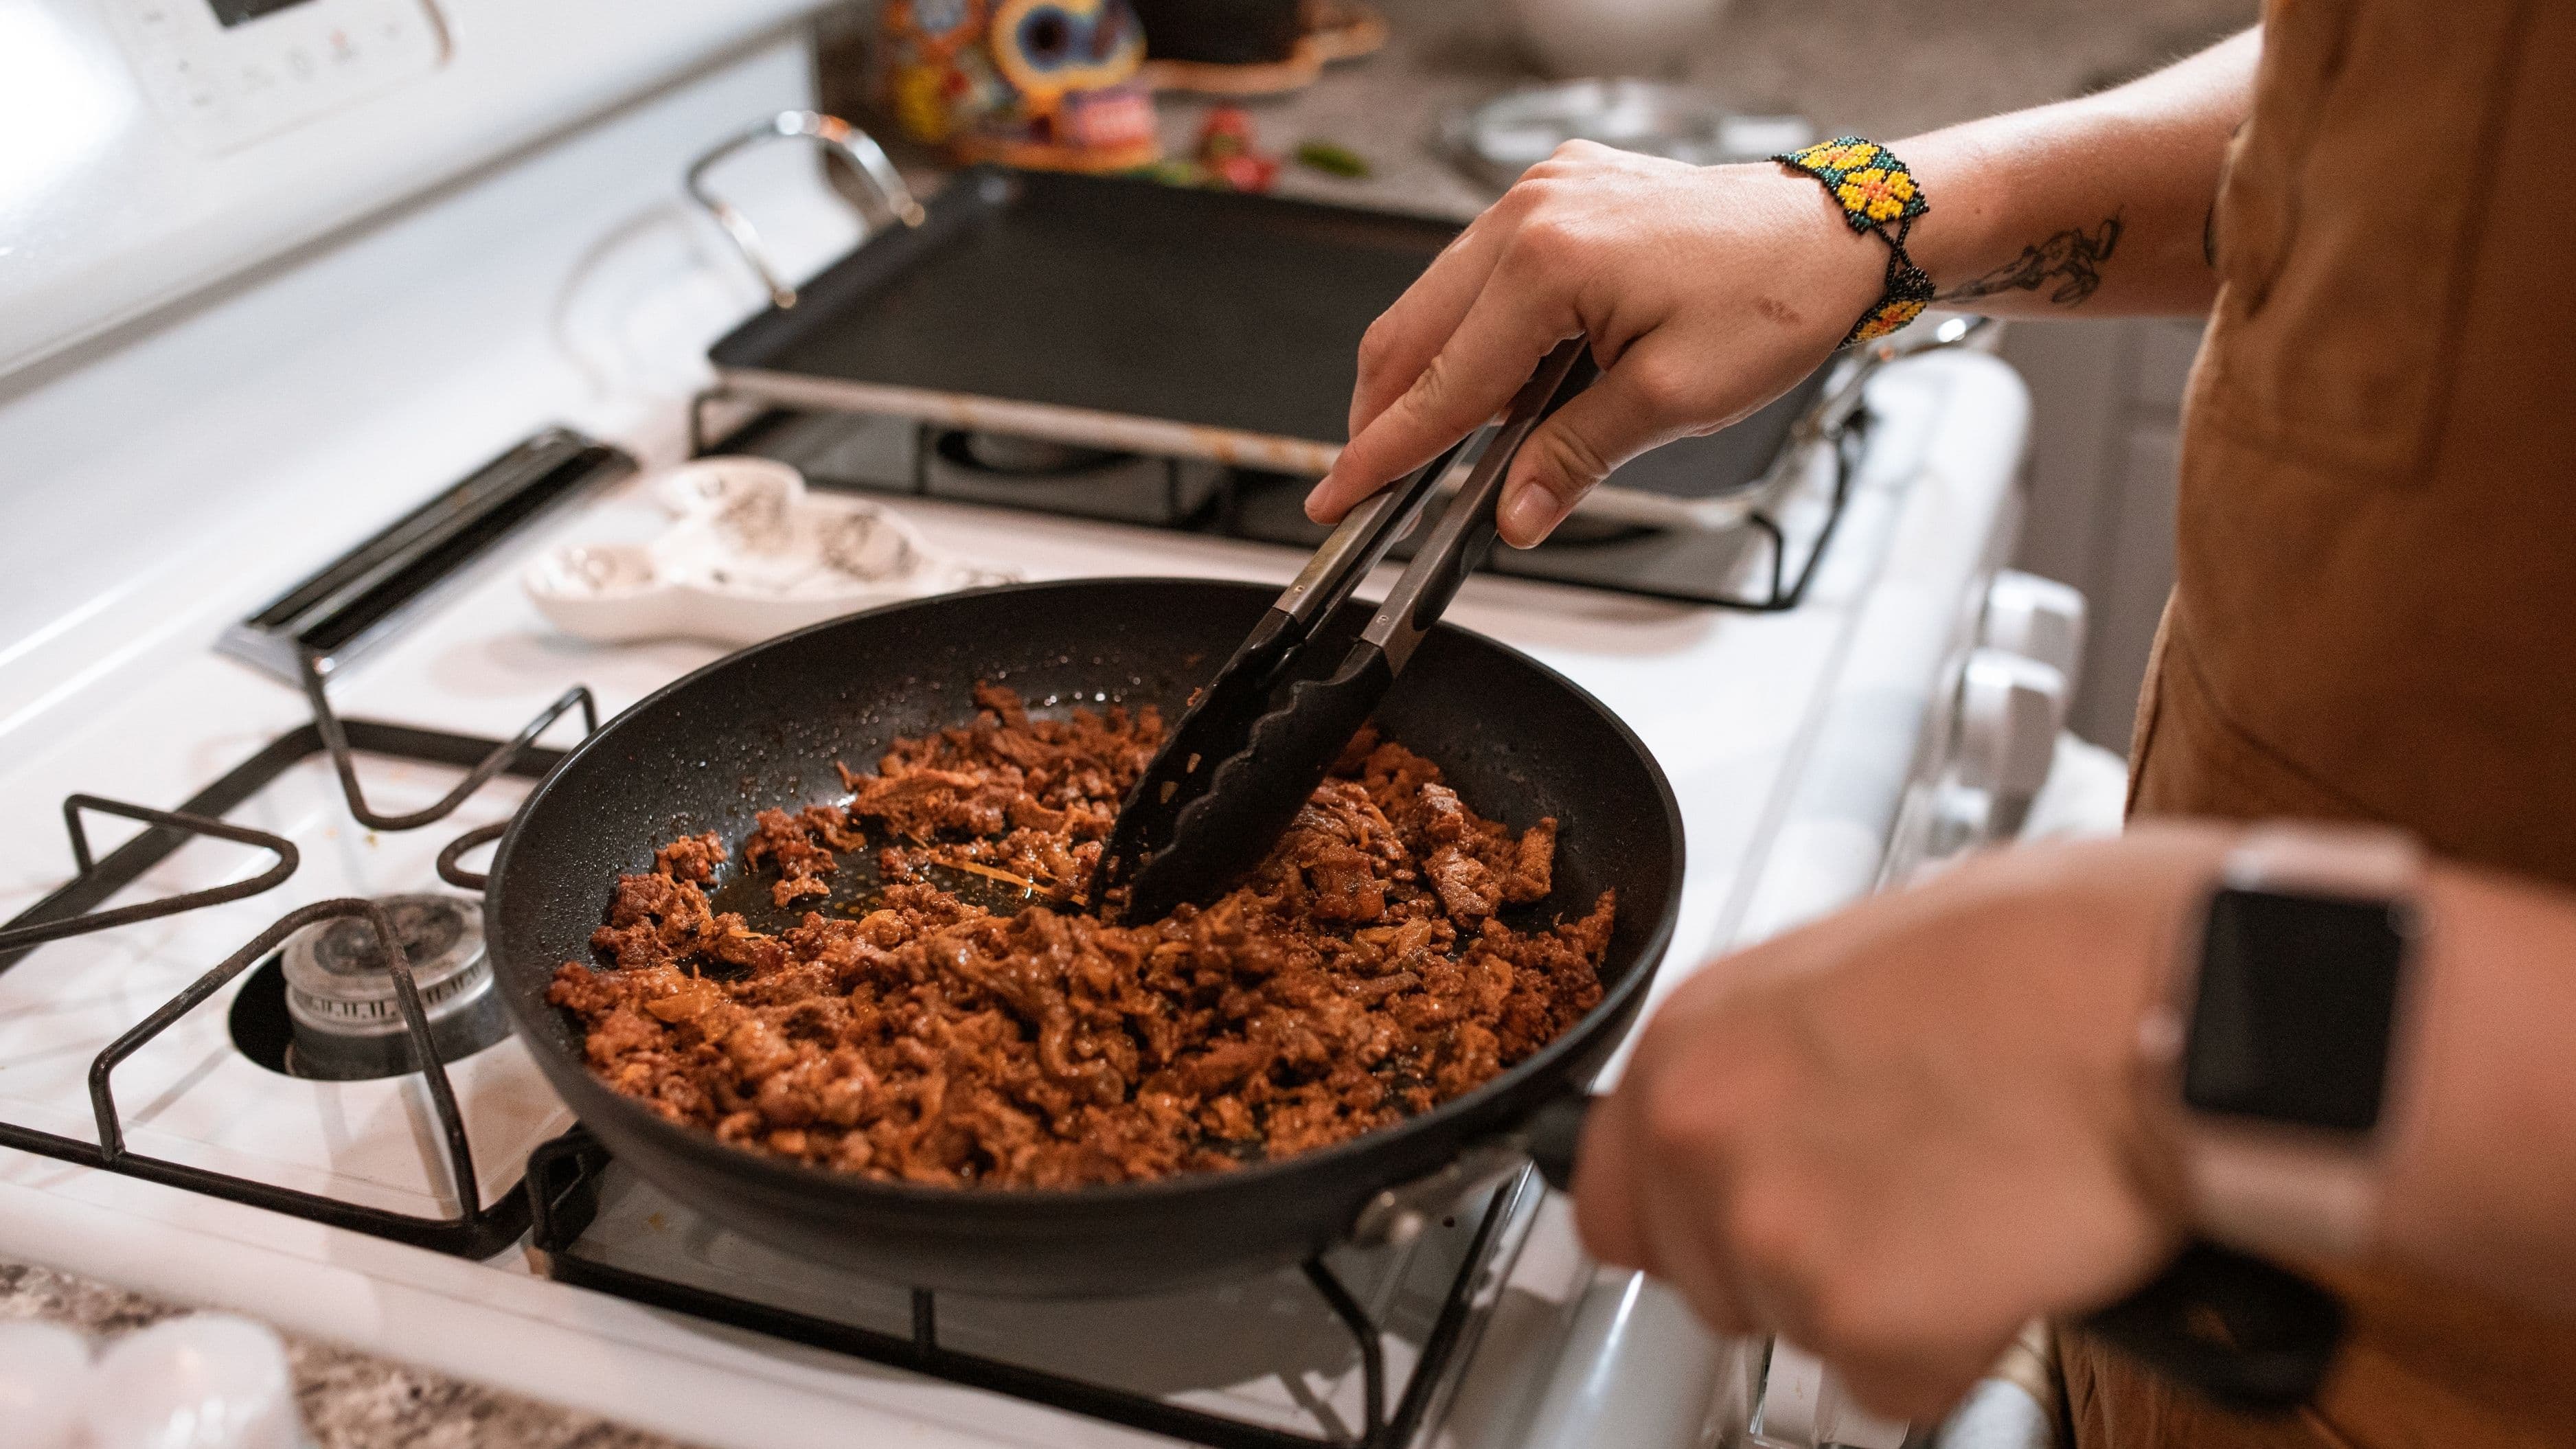
Sear the meat in batches. Pat the meat dry with paper towels and season generously with salt and pepper. Heat a thin layer of neutral oil in the pot over medium-high heat until very hot, then sear the meat in batches without crowding, turning to brown all sides. This typically takes 3 to 4 minutes per side. Remove the seared meat and set aside.
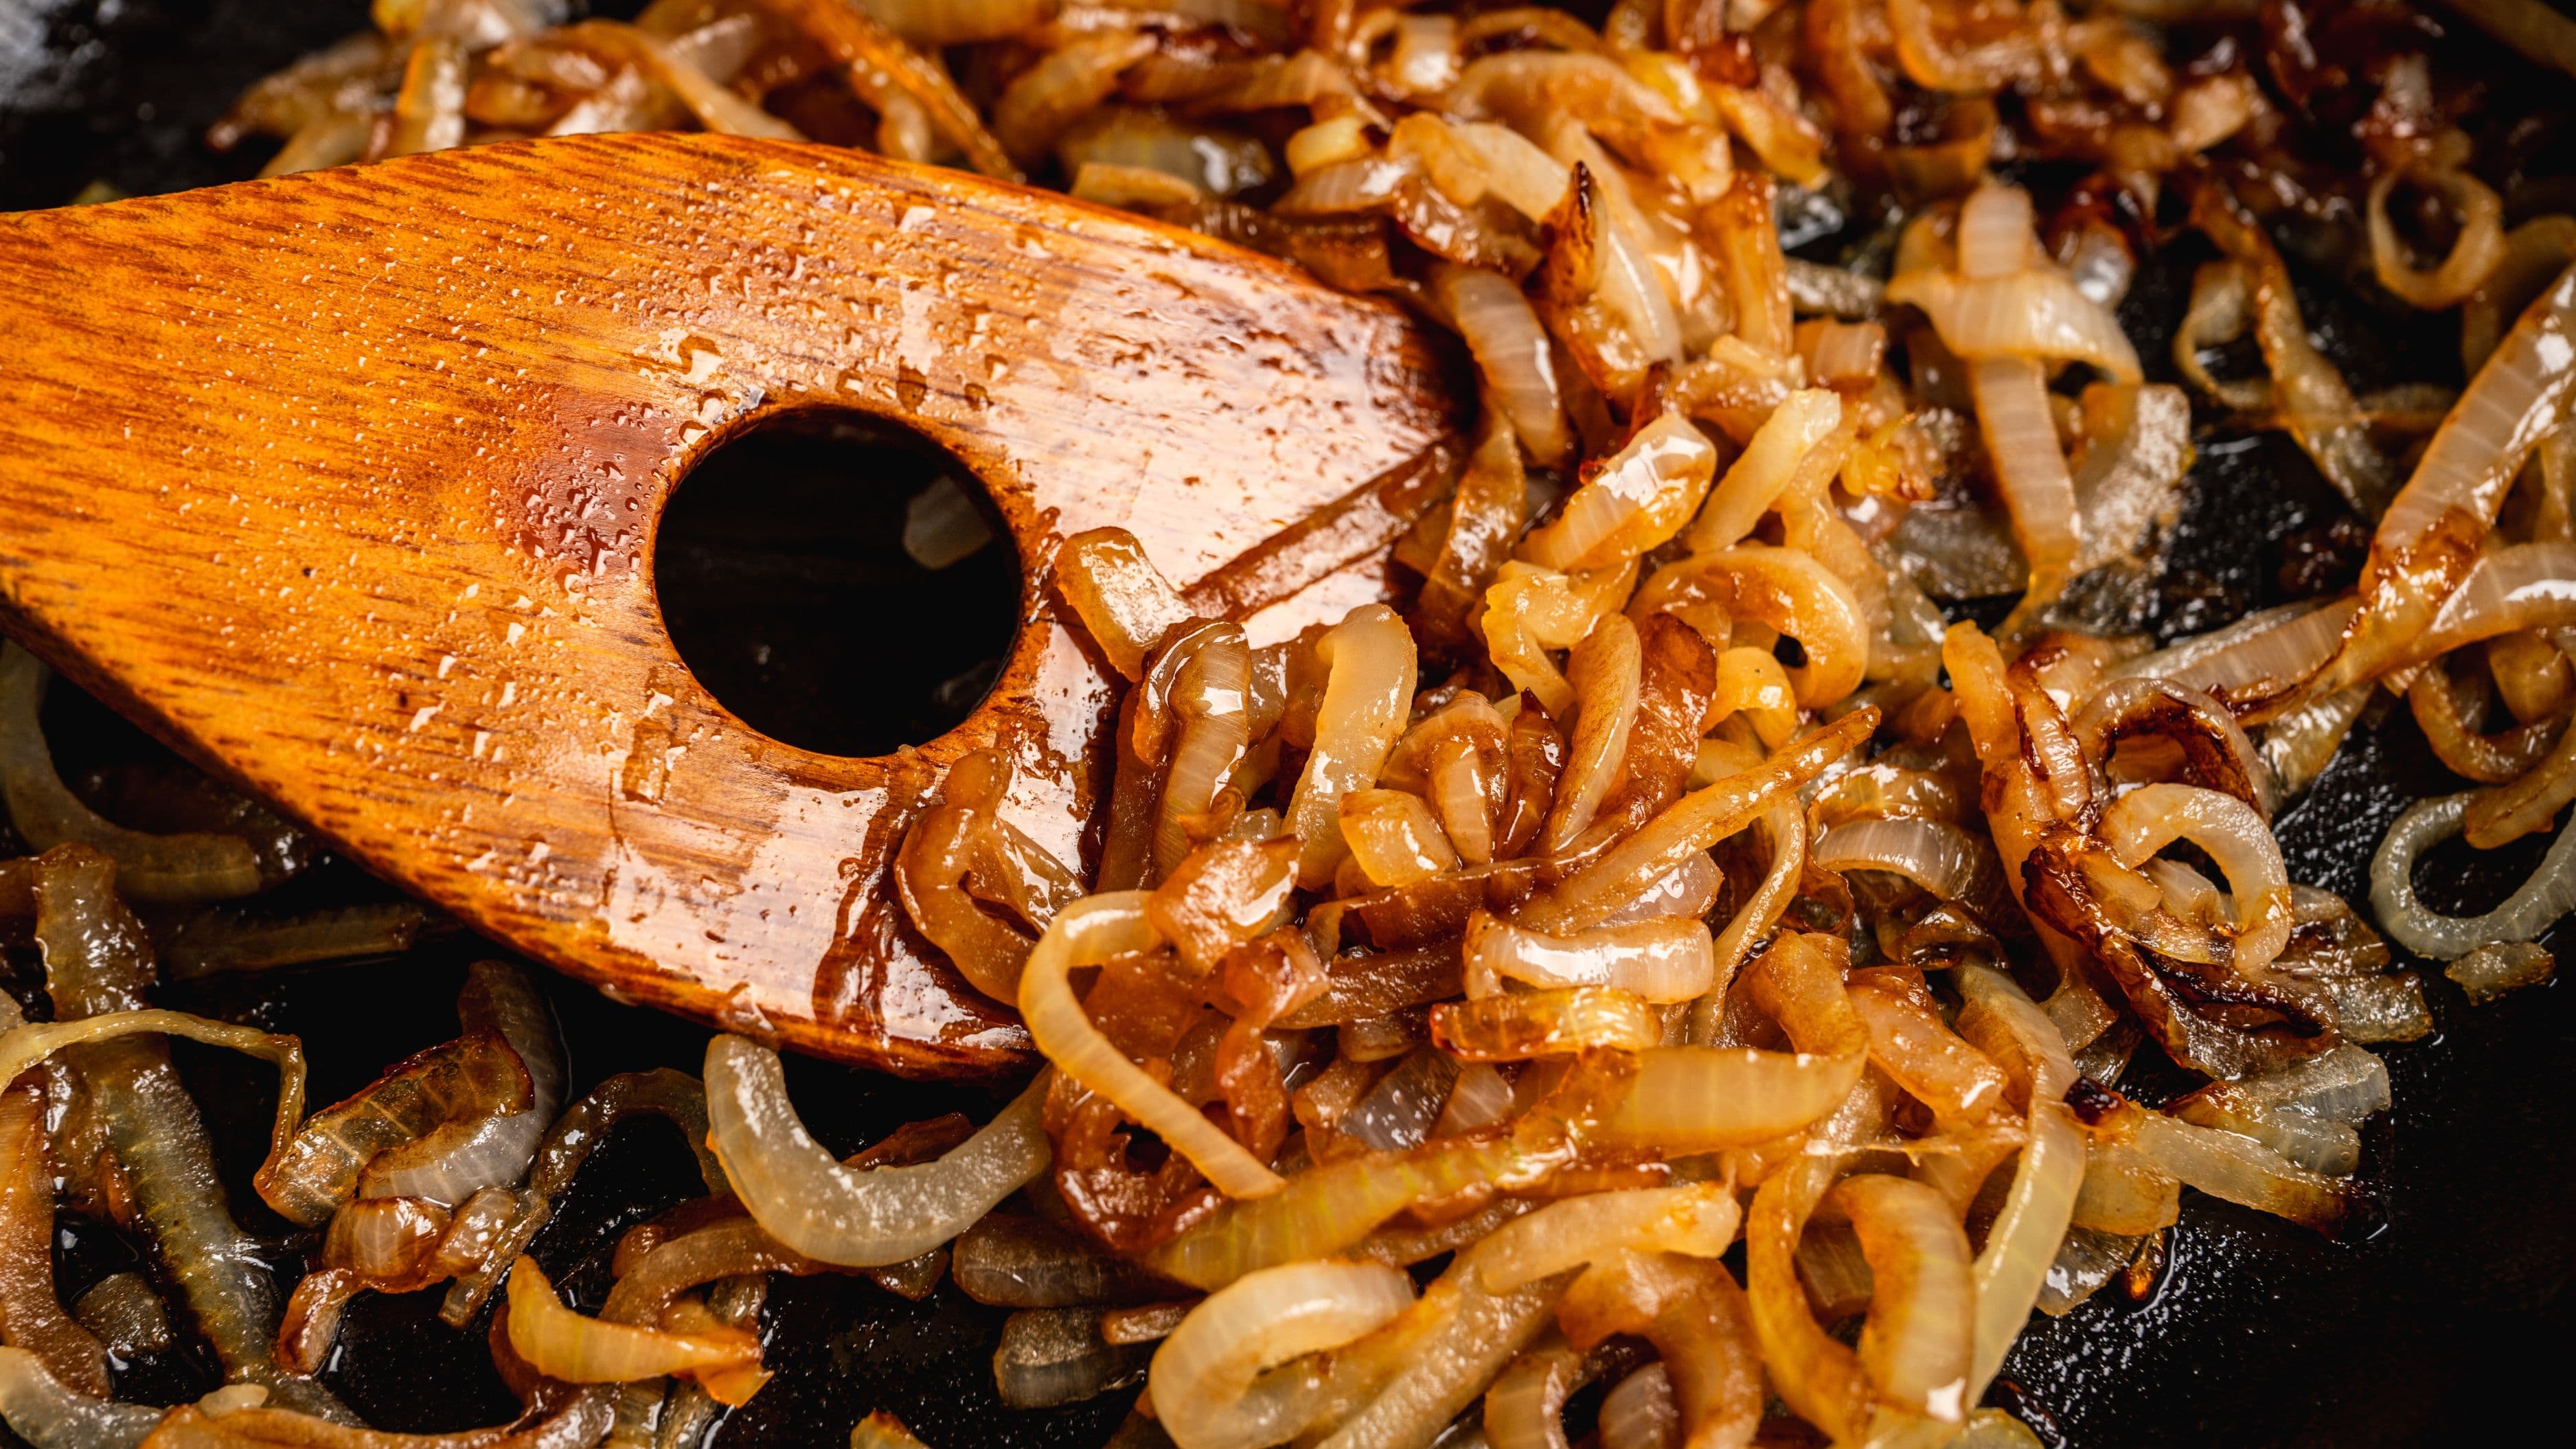
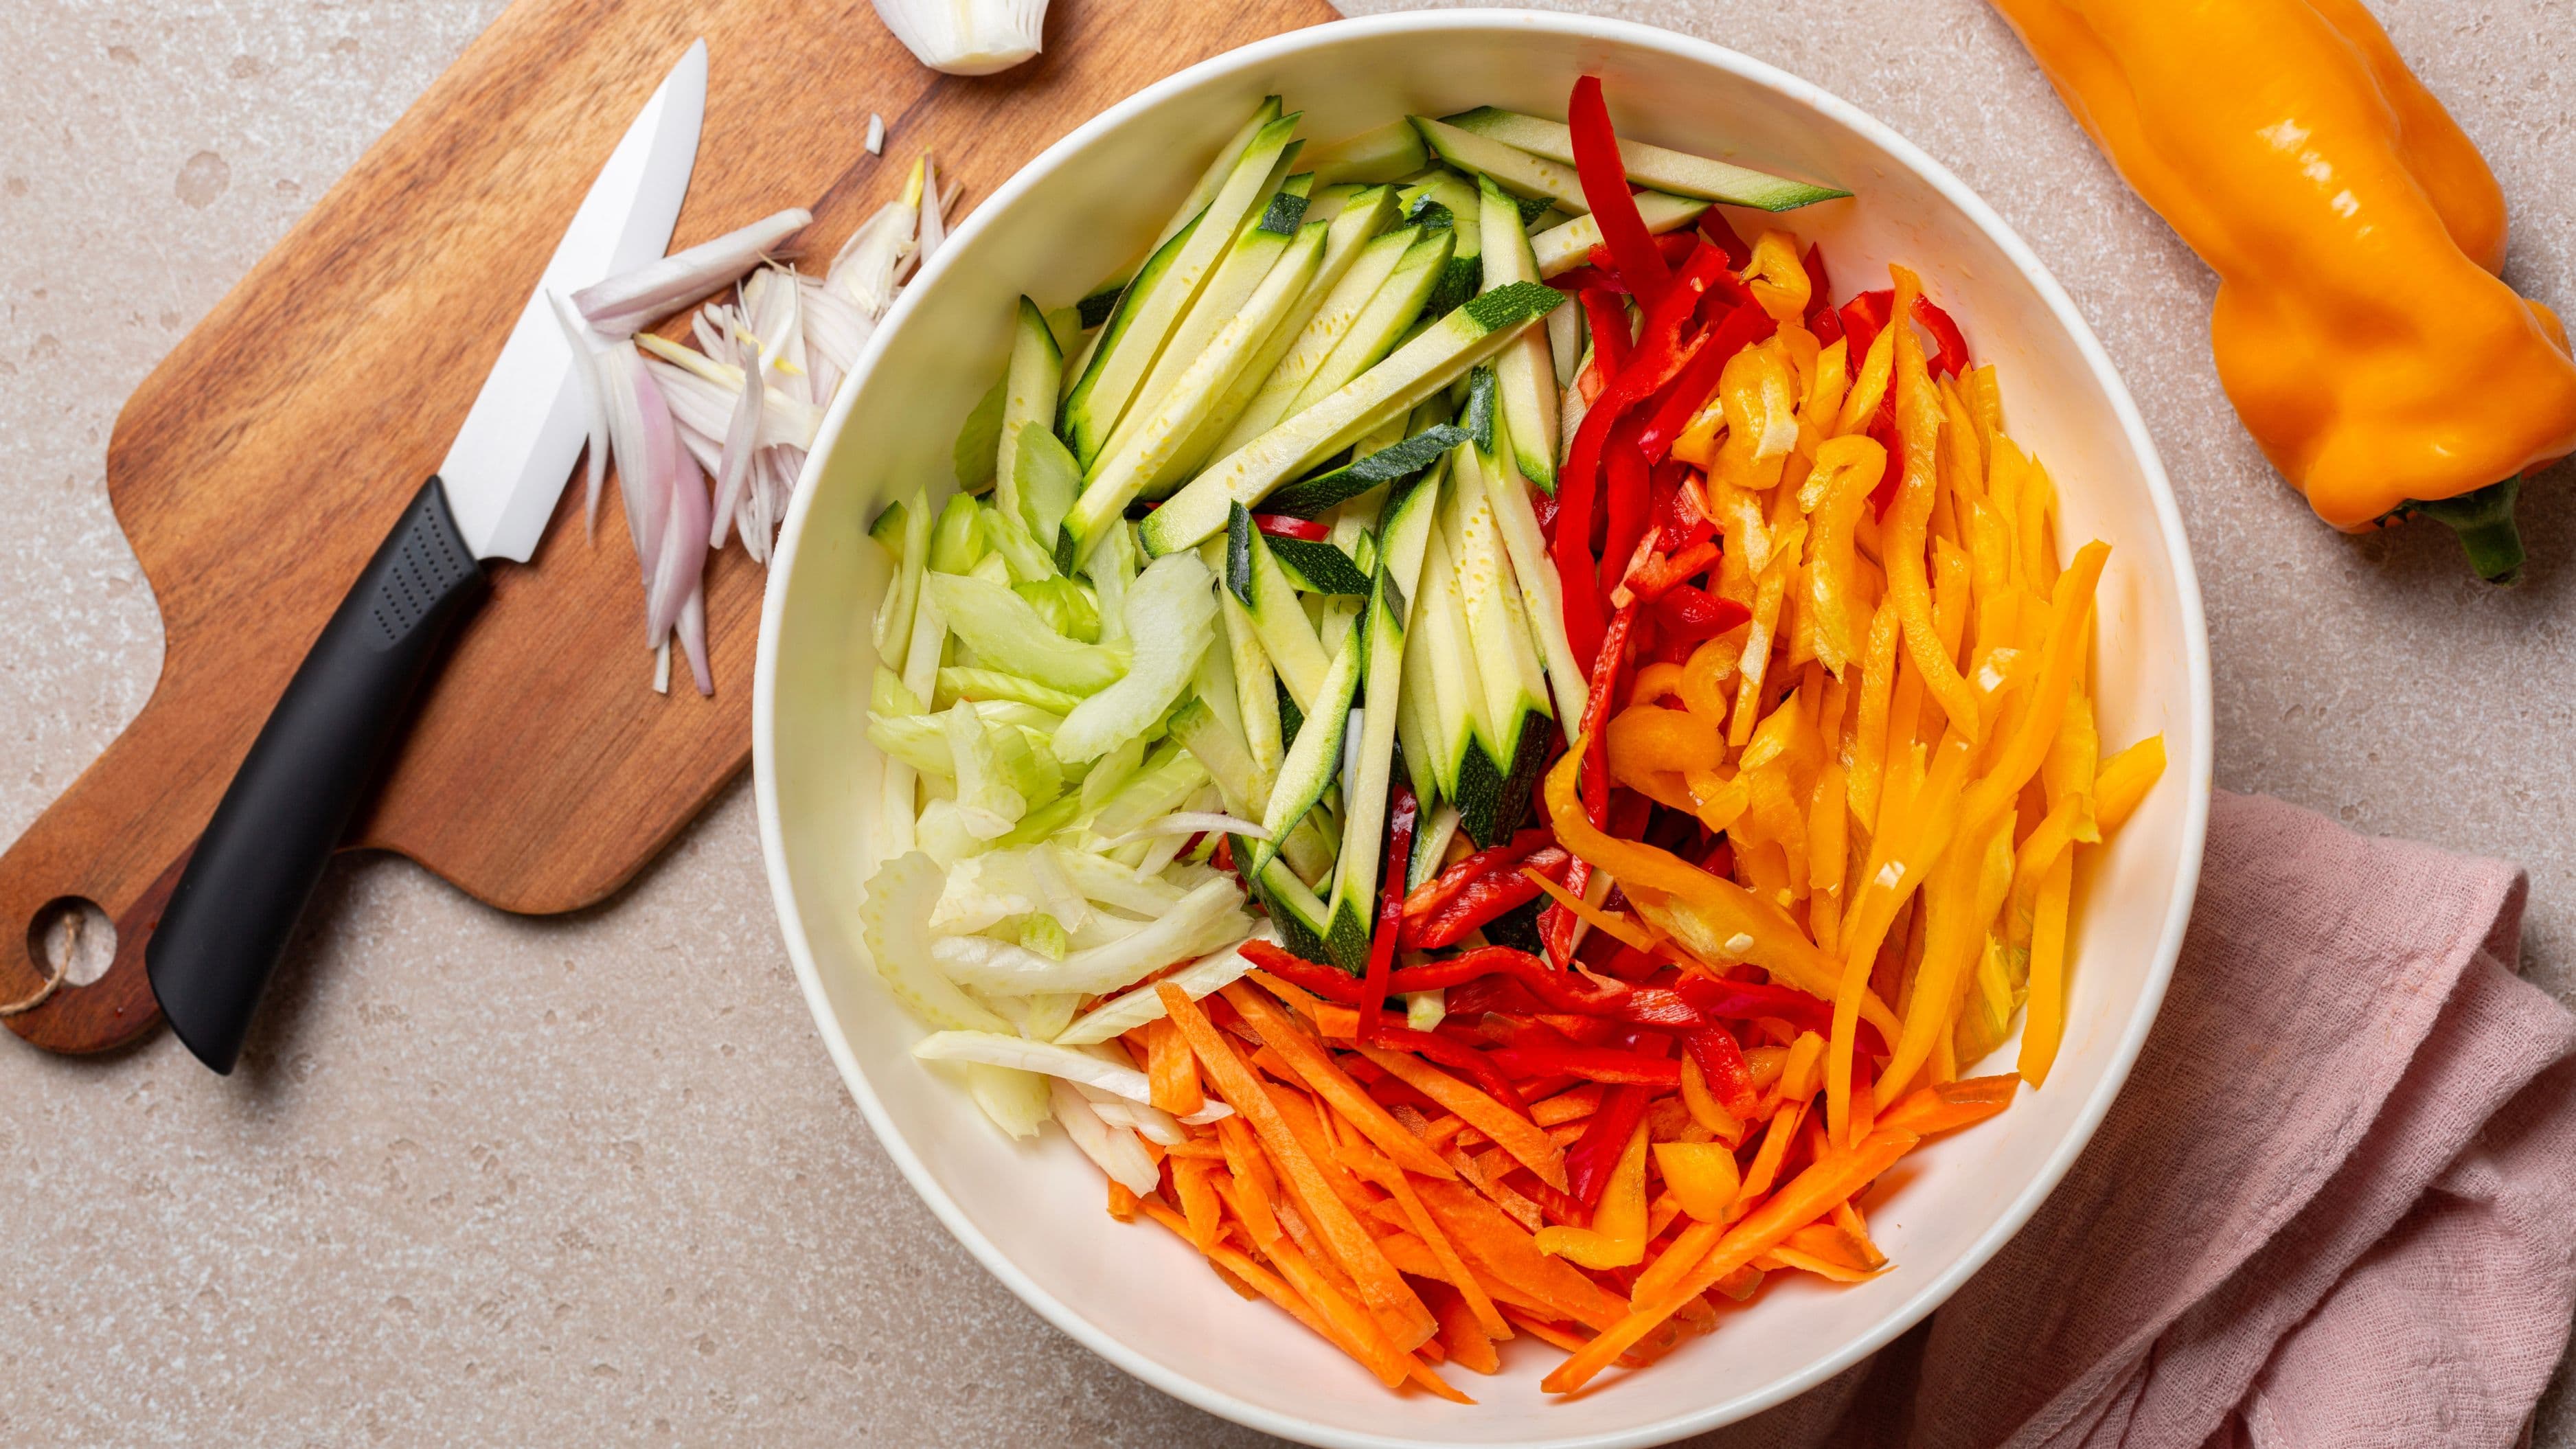
Build the braising liquid. In the same pot, cook your aromatics – onions, garlic, carrots, celery, or whatever the recipe calls for – until softened, scraping up the browned bits from the bottom of the pot as you go. Add tomato paste or flour if the recipe uses them, cook briefly, then add your braising liquid – wine, stock, or a combination. Bring to a simmer and add the meat back in. The liquid should come roughly halfway up the sides of the meat.
Braise low and slow. Cover the pot with a tight-fitting lid and transfer to a preheated oven at 160°C to 180°C (325°F to 350°F), or keep it at a very gentle simmer on the stovetop. Cooking time varies by cut and size – chicken thighs may be done in 1 to 1.5 hours; lamb shoulder takes 2 to 3 hours; beef brisket or short ribs can take 3 to 4 hours. The meat is ready when it yields easily to a fork and pulls apart with gentle pressure.
Finish the sauce. Remove the meat and keep it warm. If the braising liquid needs concentrating, simmer it uncovered on the stovetop for 10 to 20 minutes until it reaches the consistency you want. Skim any excess fat from the surface, taste for seasoning, and serve the sauce alongside or spooned over the meat.
Tips for Getting It Right
Resist the urge to open the lid frequently during braising. Every time you lift the lid, you release steam and drop the temperature inside the pot, which extends cooking time and can cause the exposed portion of the meat to dry out. Check once at the halfway point to make sure the liquid level is correct, then leave it alone.
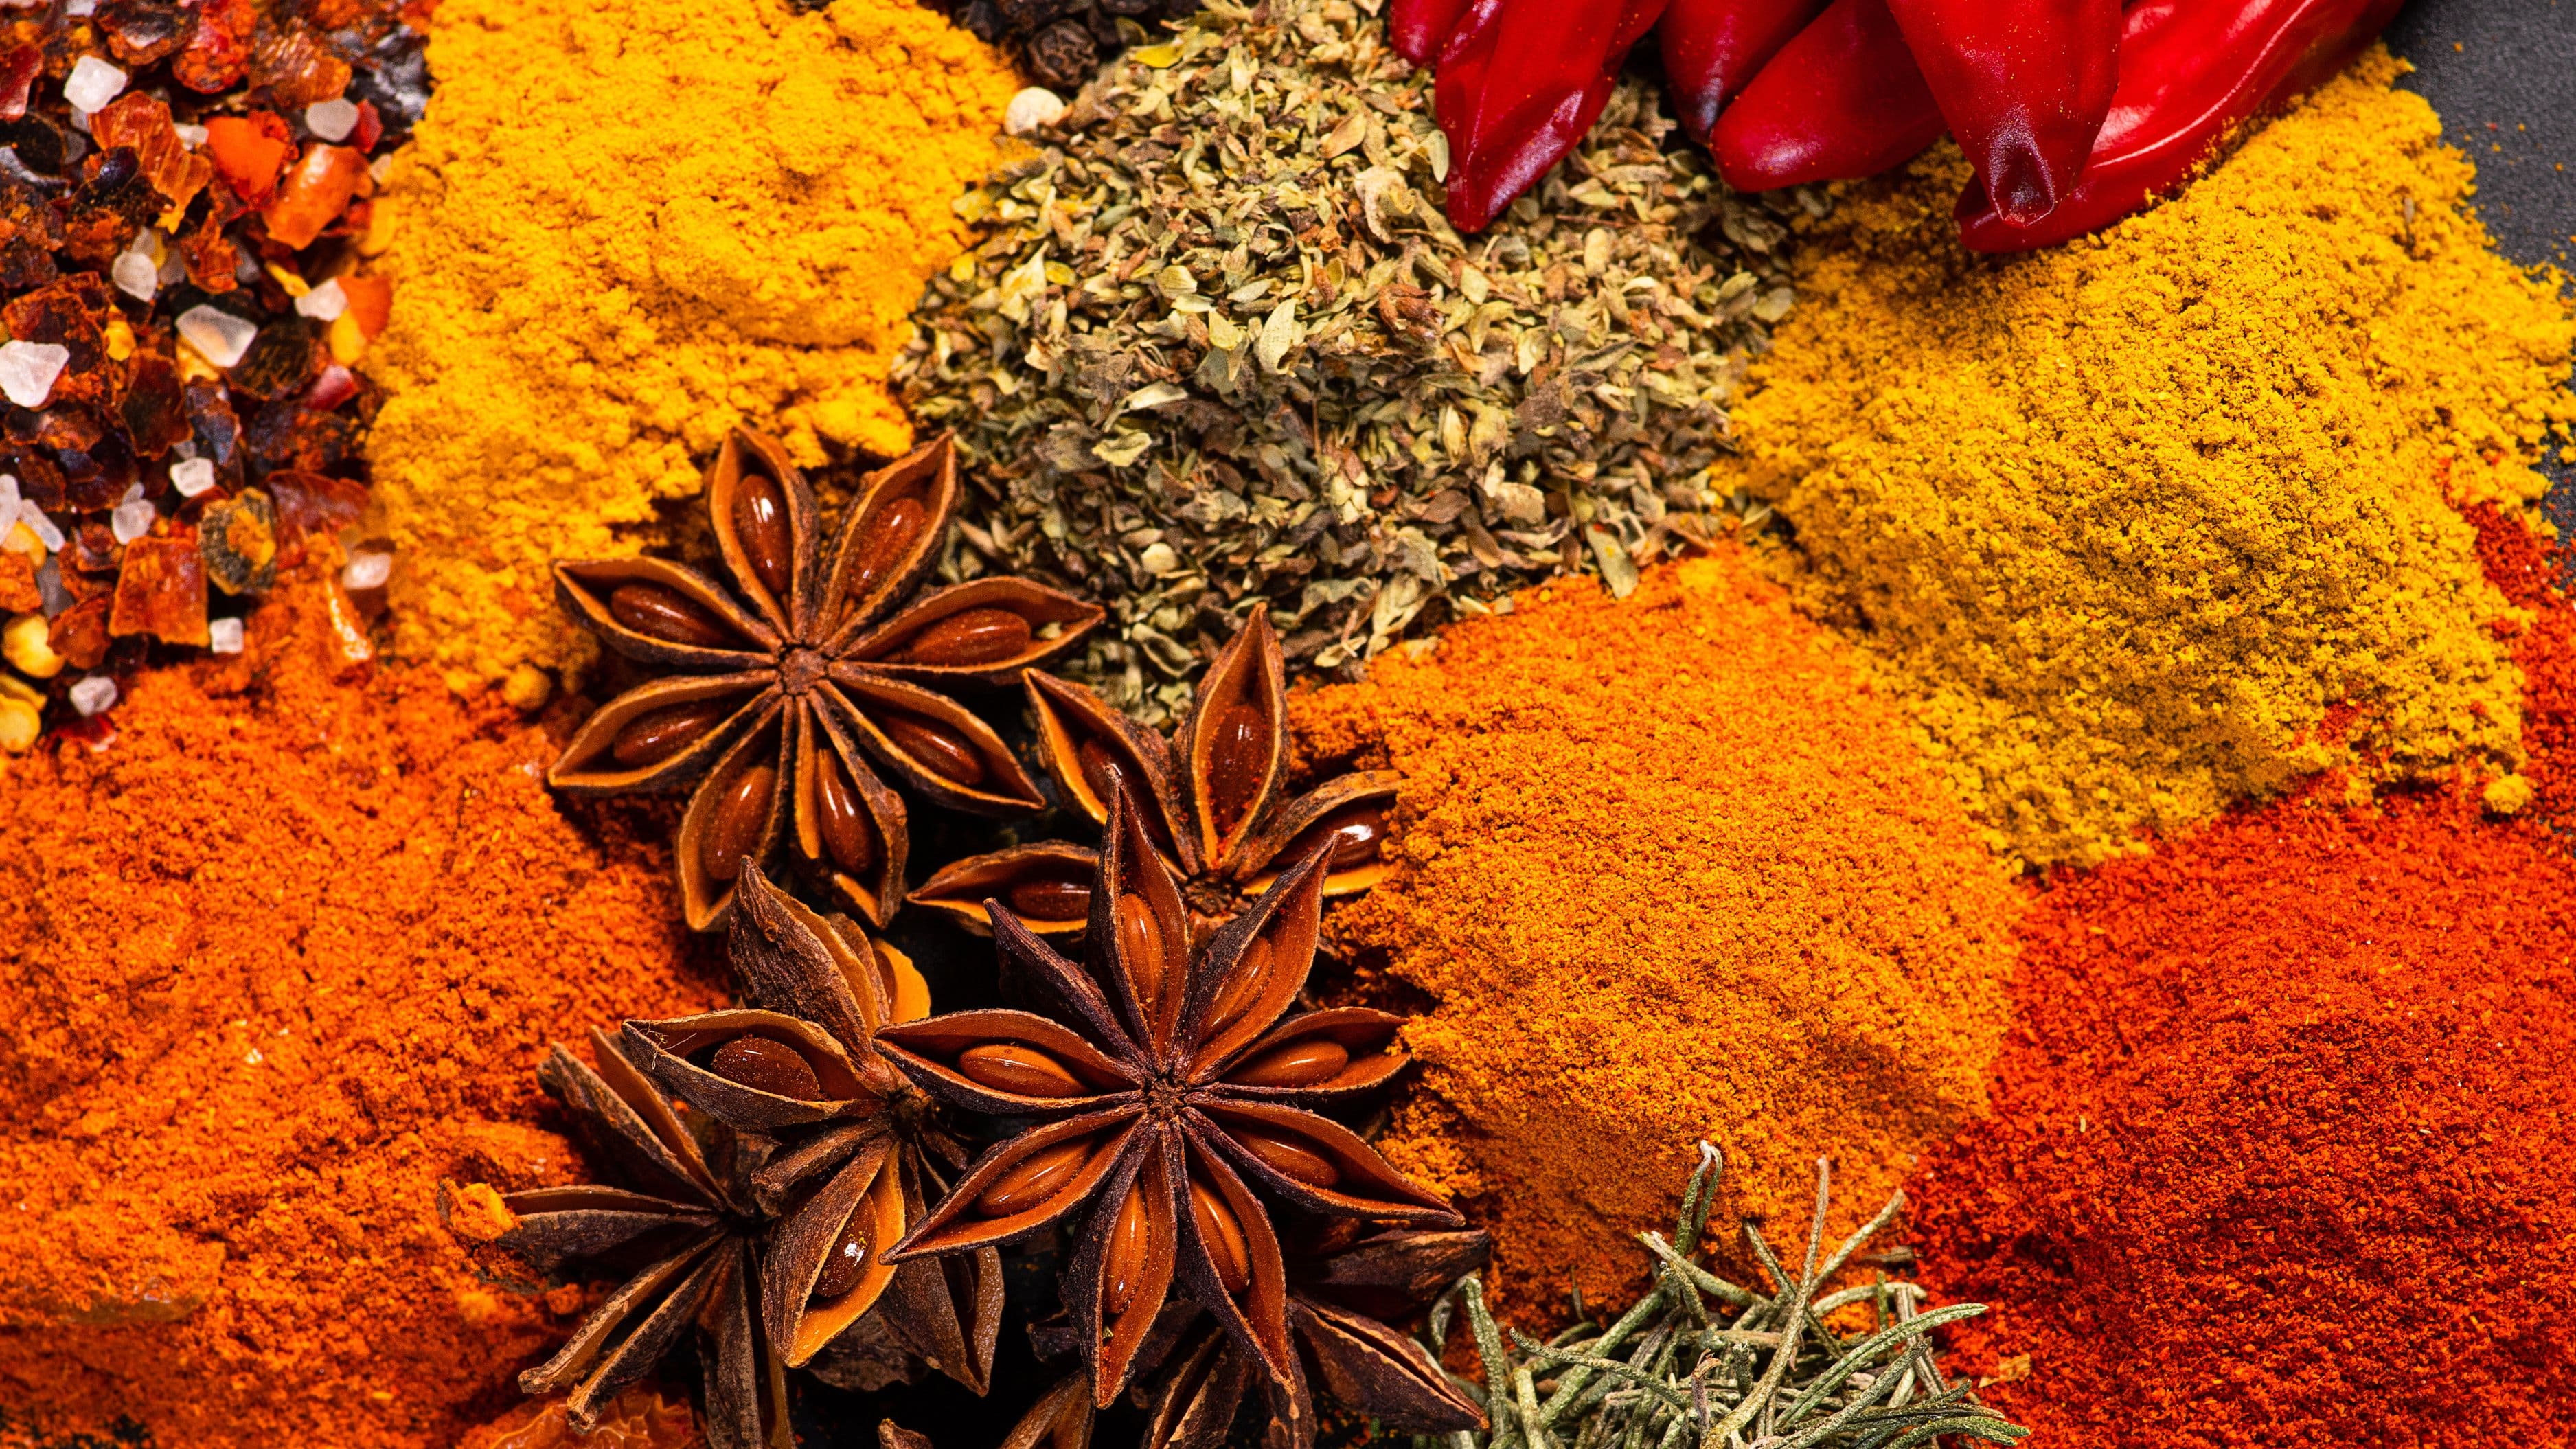
Don't skip the salt. Braised meat benefits enormously from generous seasoning at the start, not just at the end. Salt penetrates the meat during the long cook and seasons it throughout, not just on the surface. Under-seasoned braises taste flat no matter how well the technique is executed.
Let the meat rest in the liquid. If you have time, letting braised meat cool in its cooking liquid and then reheating it before serving produces noticeably better results. The meat reabsorbs some of the flavorful liquid as it cools, and reheating it gently allows it to soak up even more. Day-old braises are almost always better than same-day ones for this reason.
Common Mistakes to Avoid
Braising at too high a temperature is the most damaging mistake. A vigorous boil inside the pot tightens muscle fibers and drives out moisture before collagen has time to convert to gelatin, leaving the meat tough and dry in a pool of thin liquid. The liquid should barely simmer – you should see occasional bubbles rising to the surface, not a rolling boil.
Using too much liquid produces a watery, under-flavored result. The meat should be partially submerged, not swimming. If your braising liquid doesn't come up enough on its own, the lid keeps the environment humid enough to cook the exposed portion through steam.
Adding cold stock or liquid directly from the refrigerator can temporarily drop the pot temperature and extend cooking time unnecessarily. Bring your braising liquid to room temperature or warm it briefly before adding it to the pot.
Pulling the meat out too early is another common error. A braised cut that's "almost done" is often still tough because the collagen-to-gelatin conversion isn't complete. Give it more time – braised meat tells you when it's ready by yielding easily to fork pressure rather than resisting it.
FAQ
Can I braise on the stovetop instead of the oven? Yes – stovetop braising works well if you can maintain a very gentle, consistent simmer. The advantage of oven braising is that the heat comes from all sides rather than just the bottom, which produces more even cooking. If you're using the stovetop, use the lowest burner setting and check the simmer level regularly to make sure it hasn't crept up to a boil.
How do I know when braised meat is done? The most reliable test is physical: probe the thickest part with a fork or a skewer. It should slide in and out with almost no resistance, and the meat should yield when you apply gentle pressure with the fork tines. An internal temperature reading above 90°C (195°F) typically indicates that collagen conversion is well underway for most braising cuts, though this varies by cut.
What liquid makes the best braise? It depends on what you're cooking and what flavor profile you want. Red wine and beef stock are the classic combination for beef; white wine and chicken stock work well for chicken and pork; lamb takes particularly well to red wine, tomato, and aromatic spices. A half-and-half mix of wine and stock is a reliable starting point for most braises. Water alone can work for longer braises where the meat itself provides most of the flavor.
Can I overcook braised meat? Yes, though it takes longer than most home cooks expect. Prolonged braising past the point of collagen conversion eventually breaks down the muscle fibers themselves, producing a mushy, disintegrated texture. Most cuts have a fairly forgiving window between "done" and "overdone," but leaving a braise unattended for several hours longer than the recipe specifies will eventually produce meat that falls apart into stringy pieces rather than yielding slices or chunks.
Should I skim the fat from the braising liquid? Skimming excess fat from the surface of the braising liquid before serving is worth doing for both texture and flavor – an un-skimmed braising sauce can feel greasy rather than rich. If you're making the braise ahead and reheating it the next day, refrigerating it overnight makes skimming easy: the fat solidifies on the surface and can be lifted off in one piece before reheating.
📚 Sources
Serious Eats – The Food Lab: How to Make the Best Braised Meat: https://www.seriouseats.com/the-food-lab-braised-meat-collagen-gelatin
America's Test Kitchen – Understanding Collagen and Gelatin in Braising: https://www.americastestkitchen.com/guides/science-of-good-cooking/collagen-gelatin
USDA – Beef Cuts and Cooking Methods: https://www.ams.usda.gov/grades-standards/beef/beef-cuts-cooking-methods
Fine Cooking – The Science Behind Braising: https://www.finecooking.com/article/the-science-behind-braising
BBC Good Food – How to Braise Meat: https://www.bbcgoodfood.com/howto/guide/how-braise
🔍 Explore Related Topics