It isn't hard. It's just slow. The mistake almost everyone makes is turning the heat up too high and trying to rush a process that genuinely cannot be rushed without sacrificing the result. Once you understand what's actually happening in the pan, the whole thing clicks into place and you'll rarely burn them again.
What Caramelization Actually Is
Caramelizing onions involves two related but distinct chemical processes. The first is caramelization itself – the breakdown of the sugars naturally present in the onion under heat, which produces hundreds of new flavor compounds and gives the onions their characteristic amber-brown color and sweetness. The second is the Maillard reaction, which happens between amino acids and reducing sugars when heated and creates additional complex, savory flavor compounds. Both processes require sustained heat over time, but neither happens instantly, and both can quickly tip into burning if the temperature is too high.
The sugars in onions need time to break down gradually. When you rush the process with high heat, the exterior of the onion pieces chars before the interior has cooked through and the sugars have properly broken down. The result looks dark but tastes bitter rather than sweet – burnt, not caramelized. Low to medium-low heat gives the moisture time to cook off gently, the sugars time to develop, and the onions time to soften completely and collapse into something concentrated and complex.
Ingredients
3 large yellow onions (about 900g / 2 lbs)
2 tablespoons unsalted butter
1 tablespoon olive oil
¼ teaspoon fine salt
Optional: 1 teaspoon sugar (helps if your onions are less sweet)
Optional: 2 tablespoons dry white wine, balsamic vinegar, or water (for deglazing)
Makes: About 1 cup of caramelized onions Base servings: 4
Step-by-Step Instructions
Step 1 – Slice the Onions Evenly
Peel the onions, cut them in half through the root end, and slice each half into strips about 5mm (¼ inch) thick. Uniform thickness matters because thin pieces will cook faster and can burn while thicker pieces are still softening. Some cooks prefer to cut the onions into half-moons; others go lengthwise into longer strips. Either works – consistency within the batch is what you're after.
Yellow onions are the standard choice for caramelizing because of their higher natural sugar content. Sweet onions like Vidalia work beautifully and caramelize quickly. White onions are slightly less sweet but still produce a good result. Red onions will caramelize but turn an unappealing muddy brown color and are better used raw or lightly cooked for their color and sharpness.
Step 2 – Start With Butter and Oil Together
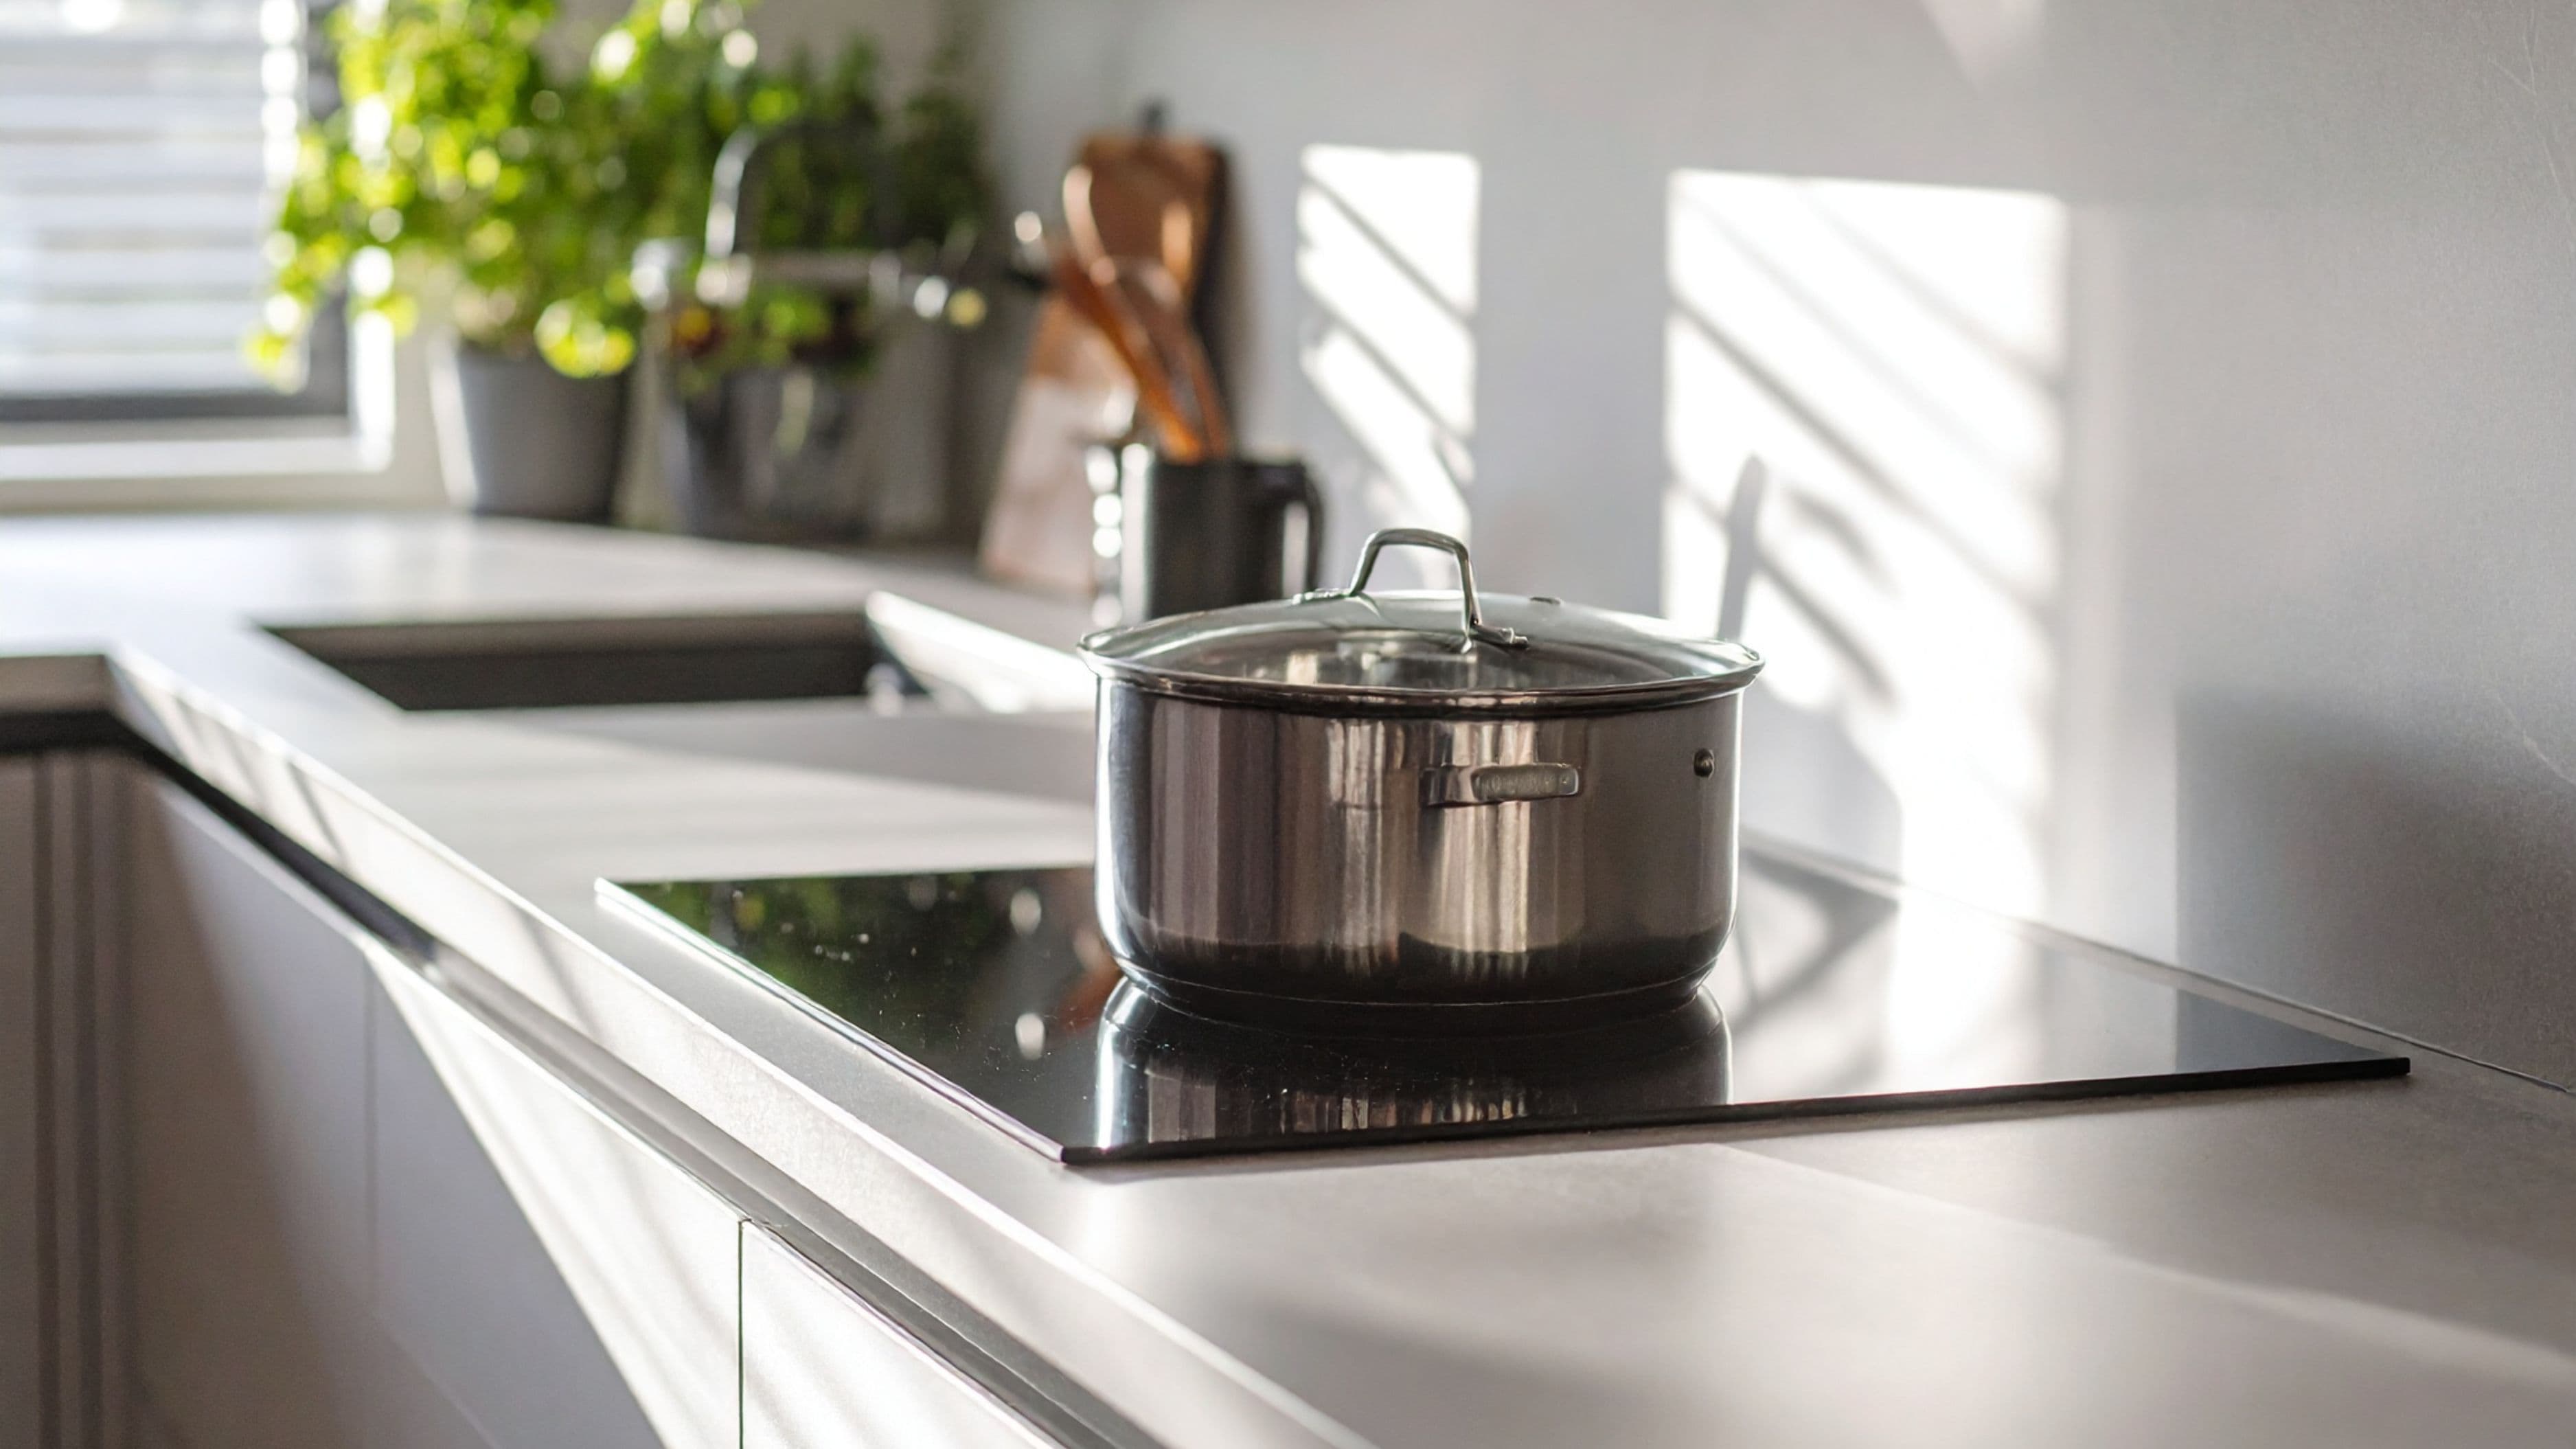
Place a wide, heavy-bottomed pan over medium heat – a 30cm (12-inch) skillet or a wide sauté pan works best. Wide surface area means more of the onion is in contact with the pan and moisture evaporates more efficiently. A thin or lightweight pan will create hot spots that burn the onions in some places before others have cooked.
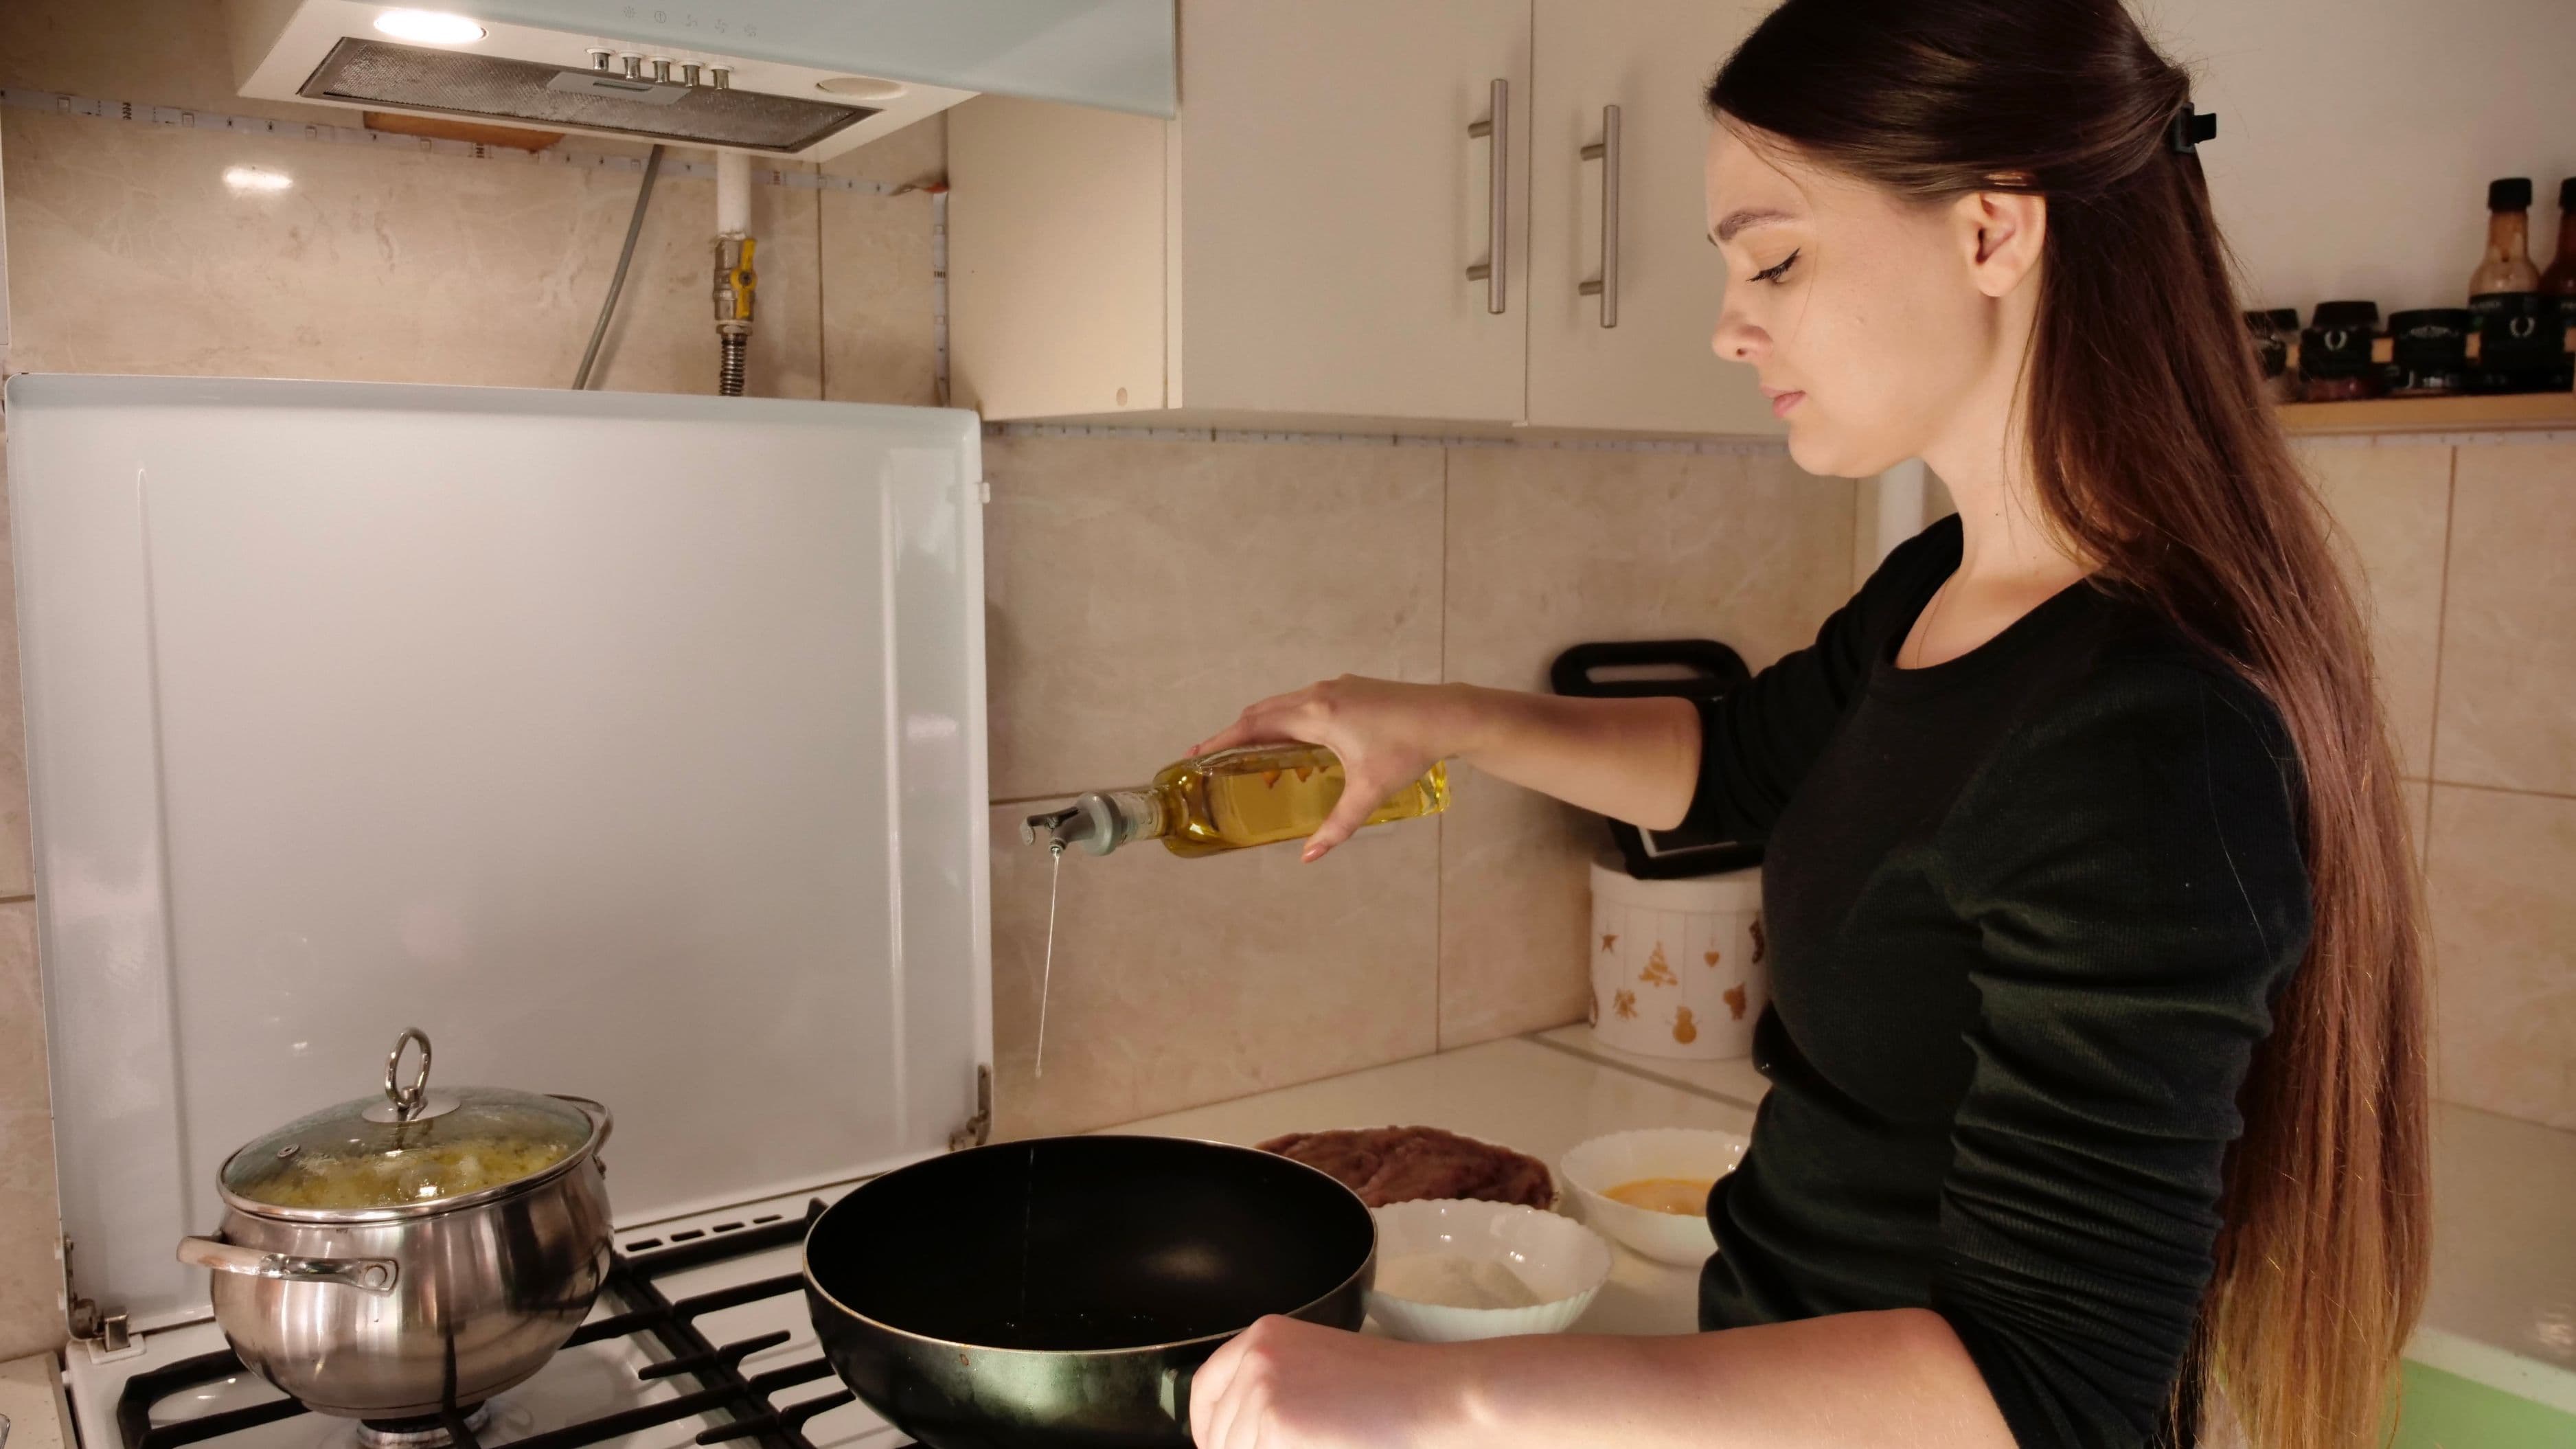
Add the butter and olive oil together and let the butter melt completely. Using both fat types together is deliberate: the oil raises the smoke point of the butter so it can handle a longer cooking time without burning, and the butter adds flavor and helps with browning. Once the butter is melted and gently foaming, add all of the sliced onions.
Step 3 – Add Salt Early and Stir to Coat
Add the salt as soon as the onions go in. Salt draws moisture out of the onions through osmosis, which speeds up the softening phase and helps them collapse faster in the early stages. Stir everything together to coat the onions evenly in the fat, then spread them out as evenly as possible across the pan surface.
At this point the pan will look very full – almost alarmingly so. That's normal. Onions lose between 50 and 75 percent of their volume as they cook. That pile of onions will cook down significantly over the next 40 to 50 minutes.
Step 4 – Lower the Heat and Be Patient
After the first 5 minutes on medium heat (just to get things started), reduce the heat to medium-low or low. This is the step most people skip, and it's the most important one. From here, you're looking at 35 to 45 minutes of gentle cooking, stirring every 5 to 8 minutes to prevent sticking and ensure even browning.
During the first 15 to 20 minutes, the onions will look like not much is happening. They'll soften, become translucent, and start to reduce in volume, but the color change will be subtle. This is normal. Resist the urge to turn up the heat. The moisture is cooking off, and once it does, the browning begins in earnest.
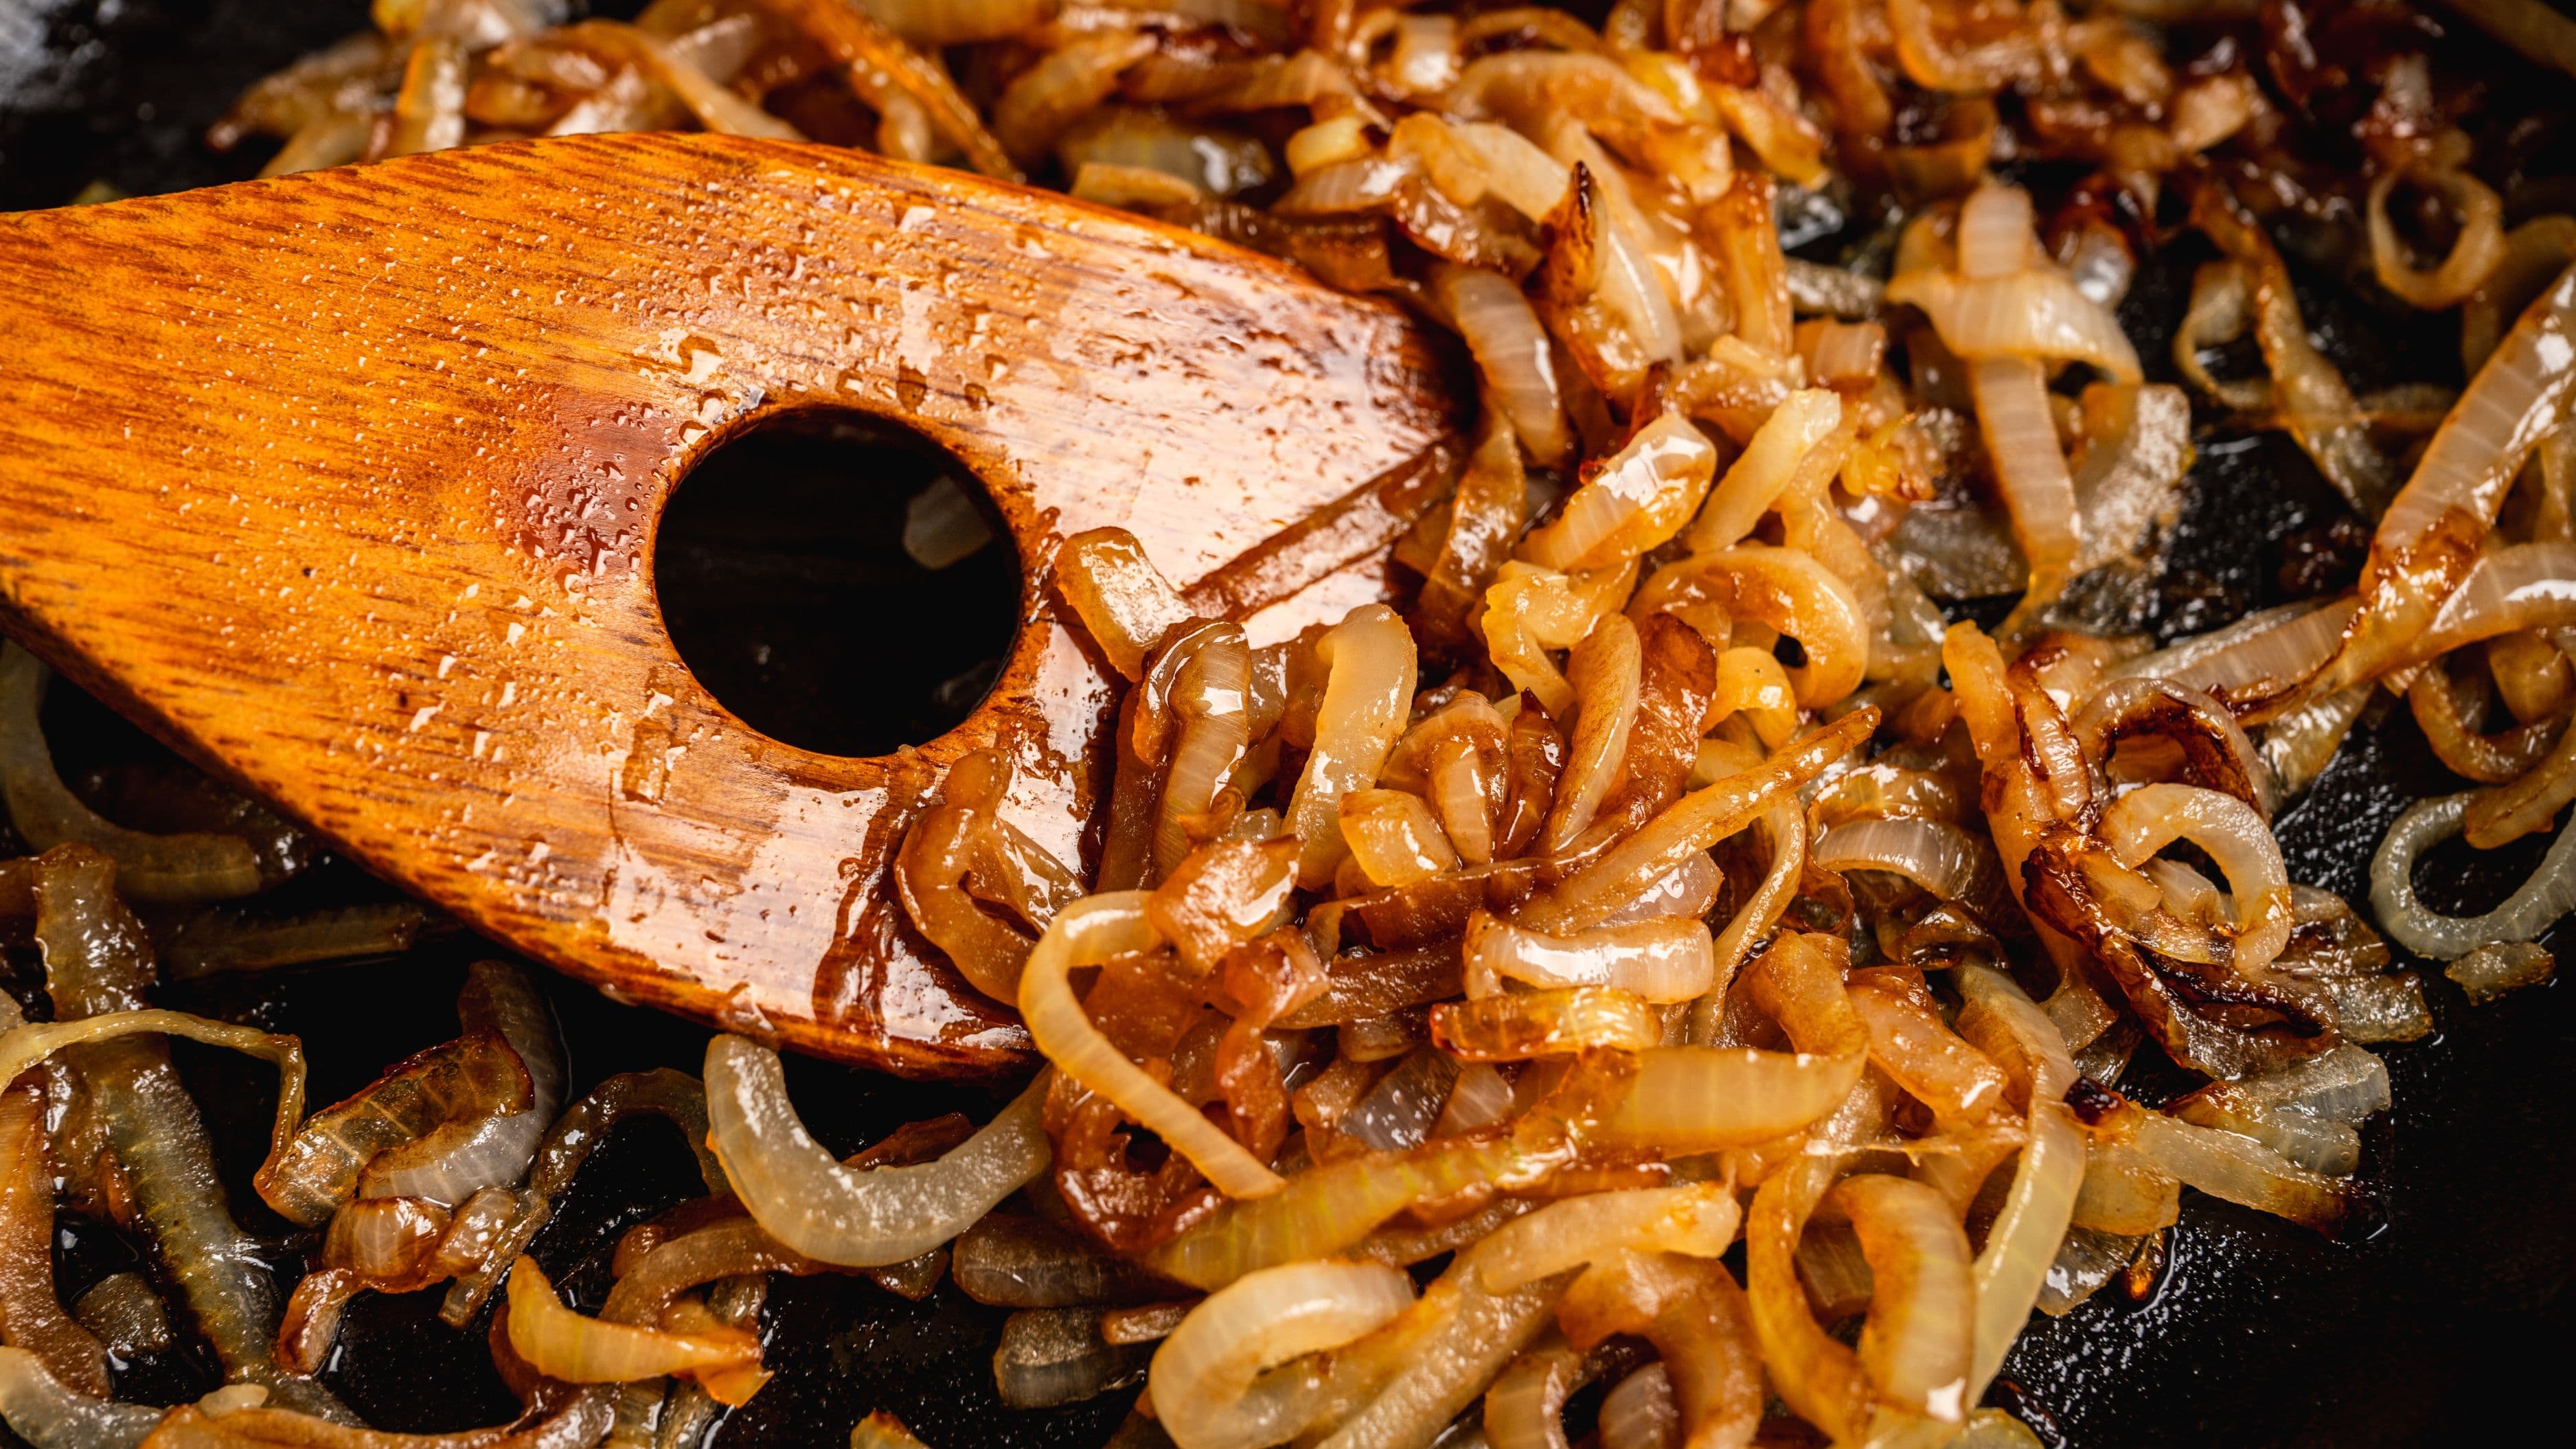
From around the 20-minute mark, the onions will start developing color more visibly. You'll notice a golden tinge, then a deeper amber, and the smell will shift from sharp and savory to something sweeter and more complex. Continue stirring every few minutes, paying more attention as color develops.
Step 5 – Deglaze If Needed
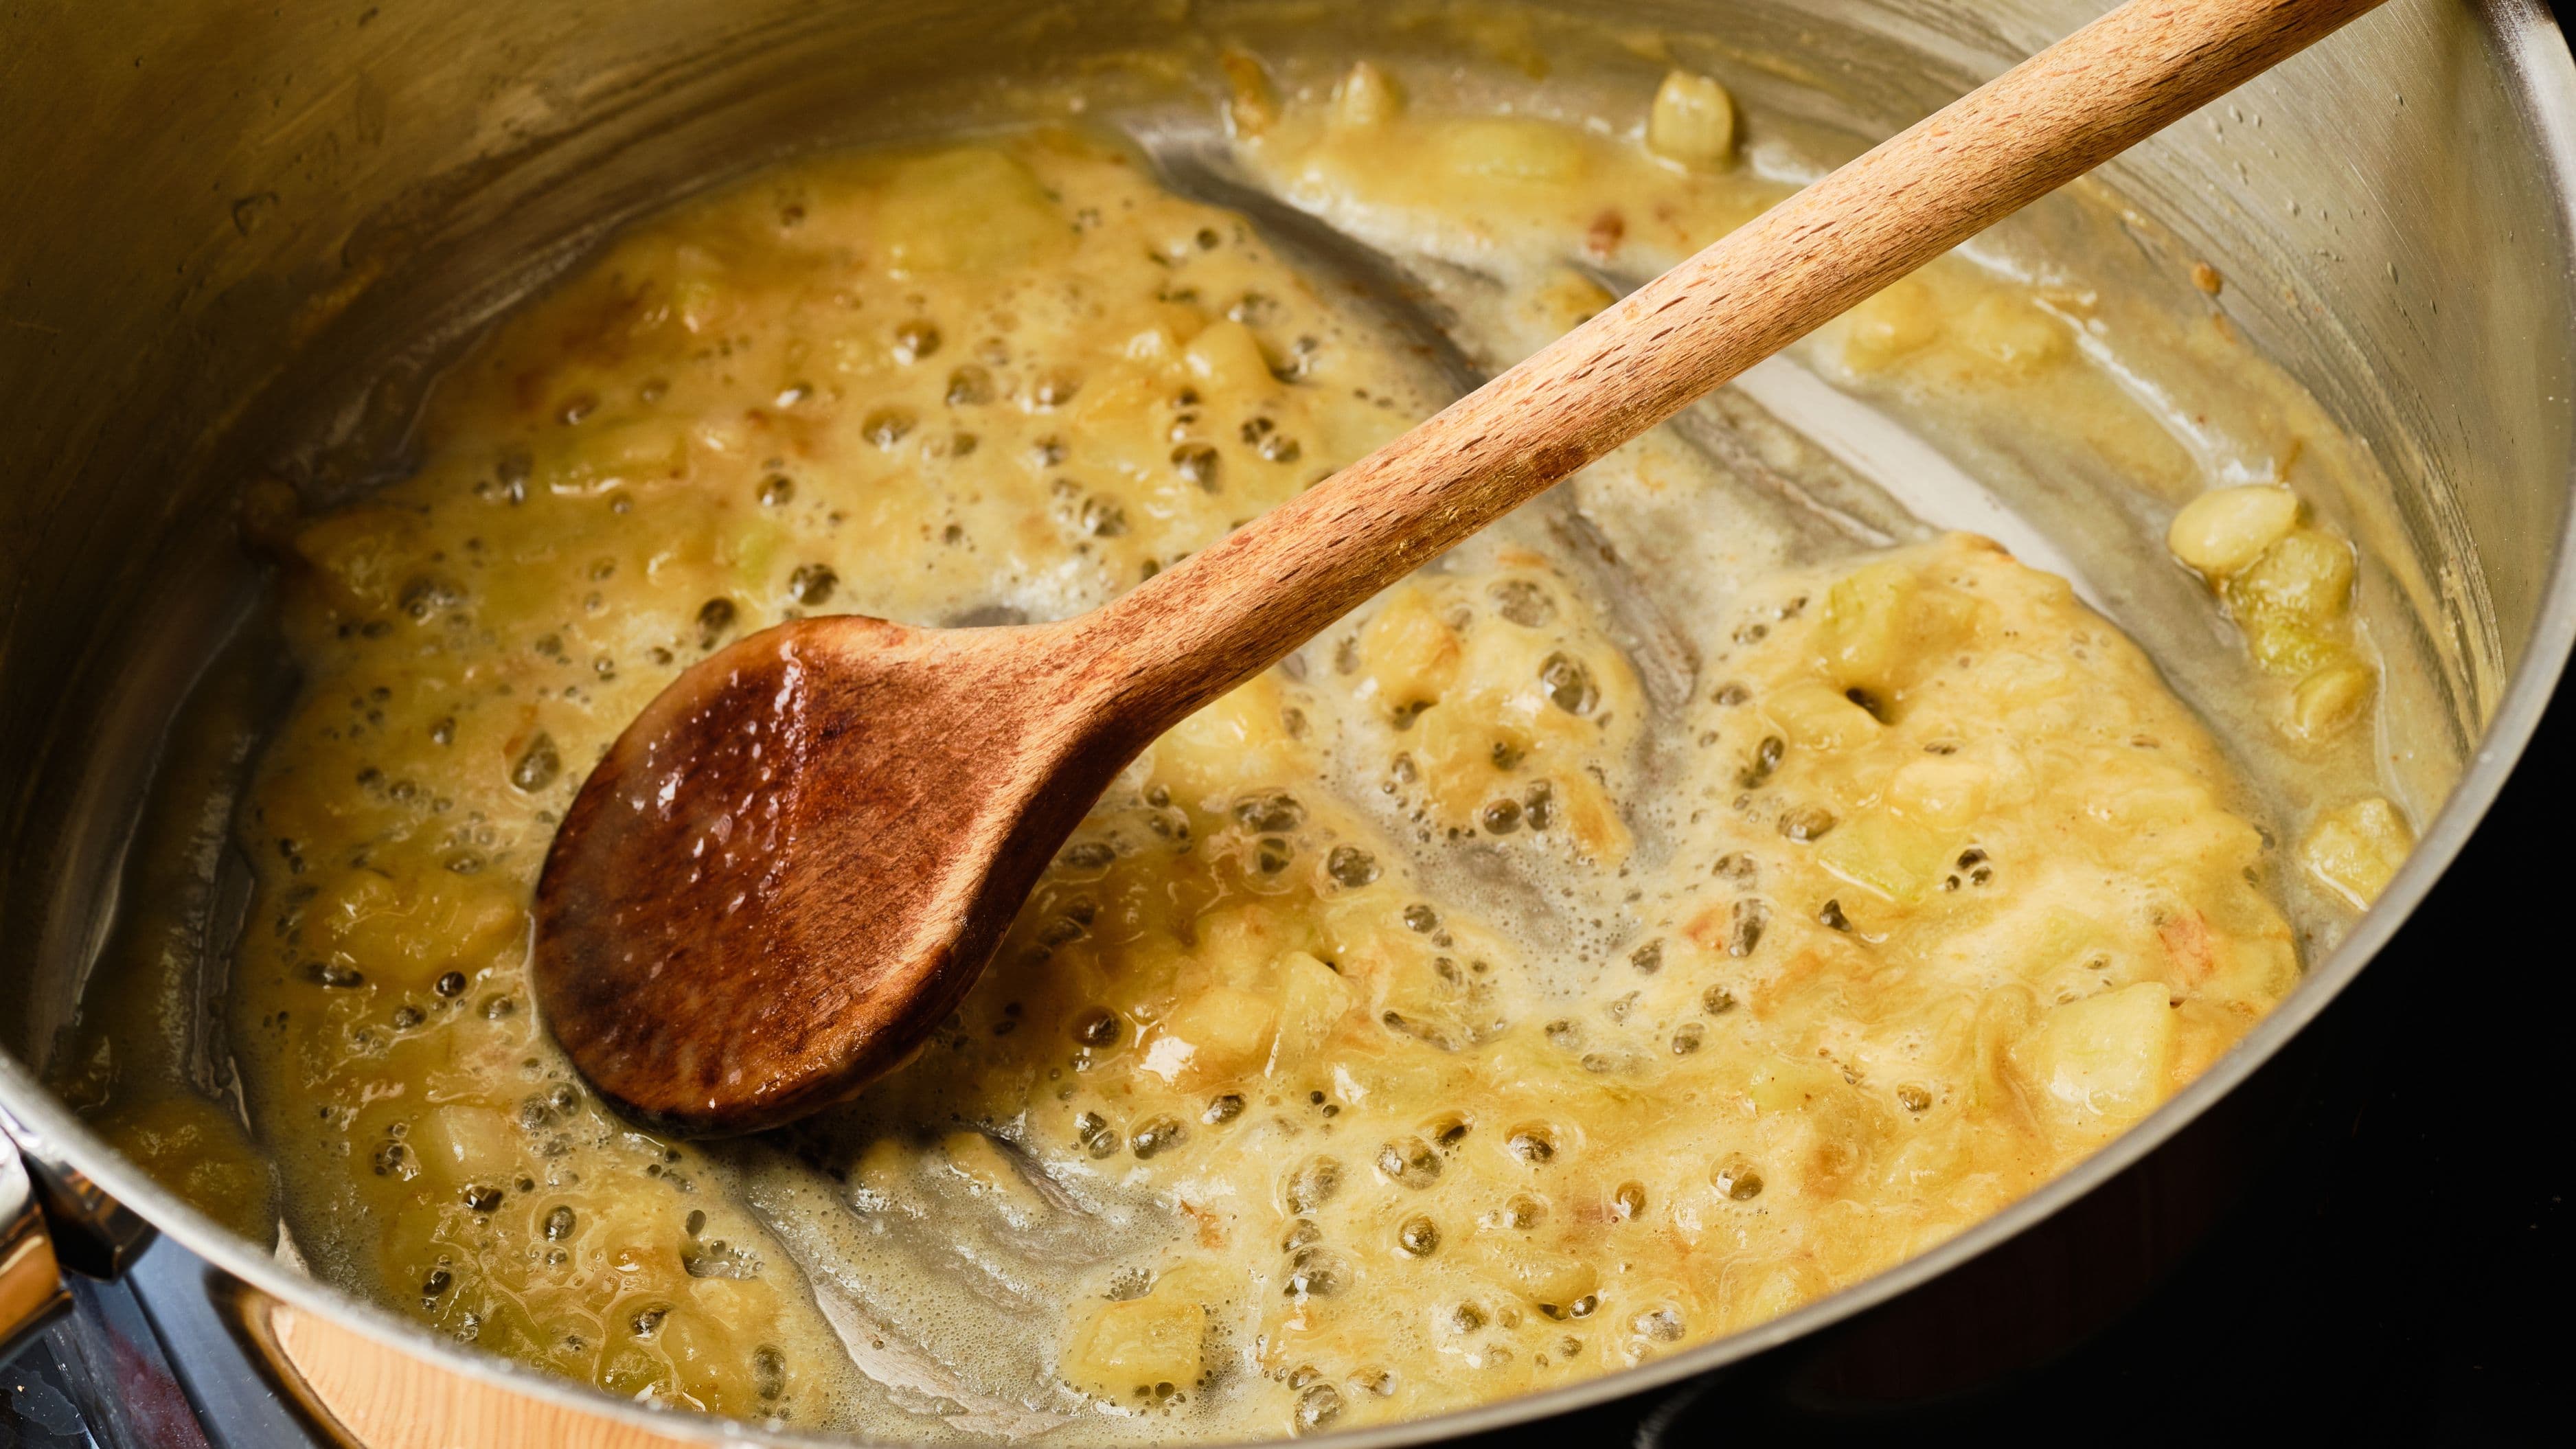
As the onions brown, you may notice bits sticking to the bottom of the pan – a brown fond developing. This is flavor, not burning. To incorporate it, add a splash of liquid – a tablespoon or two of water, white wine, or balsamic vinegar – and stir it in while scraping up the bottom of the pan with a wooden spoon or spatula. The liquid will sizzle, release the fond, and get absorbed back into the onions, adding depth of flavor.
You can deglaze once or several times depending on how much fond builds up. Each time you do, you're incorporating concentrated flavor compounds back into the onions. This is one of the small moves that makes the final result noticeably better.
Step 6 – Cook to Your Target Color
The endpoint is a matter of preference and intended use. At 35 minutes you'll have lightly caramelized onions – golden, sweet, and soft, with some structure still remaining. At 45 to 55 minutes, you'll have deeply caramelized onions – rich amber, nearly jammy in texture, intensely sweet, and noticeably reduced in volume. Both are valid; deeply caramelized is more versatile and more intense.
When you reach your desired color, taste them. They should be sweet, soft throughout with no raw crunch, and complex in flavor. If they taste bitter, they've either been cooked on too-high heat or gone a minute or two too far. If they're not sweet enough, they need more time.
Remove from heat and use immediately, or cool and refrigerate for up to a week. Caramelized onions freeze beautifully for up to three months.
Tips for Better Results
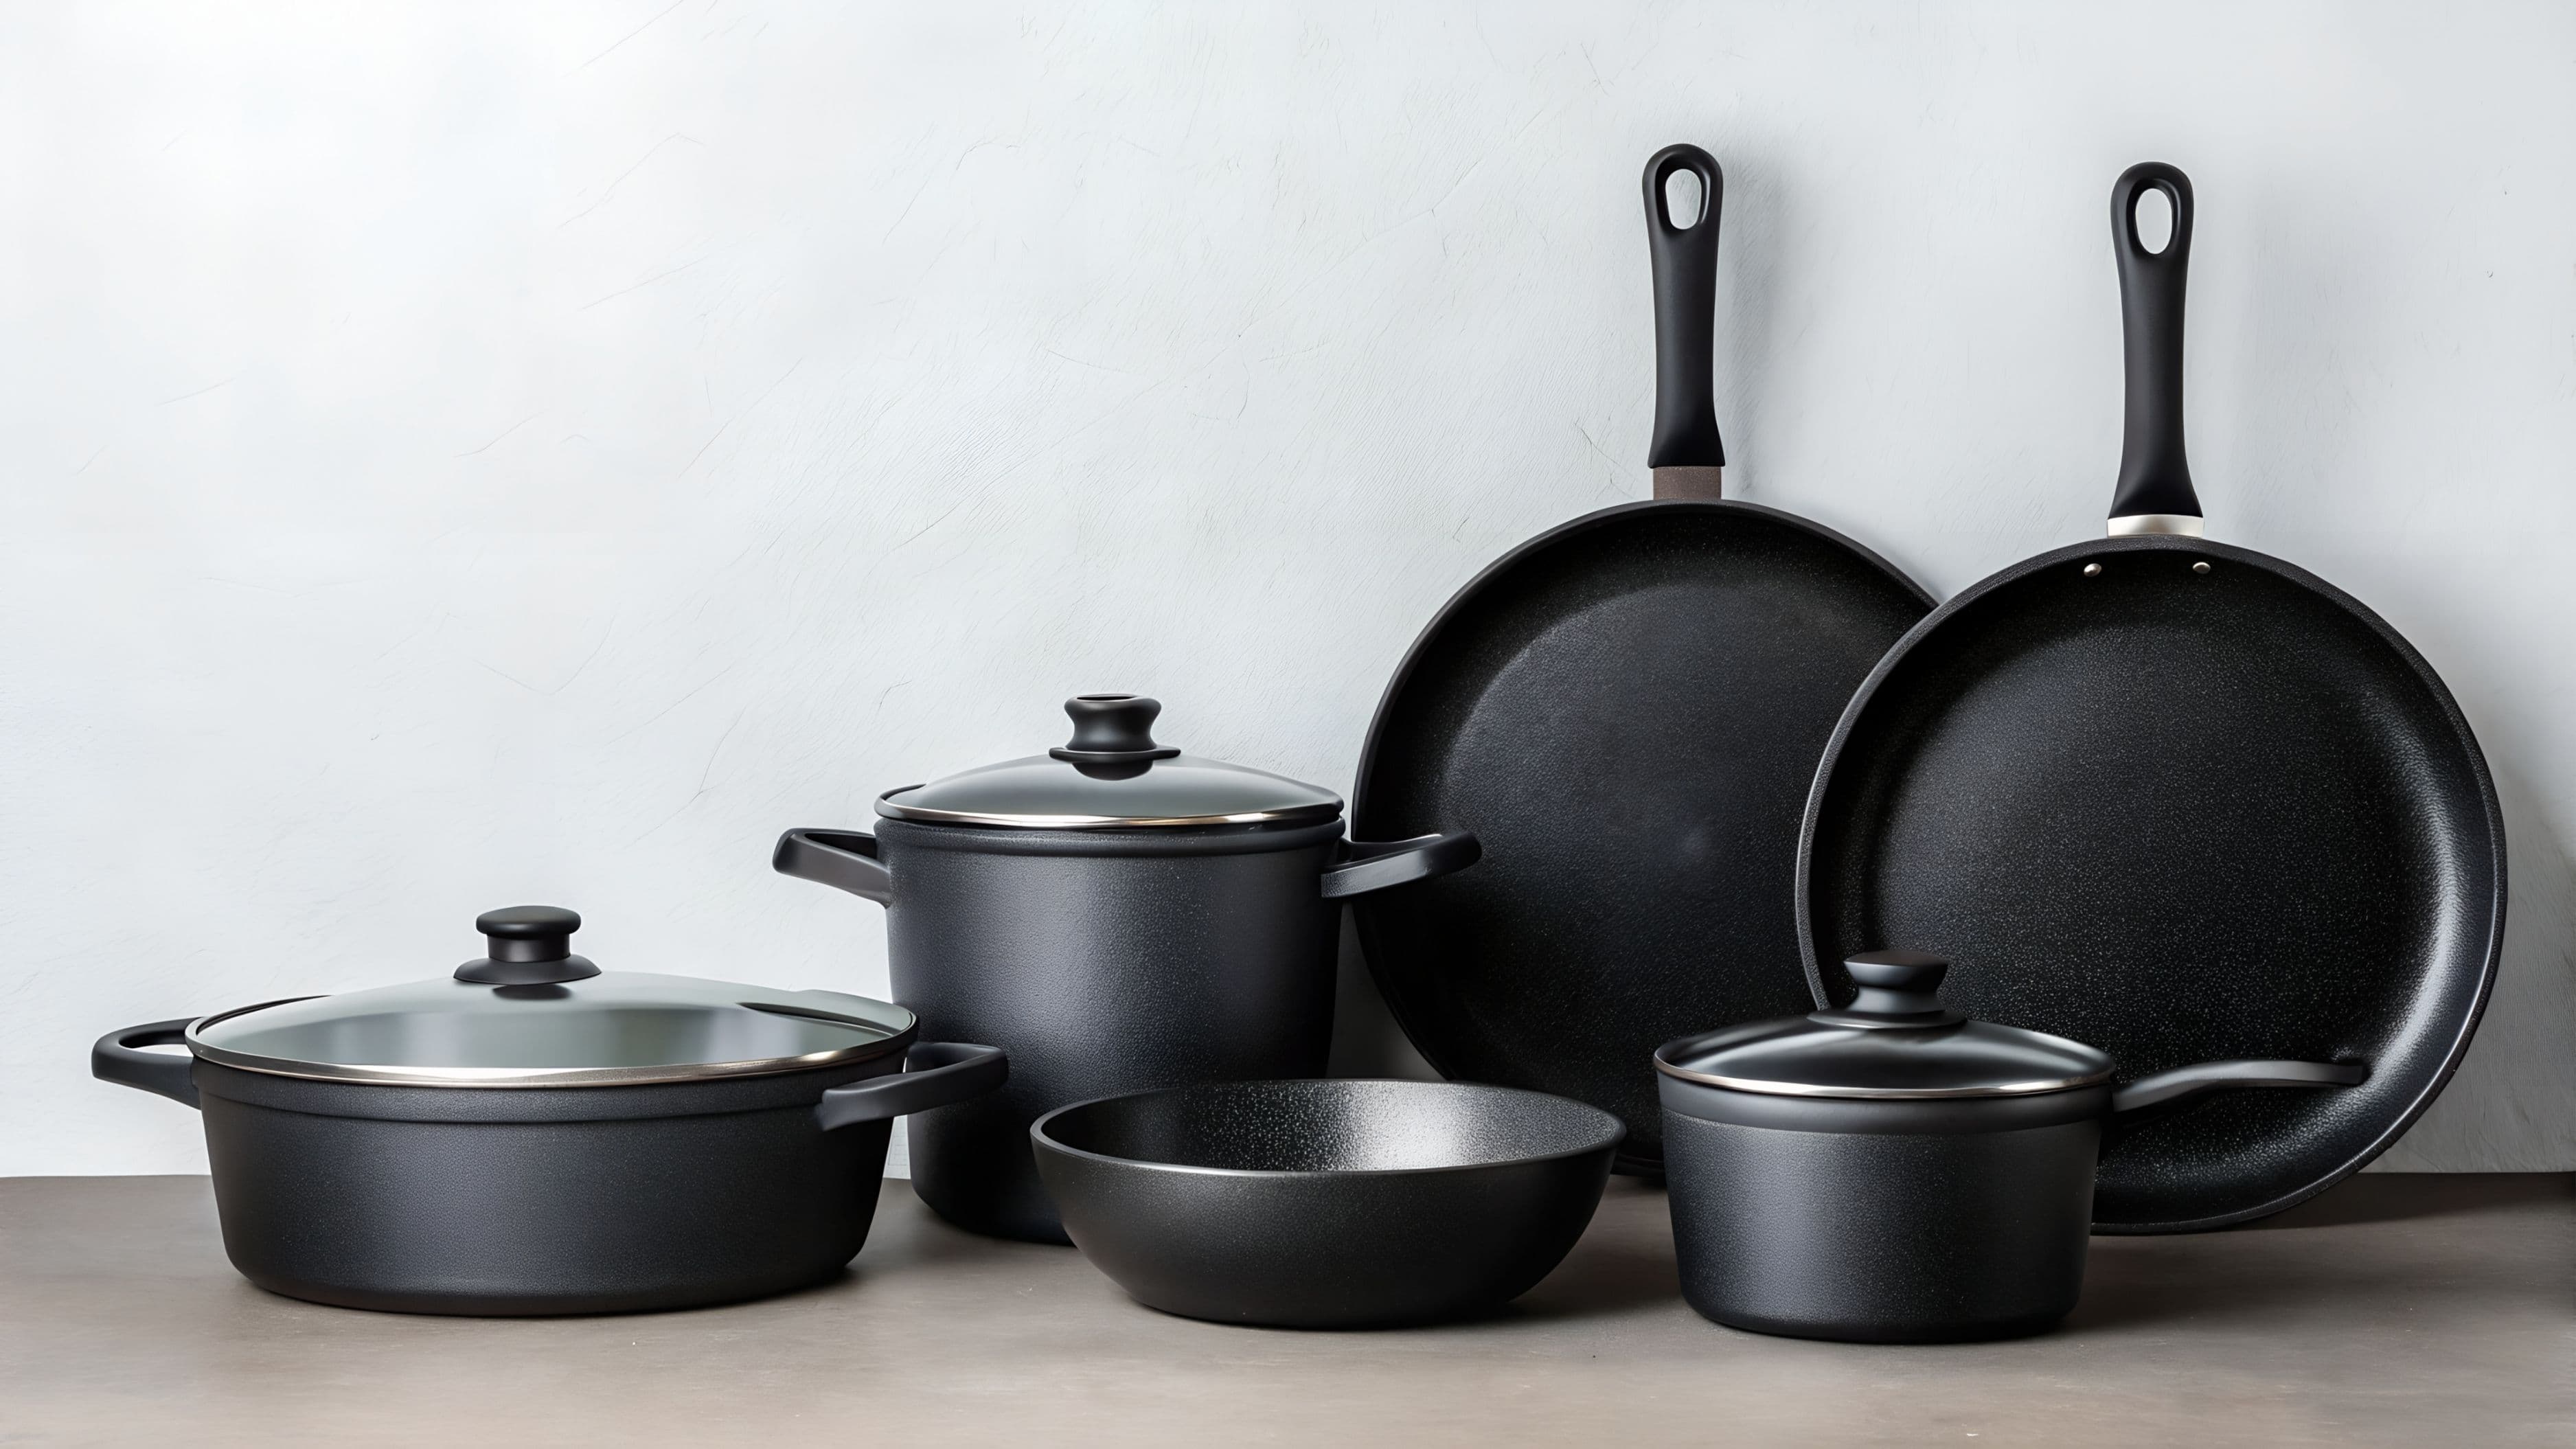
Choosing the right pan makes a significant difference. A stainless steel or cast iron pan develops fond well and distributes heat evenly. A non-stick pan prevents sticking but also prevents the beneficial fond from building up, which limits the flavor development. For the best caramelized onions, a well-seasoned cast iron skillet or a quality stainless steel pan is worth using.
Make more than you think you need. Caramelized onions reduce so dramatically in volume that cooking a single onion produces barely a tablespoon of final product. A batch of three large onions yields roughly one cup – enough for a few servings of French onion soup, a large quiche, or a pizza. Doubling the batch takes the same amount of attention and gives you something genuinely worth having in the refrigerator for the week.
Don't add sugar until the final 10 minutes, if at all. Some recipes add sugar early to accelerate browning. This does work, but it also increases the risk of burning because the added sugar caramelizes faster than the onions' natural sugars. If your onions seem less sweet than expected – which can happen with older or less ripe onions – adding a small amount of sugar toward the end of cooking gives you more control.
What to Avoid
Turning the heat up to go faster is the core mistake, and worth stating directly. At high heat, the exterior of the onions will char and turn bitter before the natural sugars have broken down properly. The resulting flavor is sharp, slightly acrid, and not what caramelized onions are supposed to taste like. Truly caramelized onions cannot be made in 10 minutes, regardless of what some recipes claim. Those recipes typically produce browned onions that are acceptable but don't have the depth of properly slow-cooked ones.
Stirring constantly is also counterproductive. You need to leave the onions in contact with the pan surface long enough for browning to occur. Stirring every minute or two prevents the fond from developing and slows the caramelization. Every 5 to 8 minutes is the right frequency – frequent enough to prevent burning, infrequent enough to allow color to develop.
Covering the pan traps steam and prevents moisture from evaporating efficiently, which keeps the onions in a steaming rather than caramelizing state. Keep the pan uncovered throughout.
Using cold butter from the refrigerator can create uneven heat at the start. Letting the butter come to room temperature before adding it to the pan, or adding it to a cold pan and heating it gently from there, gives you a more even starting temperature.
How to Use Caramelized Onions
Caramelized onions improve almost everything they touch. Spread them on a grilled cheese before closing the sandwich. Stir a spoonful into scrambled eggs or an omelette. Pile them on a flatbread with goat cheese and fresh thyme. Add them to a burger alongside sharp cheese. Fold them into mashed potatoes or a pasta sauce. Use them as the base of a French onion soup, a tart, or a savory galette.
Their concentrated sweetness means a small amount adds significant flavor. A tablespoon stirred into a vinaigrette, mixed into softened butter, or spread on crostini delivers flavor that's hard to replicate with any other single ingredient at that quantity.
FAQ
Why are my caramelized onions bitter instead of sweet?
Bitterness means they cooked too fast at too-high heat, or went slightly too far at the end. Burnt sugars taste bitter, not sweet. Lower your heat next time and watch more carefully in the final 10 minutes when browning accelerates. If the bitterness is slight, adding a very small pinch of sugar and a splash of water, then cooking for another minute or two, can sometimes rescue a batch.
Can I make caramelized onions ahead of time?
Yes – they're actually better made ahead. Refrigerated caramelized onions keep well for 7 to 10 days in a sealed container and their flavor often deepens overnight. They freeze well for up to 3 months in small portions. Making a large batch on a weekend and using them throughout the week is one of the most useful batch-cooking habits you can develop.
Do I have to use butter, or can I use all olive oil?
All olive oil works and produces a slightly lighter, less rich result. All butter is also fine for shorter cooking times but can burn over a very long, slow cook. The combination of both gives you the best balance of flavor and stability. For a dairy-free version, a neutral oil like avocado oil or refined coconut oil works well.
My onions dried out and started to burn before they were done. What went wrong?
The heat was likely too high, or the pan was too dry. If the onions are drying out before reaching a deep amber color, add a tablespoon of water, stir vigorously to deglaze the pan, and reduce the heat slightly. The added moisture rehydrates the fond and gives you more time to finish the caramelization.
What's the difference between caramelized onions and sautéed onions?
Sautéed onions are cooked quickly over medium to medium-high heat until softened and translucent – a 10 to 15 minute process. They're soft and mild but not sweet in the same way. Caramelized onions require low heat and 40-plus minutes for the sugars to fully break down, producing a much deeper color, a sweeter and more complex flavor, and a nearly jammy texture. They're related techniques, but the results are quite different.
Caramelized onions reward patience more than skill. Once you've made them properly – watching the color deepen slowly, noticing the smell change, tasting the difference between 30 minutes and 45 – it stops being a complicated technique and becomes something you do whenever you want to make good food significantly better.
📚 Sources
Harold McGee – On Food and Cooking: The Science and Lore of the Kitchen – Scribner, 2004 (Maillard reaction and caramelization science) – https://www.simonandschuster.com/books/On-Food-and-Cooking/Harold-McGee/9780684800011
Serious Eats – The food lab on caramelized onions – https://www.seriouseats.com/the-food-lab-top-6-mistakes-to-avoid-when-making-caramelized-onions
America's Test Kitchen – Caramelized onion technique guide – https://www.americastestkitchen.com/articles/caramelized-onions
USDA FoodData Central – Onion nutrient and sugar content – https://fdc.nal.usda.gov/fdc-app.html#/food-details/170000/nutrients