Why Vinegar Isn't Actually Required
Vinegar is traditionally added to poaching water because the acid helps the egg white proteins set slightly faster, theoretically producing a tighter, less wispy result. In practice, the difference this makes is often overstated, especially if you're starting with genuinely fresh eggs, and it comes with the tradeoff of a faint vinegar taste that some people notice and don't love in their finished eggs. Skipping it entirely and instead relying on fresh eggs and correct water temperature gets you a clean, great-tasting poached egg without that tradeoff.
What You Actually Need
Fresh eggs (the fresher the egg, the tighter the white holds together during poaching)
A small to medium pot, no special poaching pan required
A fine mesh strainer or slotted spoon
A small bowl or ramekin to crack the egg into first
Water, enough to fill your pot about 3 inches deep
The Method
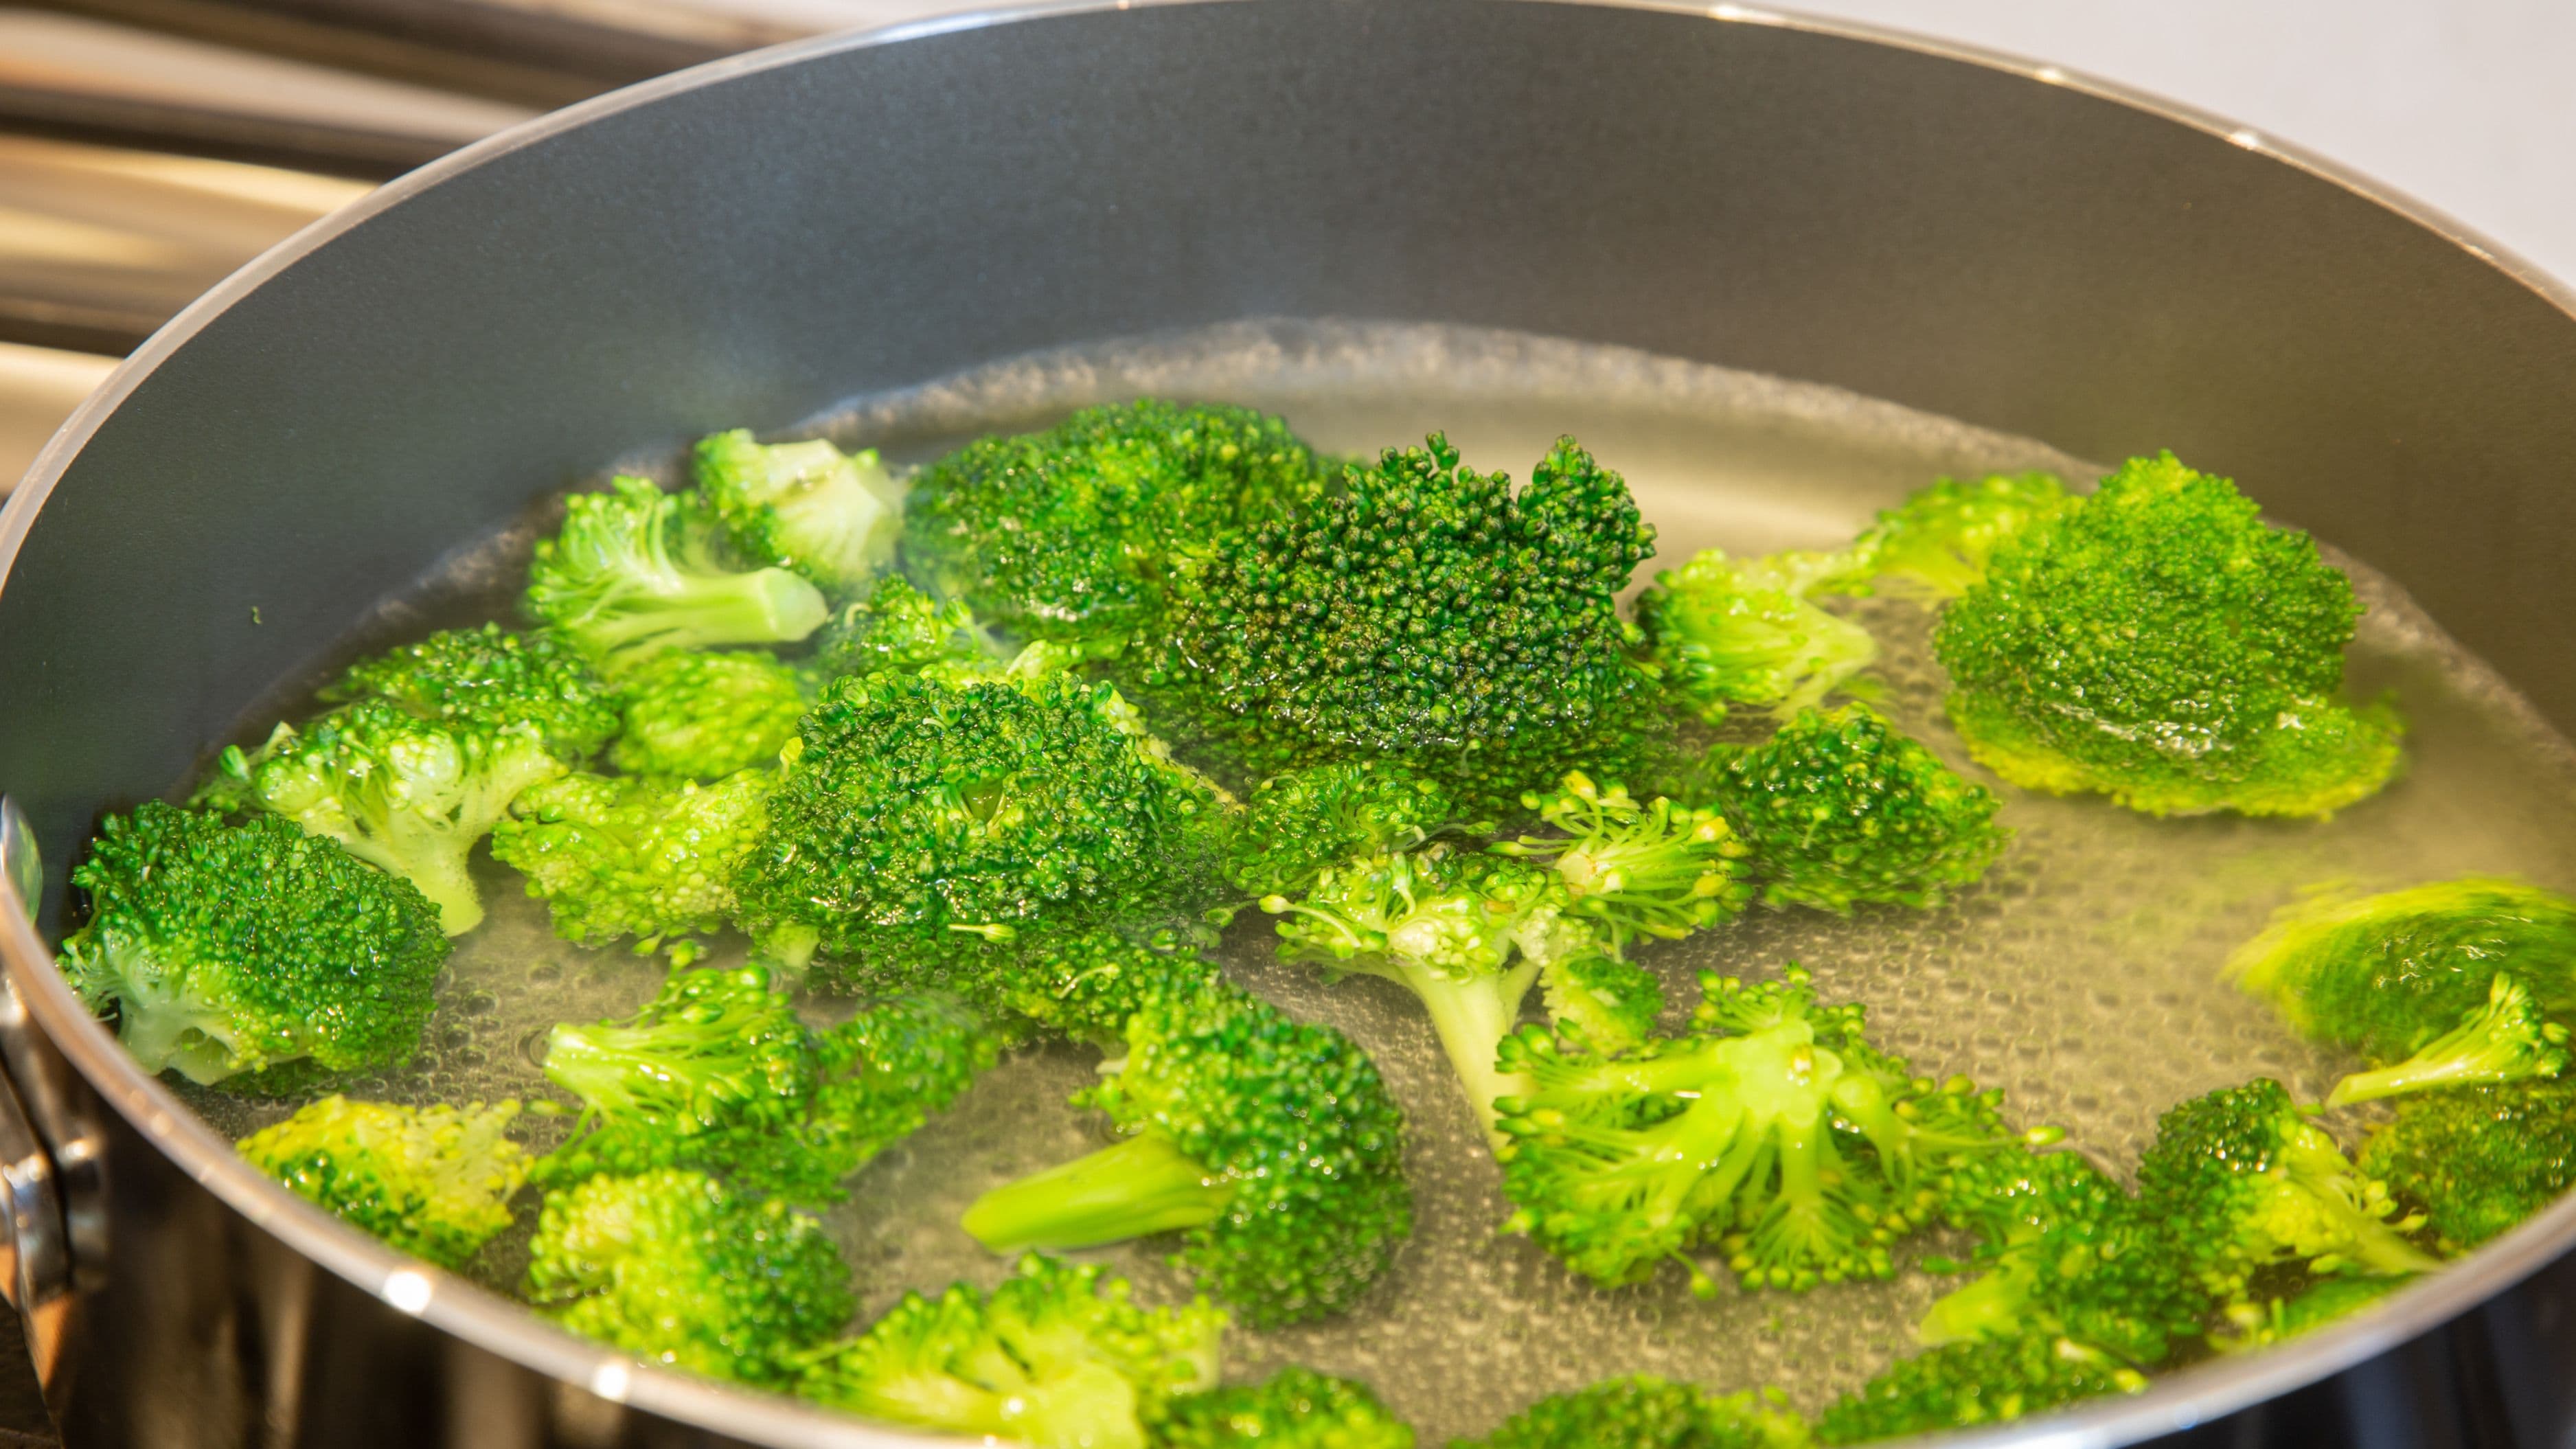
Step 1: Bring your water to a gentle simmer, not a rolling boil. Water that's boiling vigorously will tear the egg white apart as it cooks. You want small, gentle bubbles breaking the surface occasionally, not an aggressive, constant boil.
Step 2: Crack your egg into a small bowl first, not directly into the water. This gives you control over how the egg enters the water and lets you spot and discard any shell fragments before they end up in the pot.
Step 3 (Optional but genuinely helpful): Strain the loosest part of the egg white before cooking. Pour the cracked egg into a fine mesh strainer set over a bowl for about 10 seconds, letting the thinnest, wateriest part of the white drain away. This single step does more to prevent those wispy white strands than vinegar ever did, since it's removing the specific part of the egg white that tends to feather apart in the water.
Step 4: Create a gentle whirlpool in the water with a spoon, then slide the egg in. Stir the water in one direction to create a slow, gentle current, then carefully slide your prepared egg into the center. The gentle swirl helps the white wrap around the yolk rather than spreading out flat, though this step matters less than most tutorials suggest if you've already strained the egg in step 3.
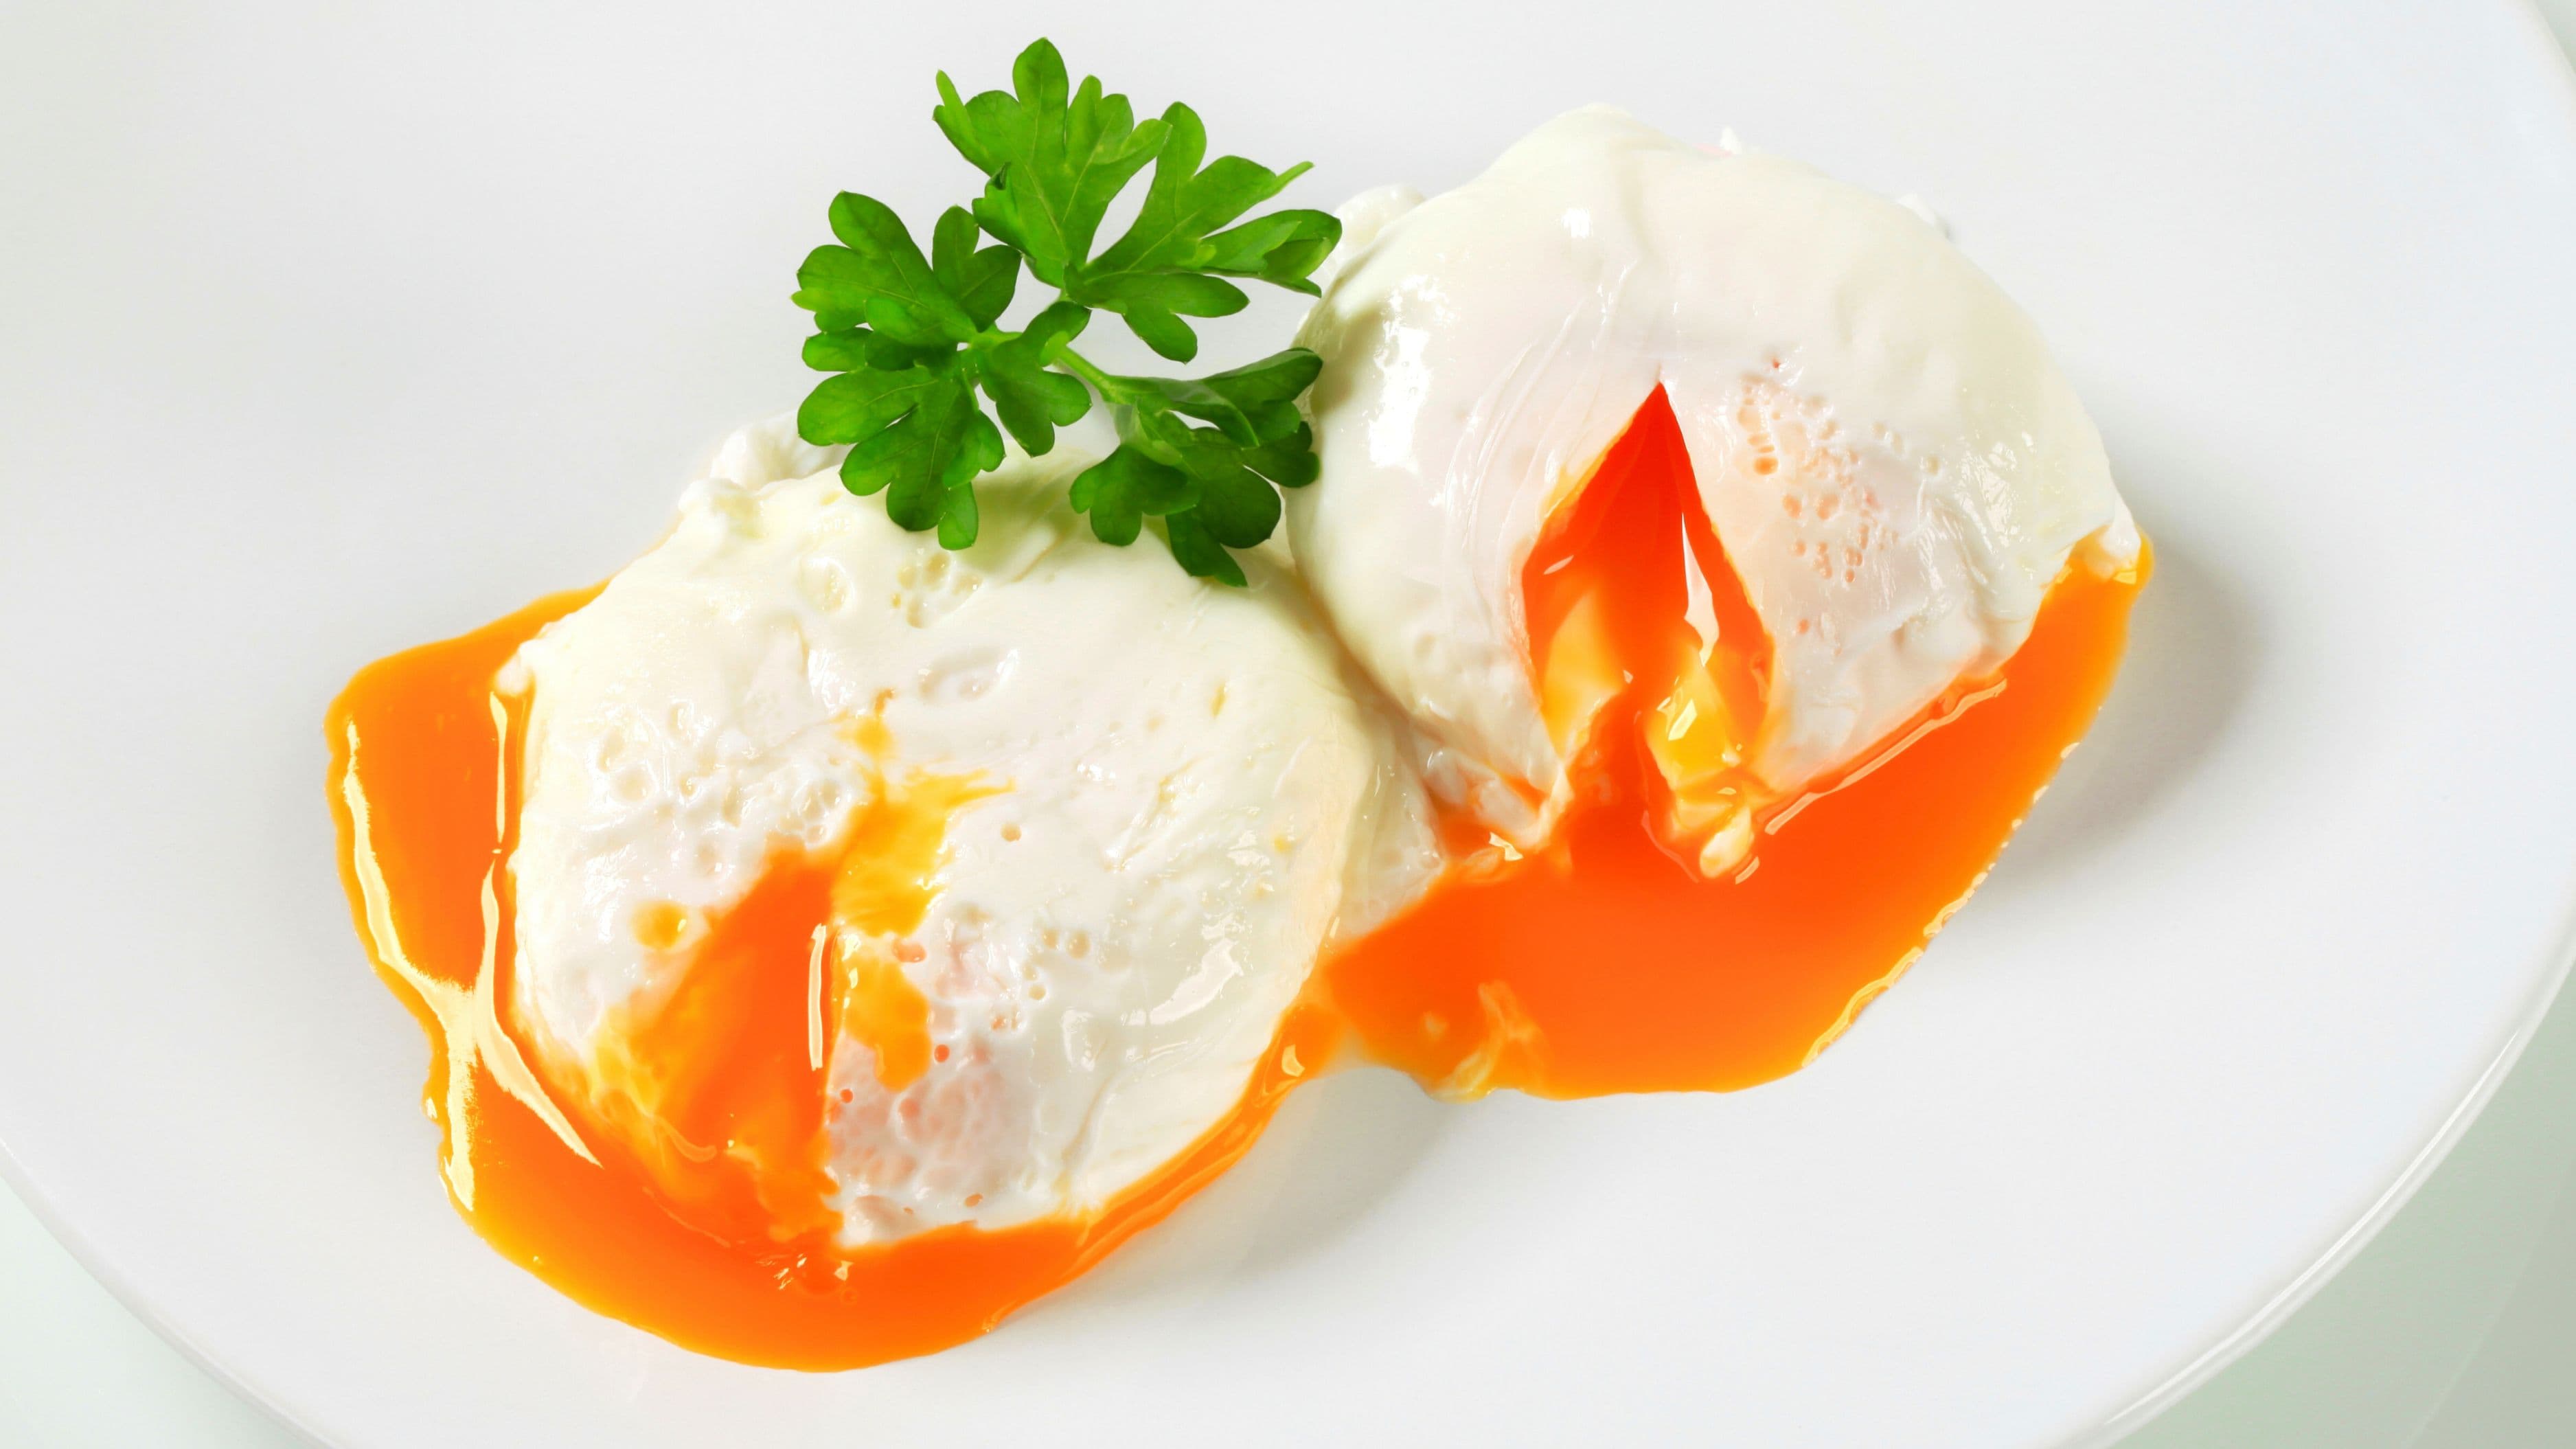
Step 5: Cook for 3 to 4 minutes without touching it. For a soft, jammy yolk, 3 minutes is usually right; for a slightly firmer yolk, extend to 4 minutes. Resist the urge to poke or move the egg during this time.
Step 6: Remove with a slotted spoon and drain briefly on a paper towel. This removes excess water before serving, keeping your toast or plate from getting unnecessarily soggy.
Tips for Best Results
Fresher eggs genuinely make a noticeable difference here, since the whites are naturally thicker and hold together better than eggs that have been sitting in your fridge for a few weeks. If you're unsure how fresh your eggs are, the straining step in step 3 becomes even more valuable, since it compensates significantly for whites that have started to thin out with age.
Cooking one or two eggs at a time, rather than crowding several into the same small pot, gives each egg enough space to hold its shape without touching or merging with another egg mid-cook.
Common Mistakes to Avoid
Don't use aggressively boiling water; this is the single most common reason poached eggs turn out messy and stringy rather than neatly formed. Don't skip the straining step if you're working with eggs that aren't perfectly fresh, since this is genuinely more effective at preventing wispy whites than either vinegar or the whirlpool technique alone. And don't overcrowd your pot with too many eggs at once, especially as a beginner, since managing timing and spacing becomes considerably harder with more than two eggs going simultaneously.
Variations
Once you're comfortable with the basic method, poached eggs work beautifully over sautéed greens, on top of a grain bowl, or in place of a fried egg on avocado toast. The technique itself doesn't change based on what you're serving it over, it's simply a versatile way of cooking an egg that pairs well with an enormous range of dishes.
Realistic Expectations
Your first few attempts may not look picture-perfect, and that's completely normal, most people need three or four tries before consistently nailing the timing and technique. The good news is that even a slightly imperfect poached egg, one with a bit of wispy white trailing off, still tastes exactly the same as a perfectly round one, so don't let early attempts discourage you from the actual payoff: a genuinely delicious, restaurant-style egg made at home with nothing more than a basic pot and a spoon.
FAQ
Do I really not need vinegar at all? Correct, fresh eggs and proper water temperature do most of the actual work. Vinegar is a helpful shortcut but not a requirement, and skipping it avoids any lingering vinegar taste in the finished egg.
How do I know when the water is at the right temperature? Look for small, gentle bubbles rising occasionally from the bottom of the pot, not a constant, vigorous boil. If your water is boiling hard, reduce the heat before adding your egg.
Can I poach eggs ahead of time? Yes, poached eggs can be made ahead and stored in cold water in the fridge for up to a day, then reheated briefly in hot (not boiling) water for about a minute before serving.
📚 Sources
USDA Food Safety and Inspection Service – Egg Safety Basics: https://www.fsis.usda.gov/food-safety/safe-food-handling-and-preparation/food-safety-basics/egg-products-and-food-safety
Serious Eats – The Science of Poaching Eggs: https://www.seriouseats.com/