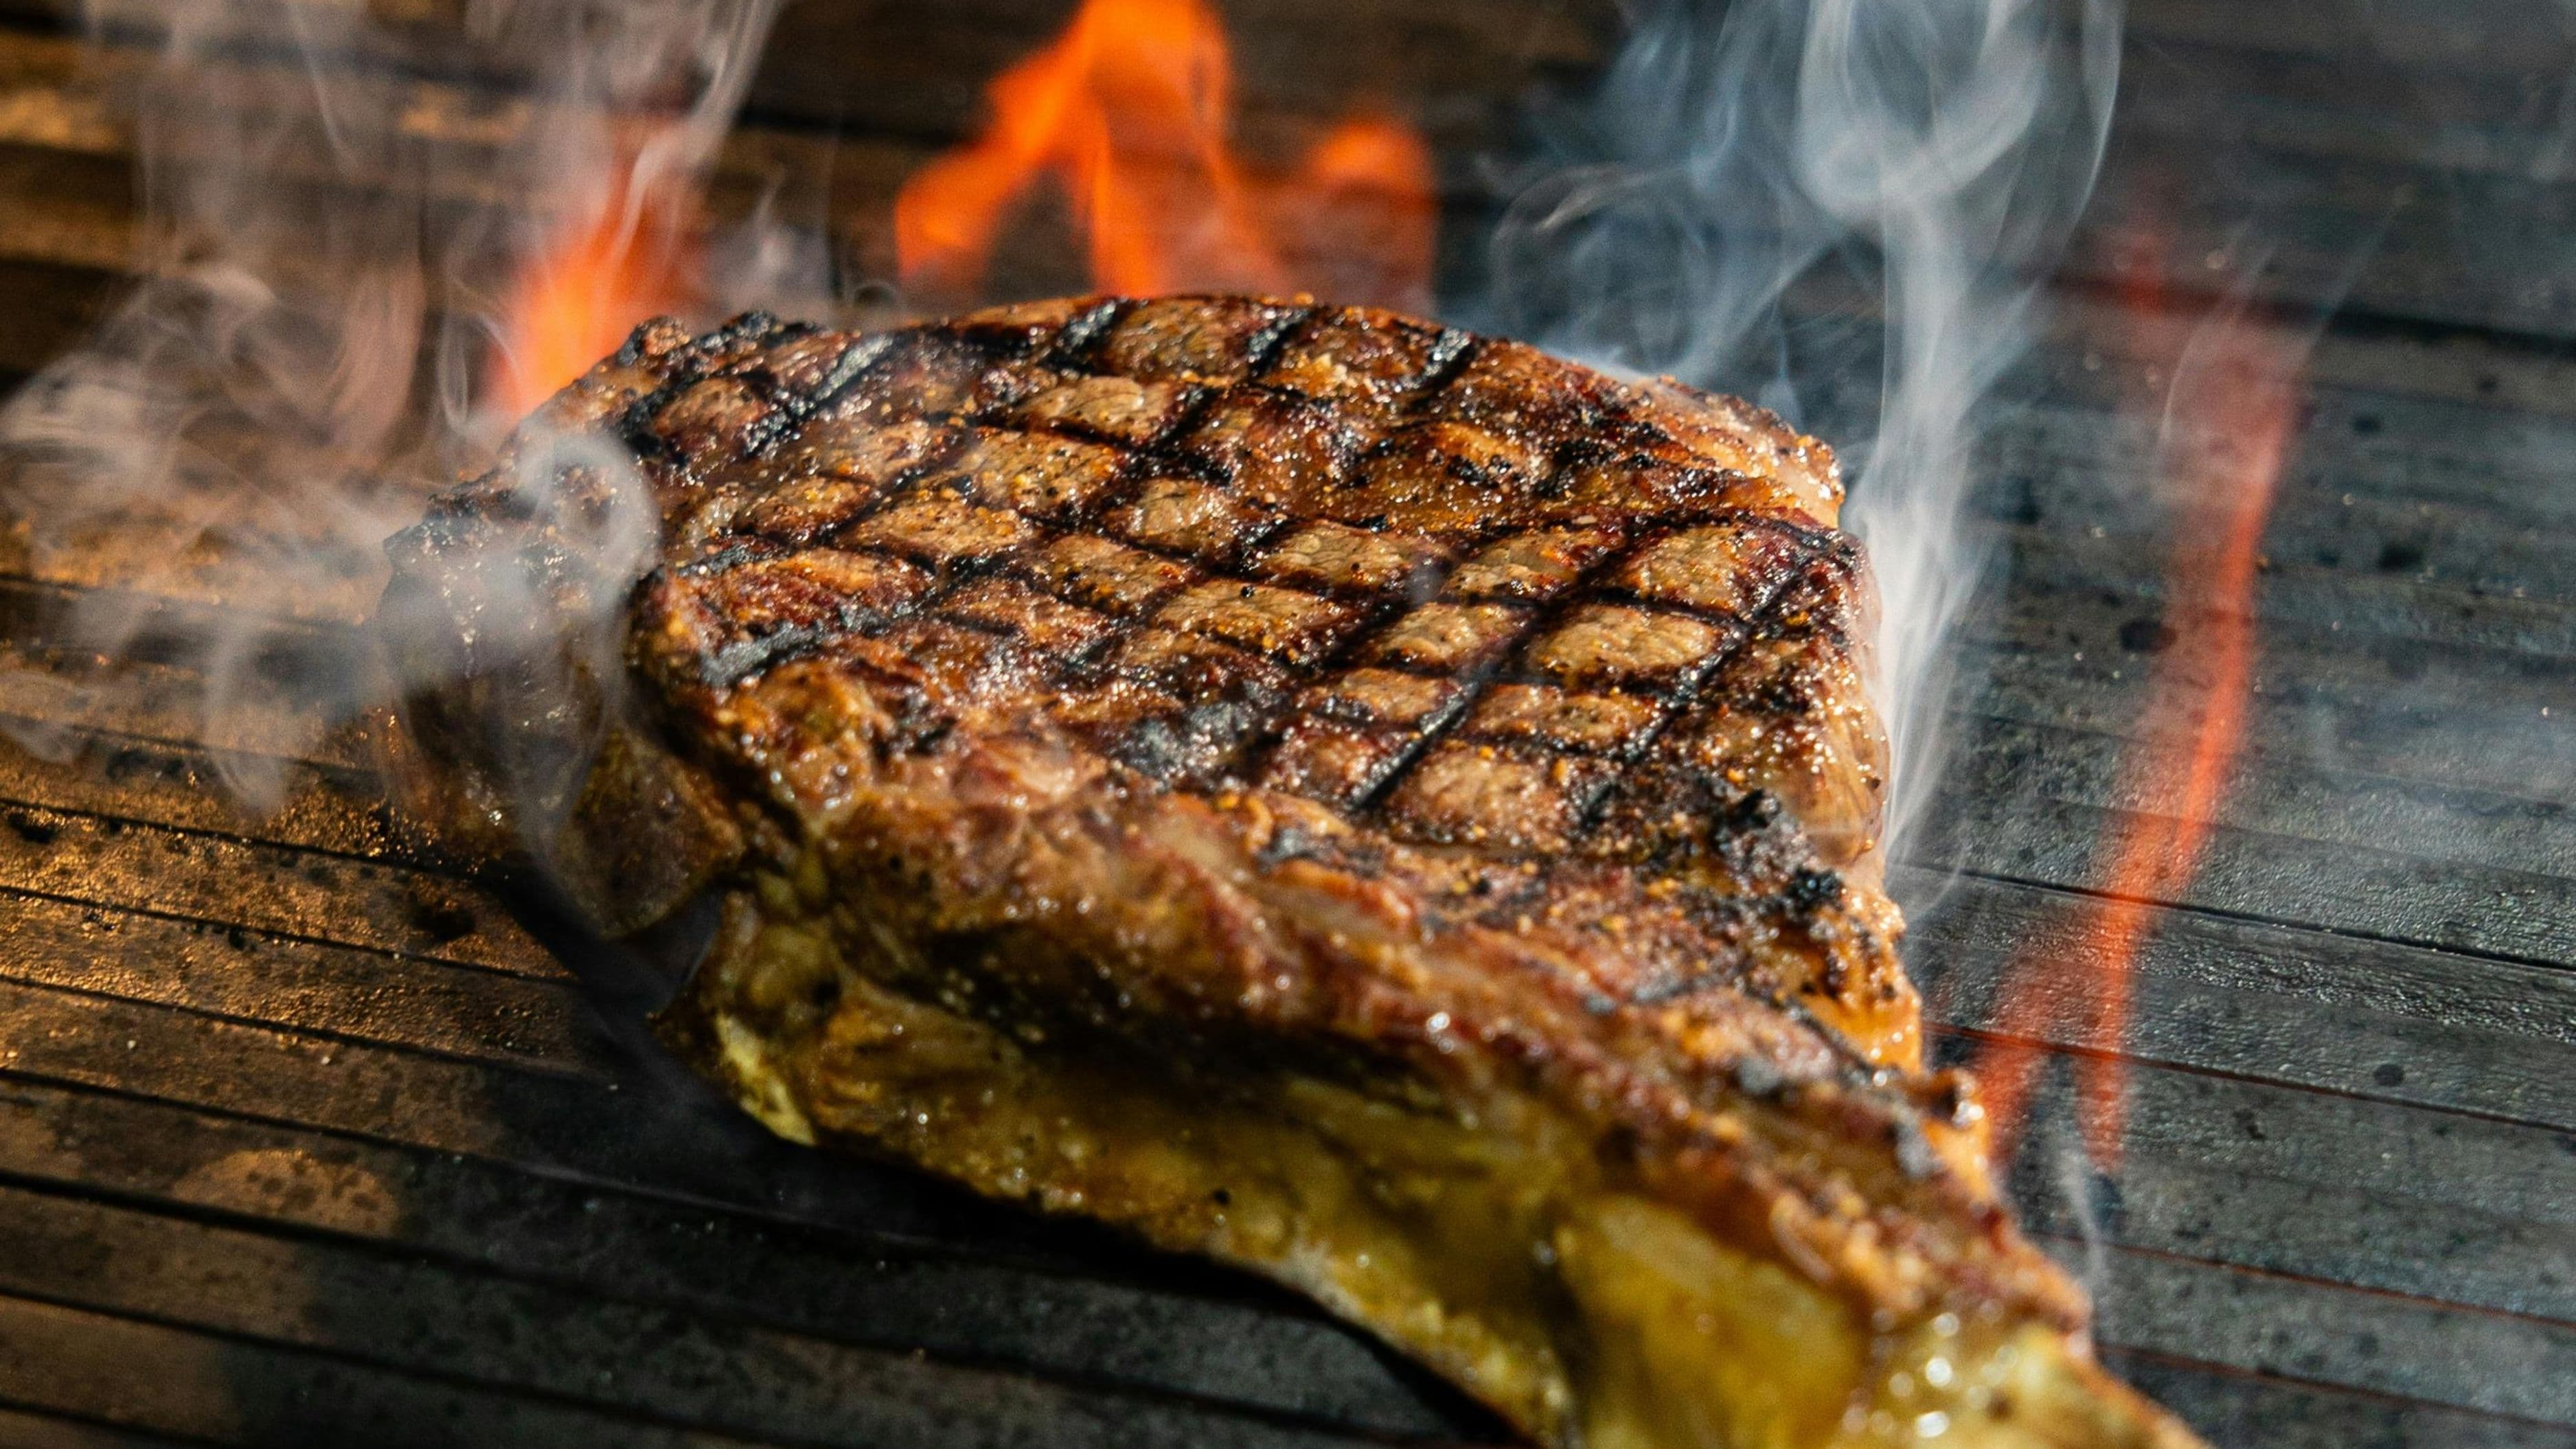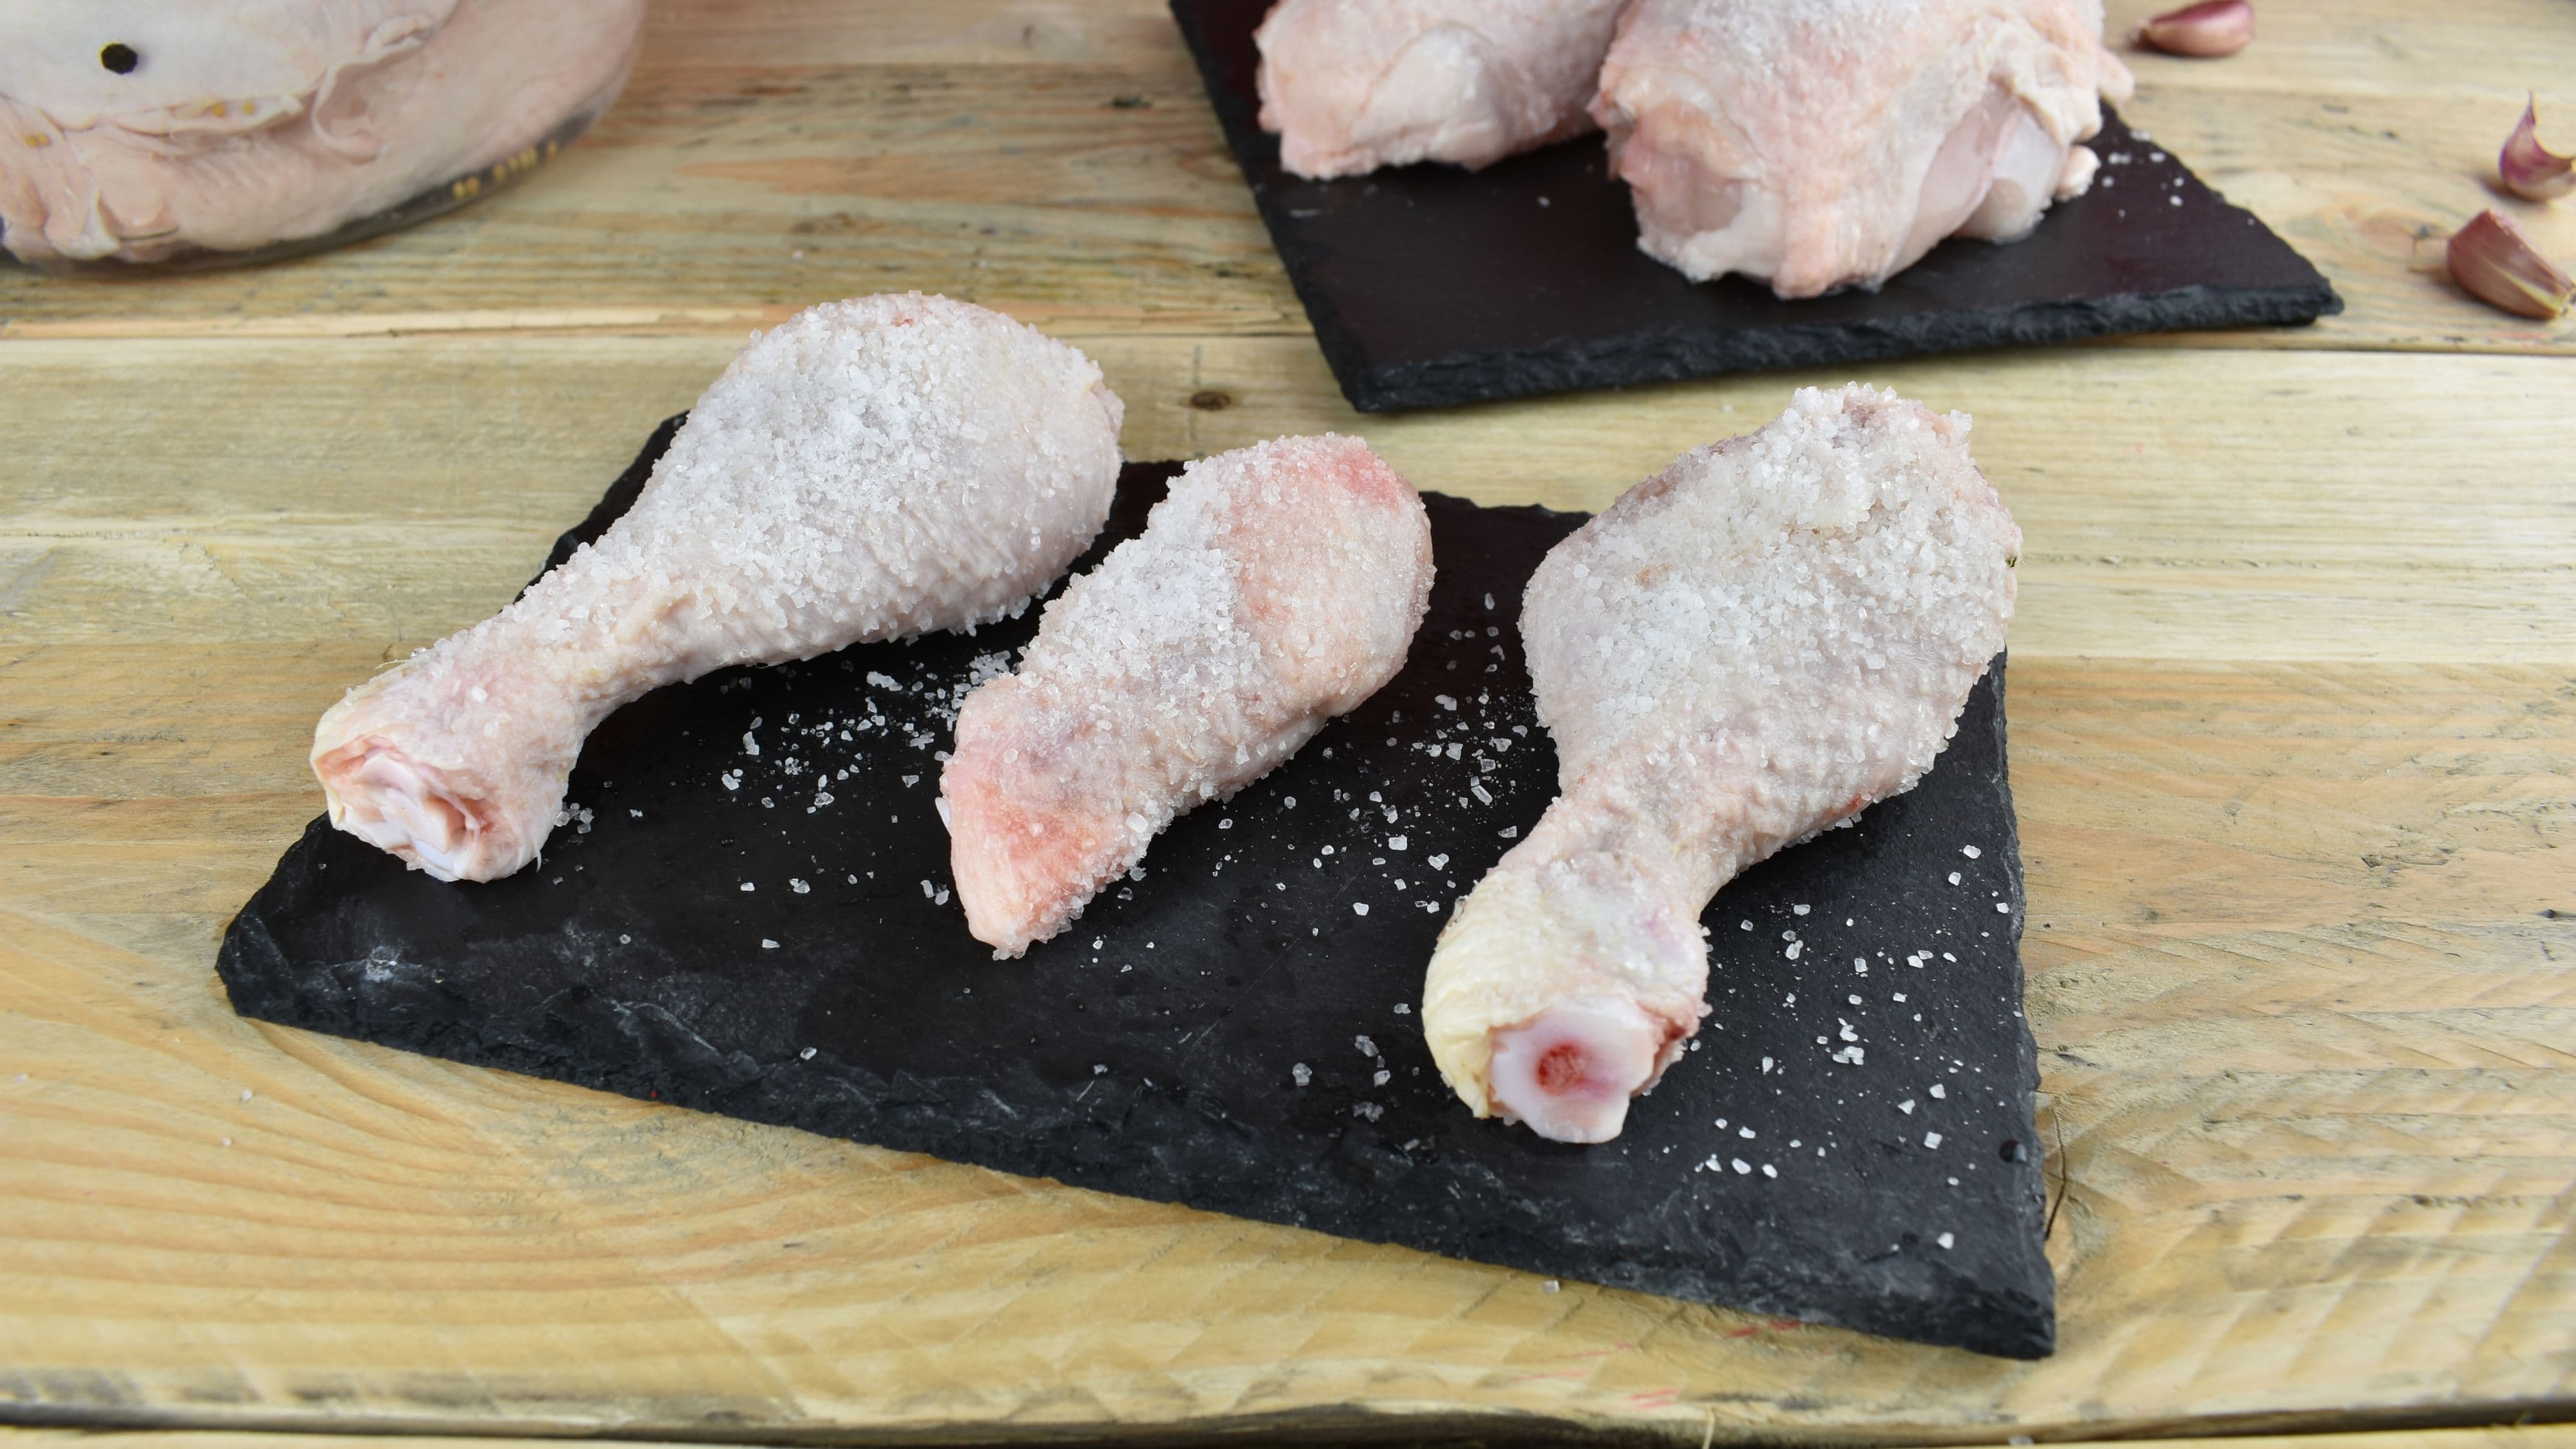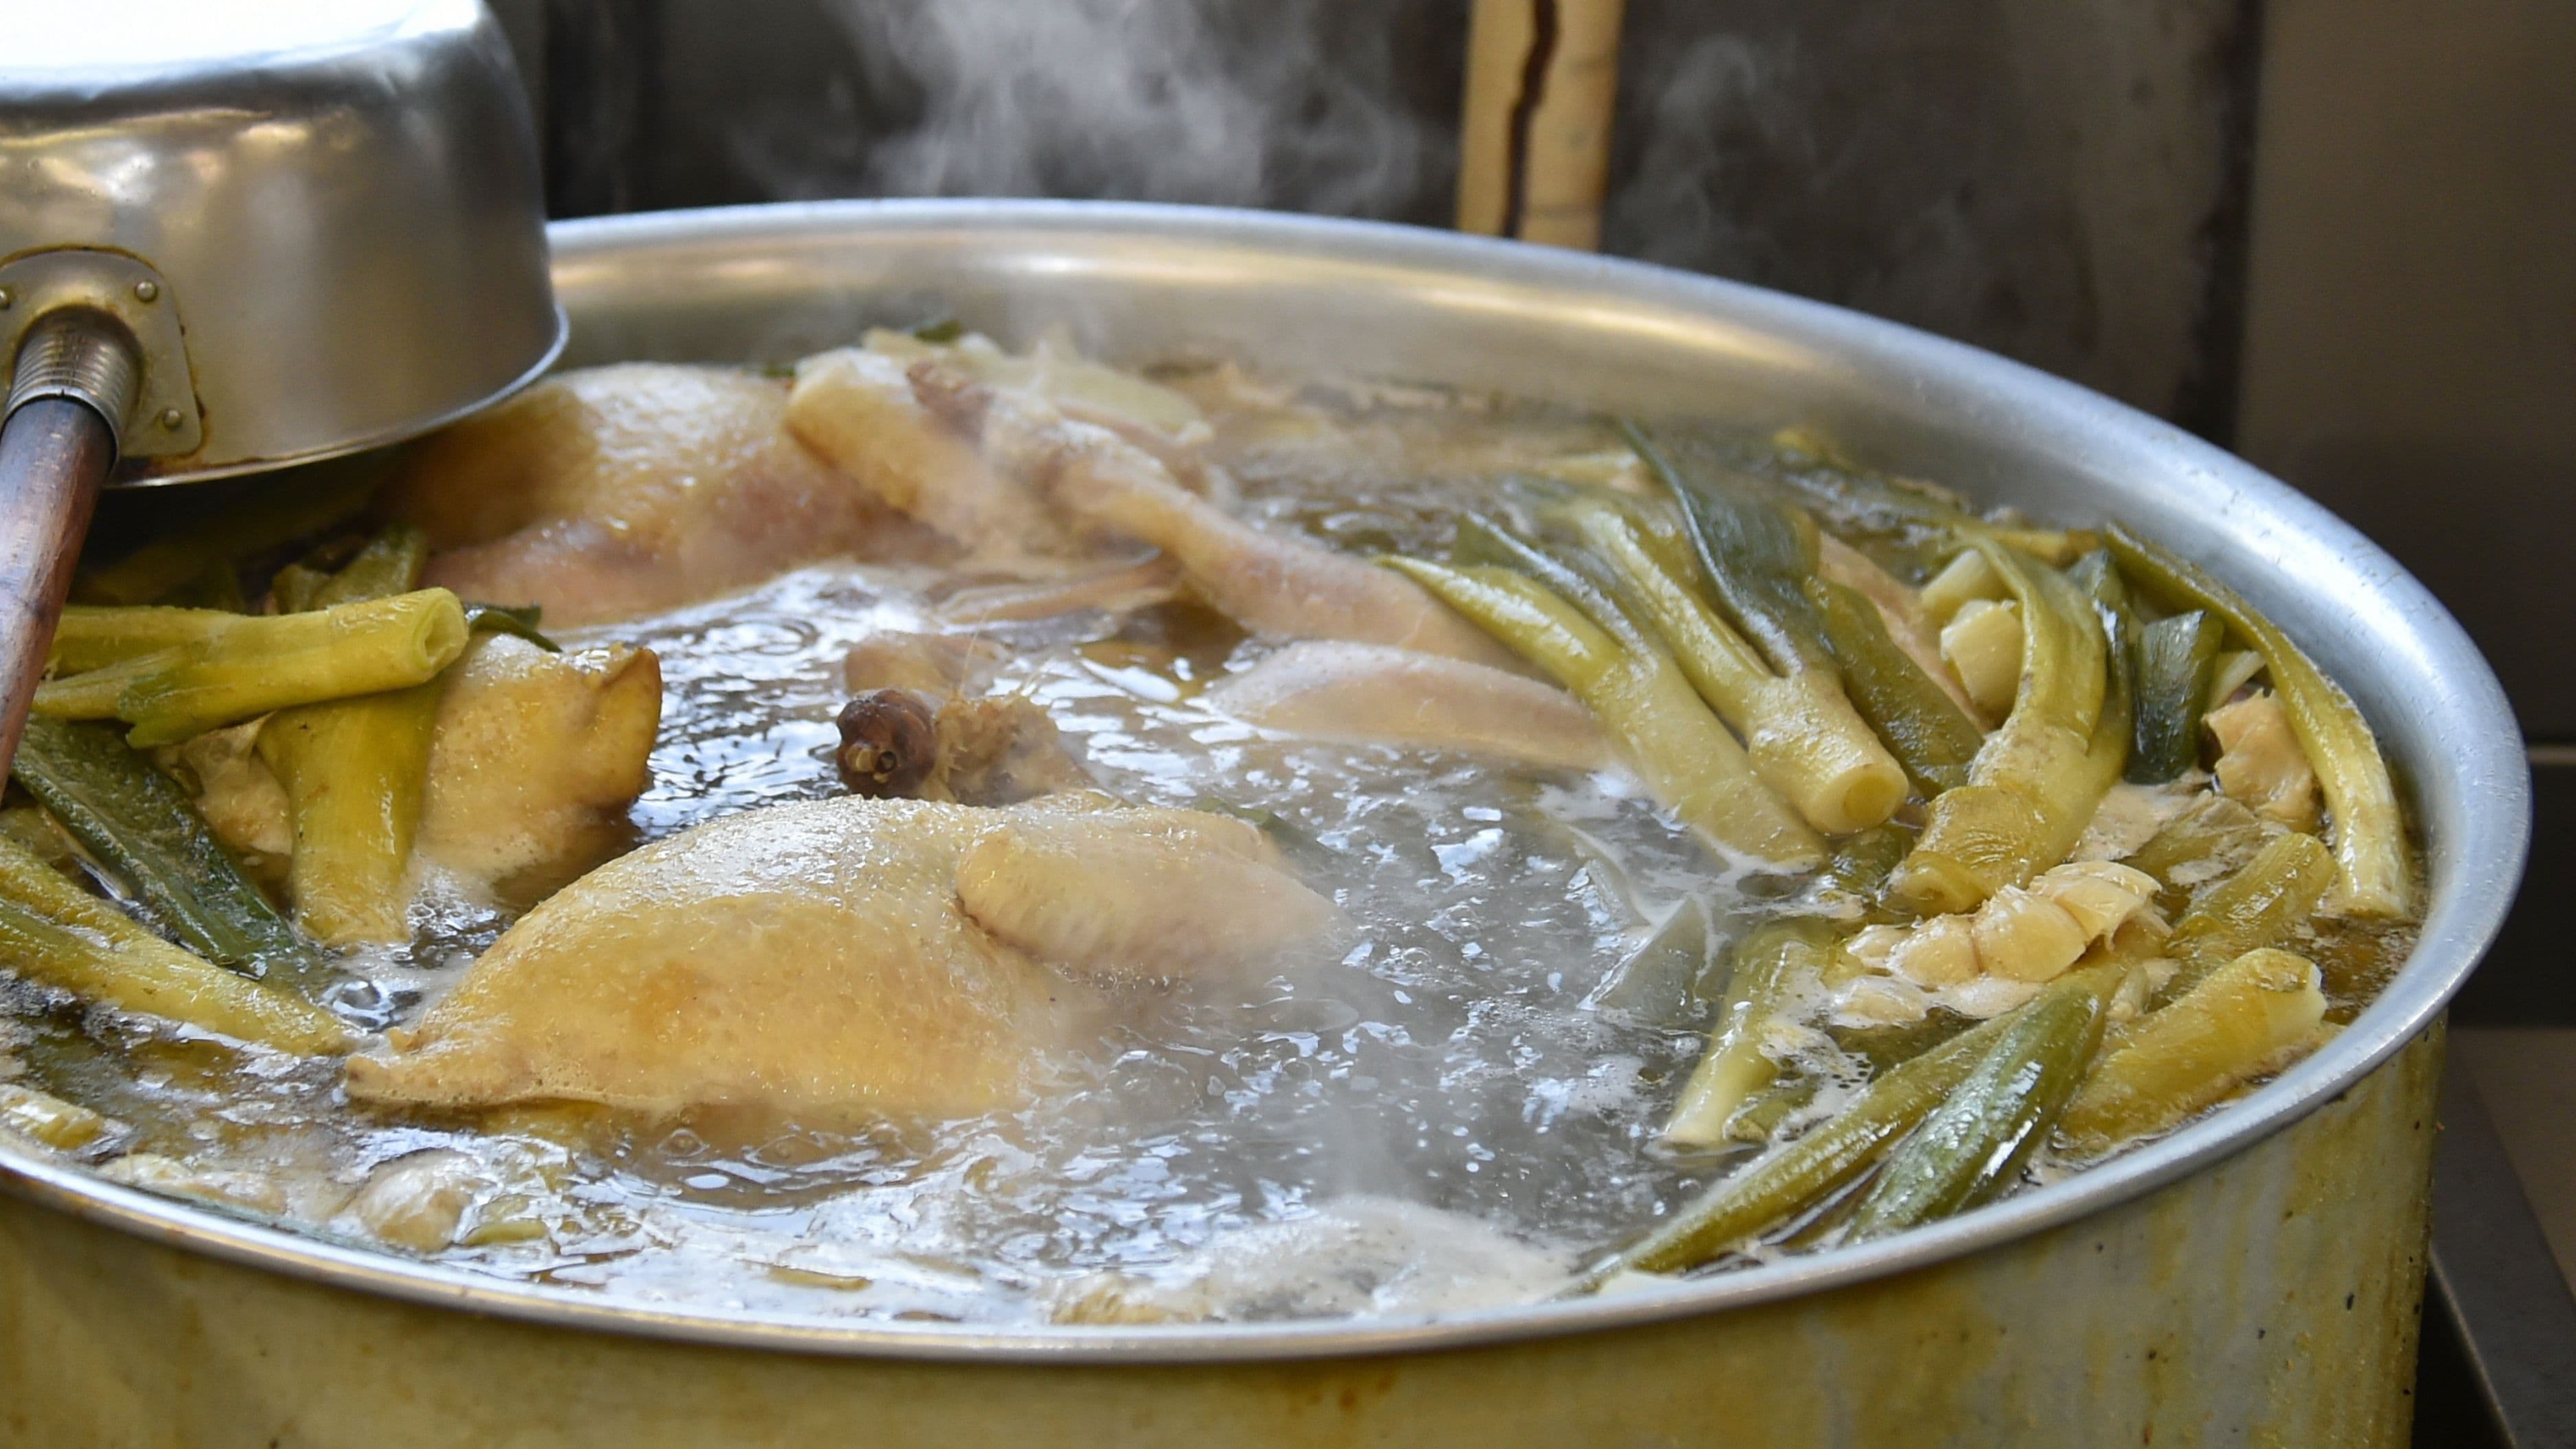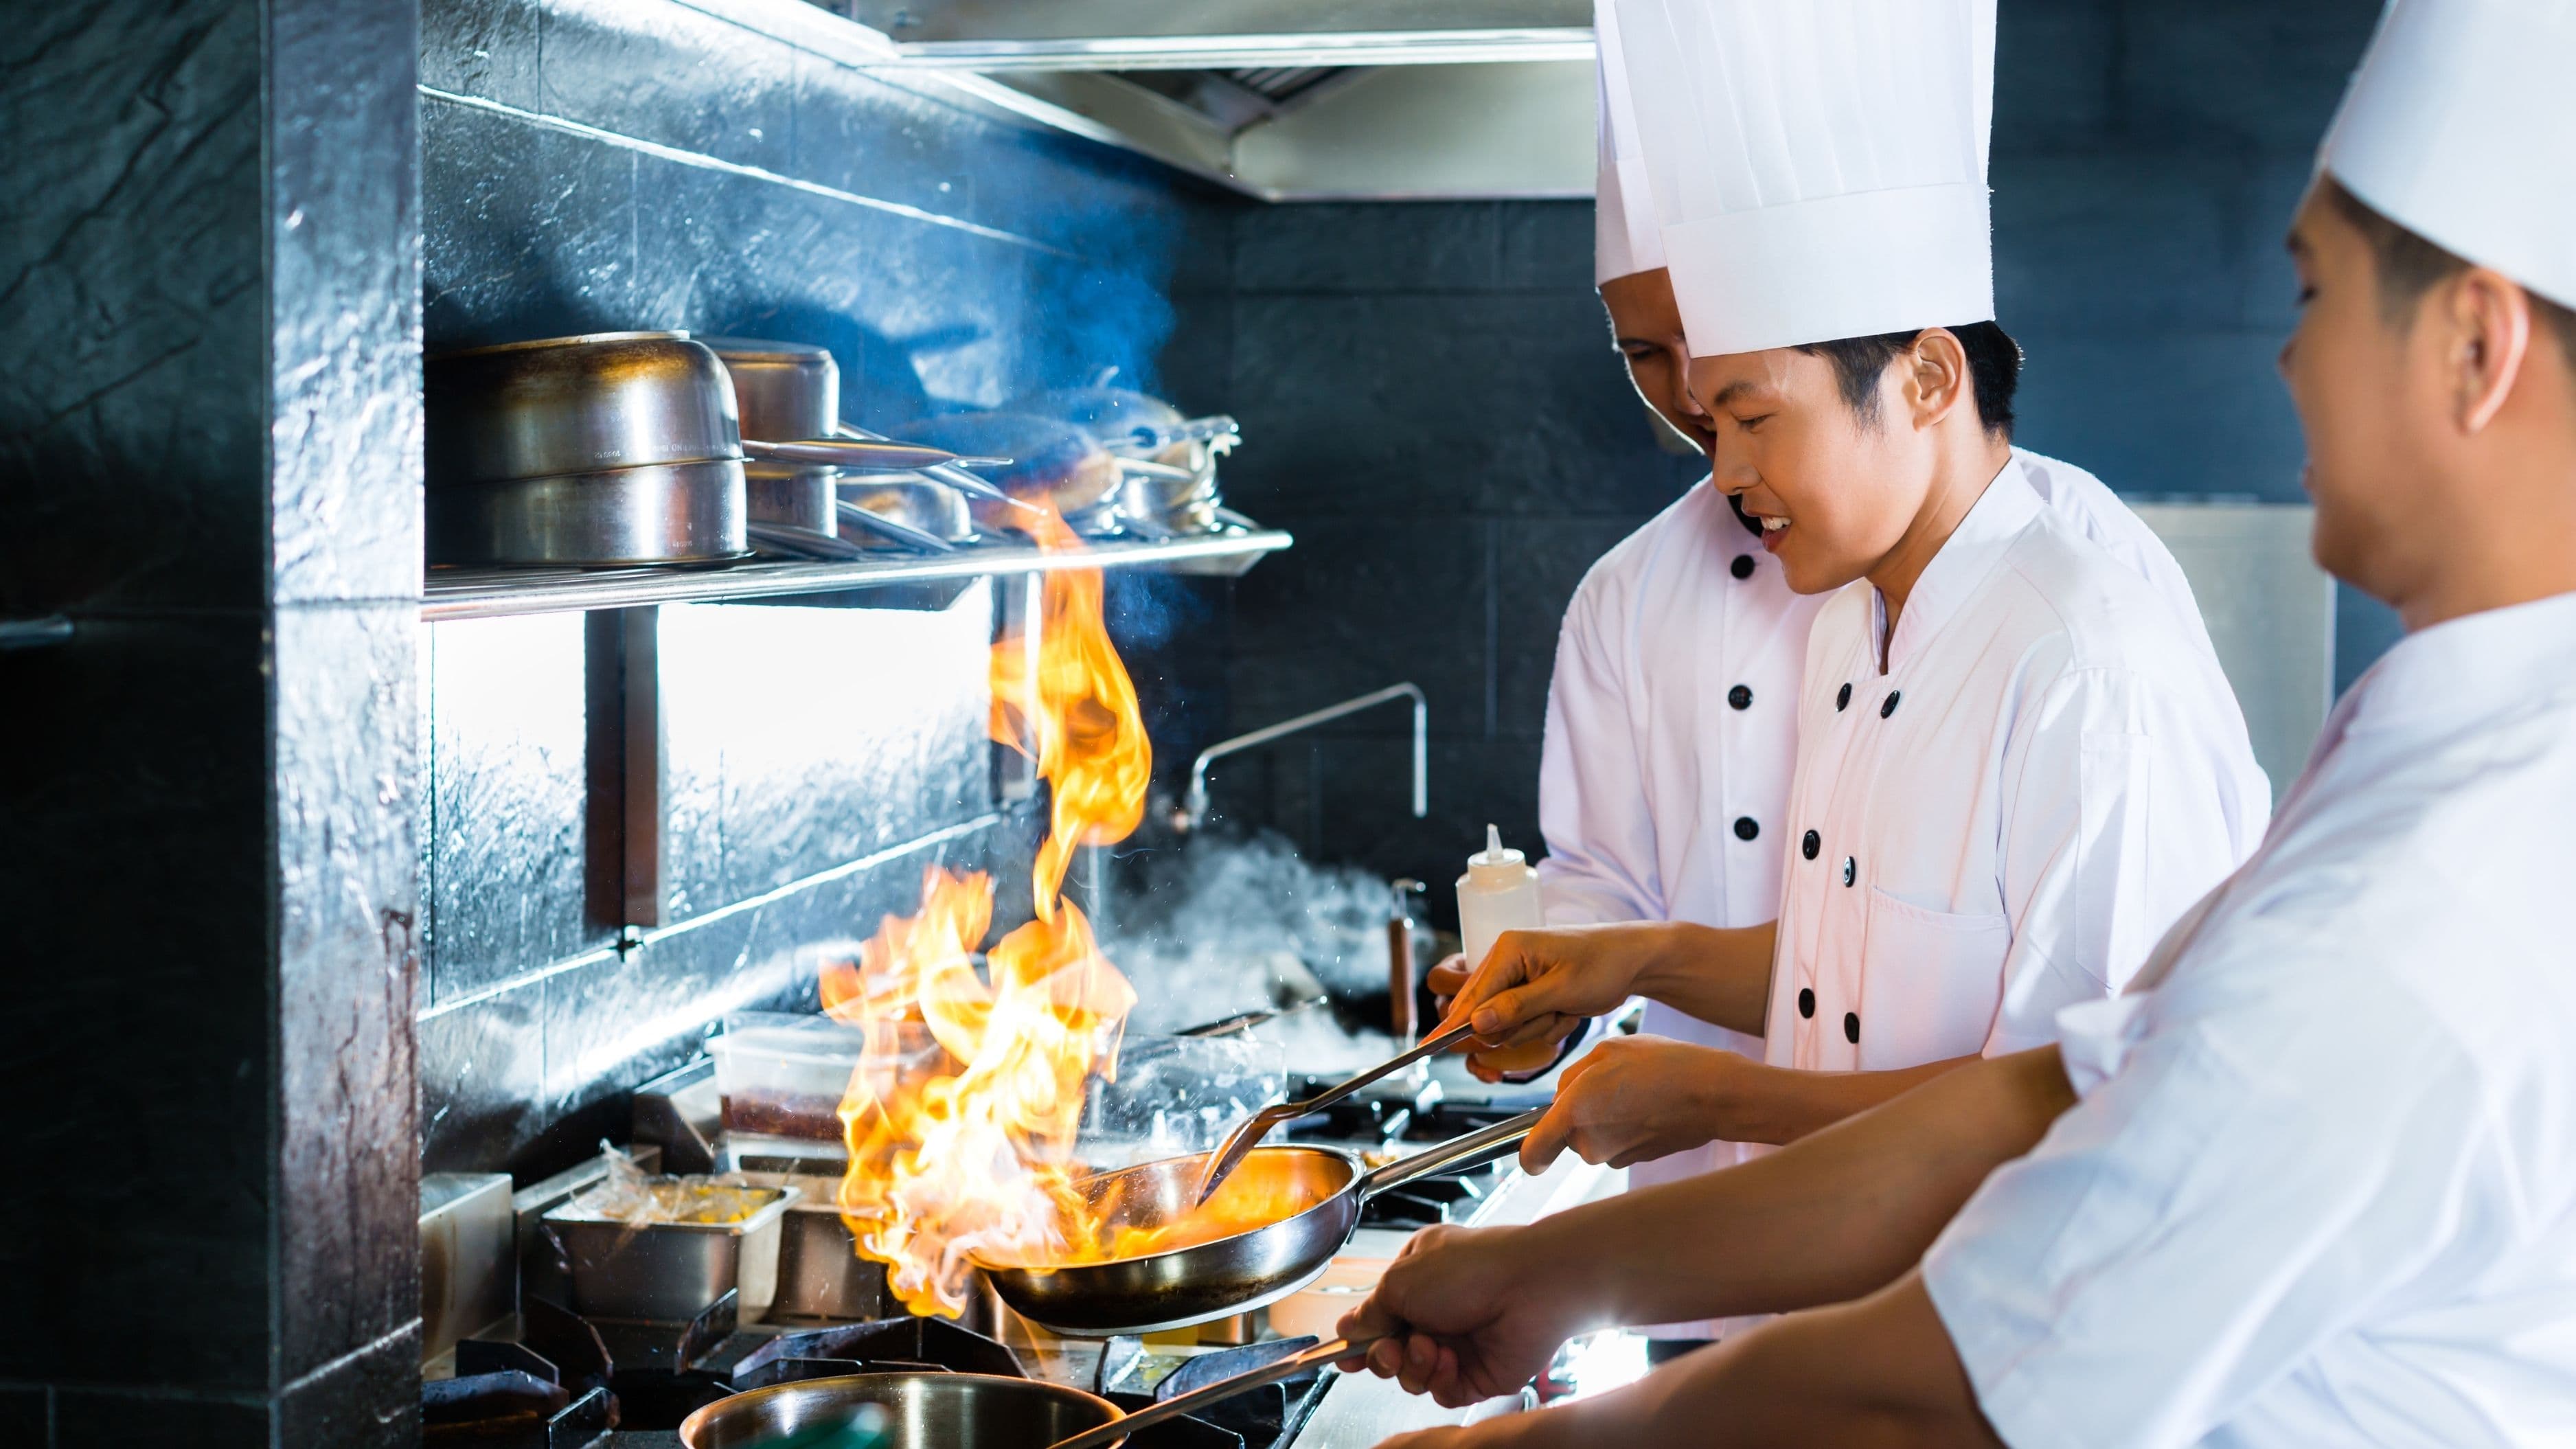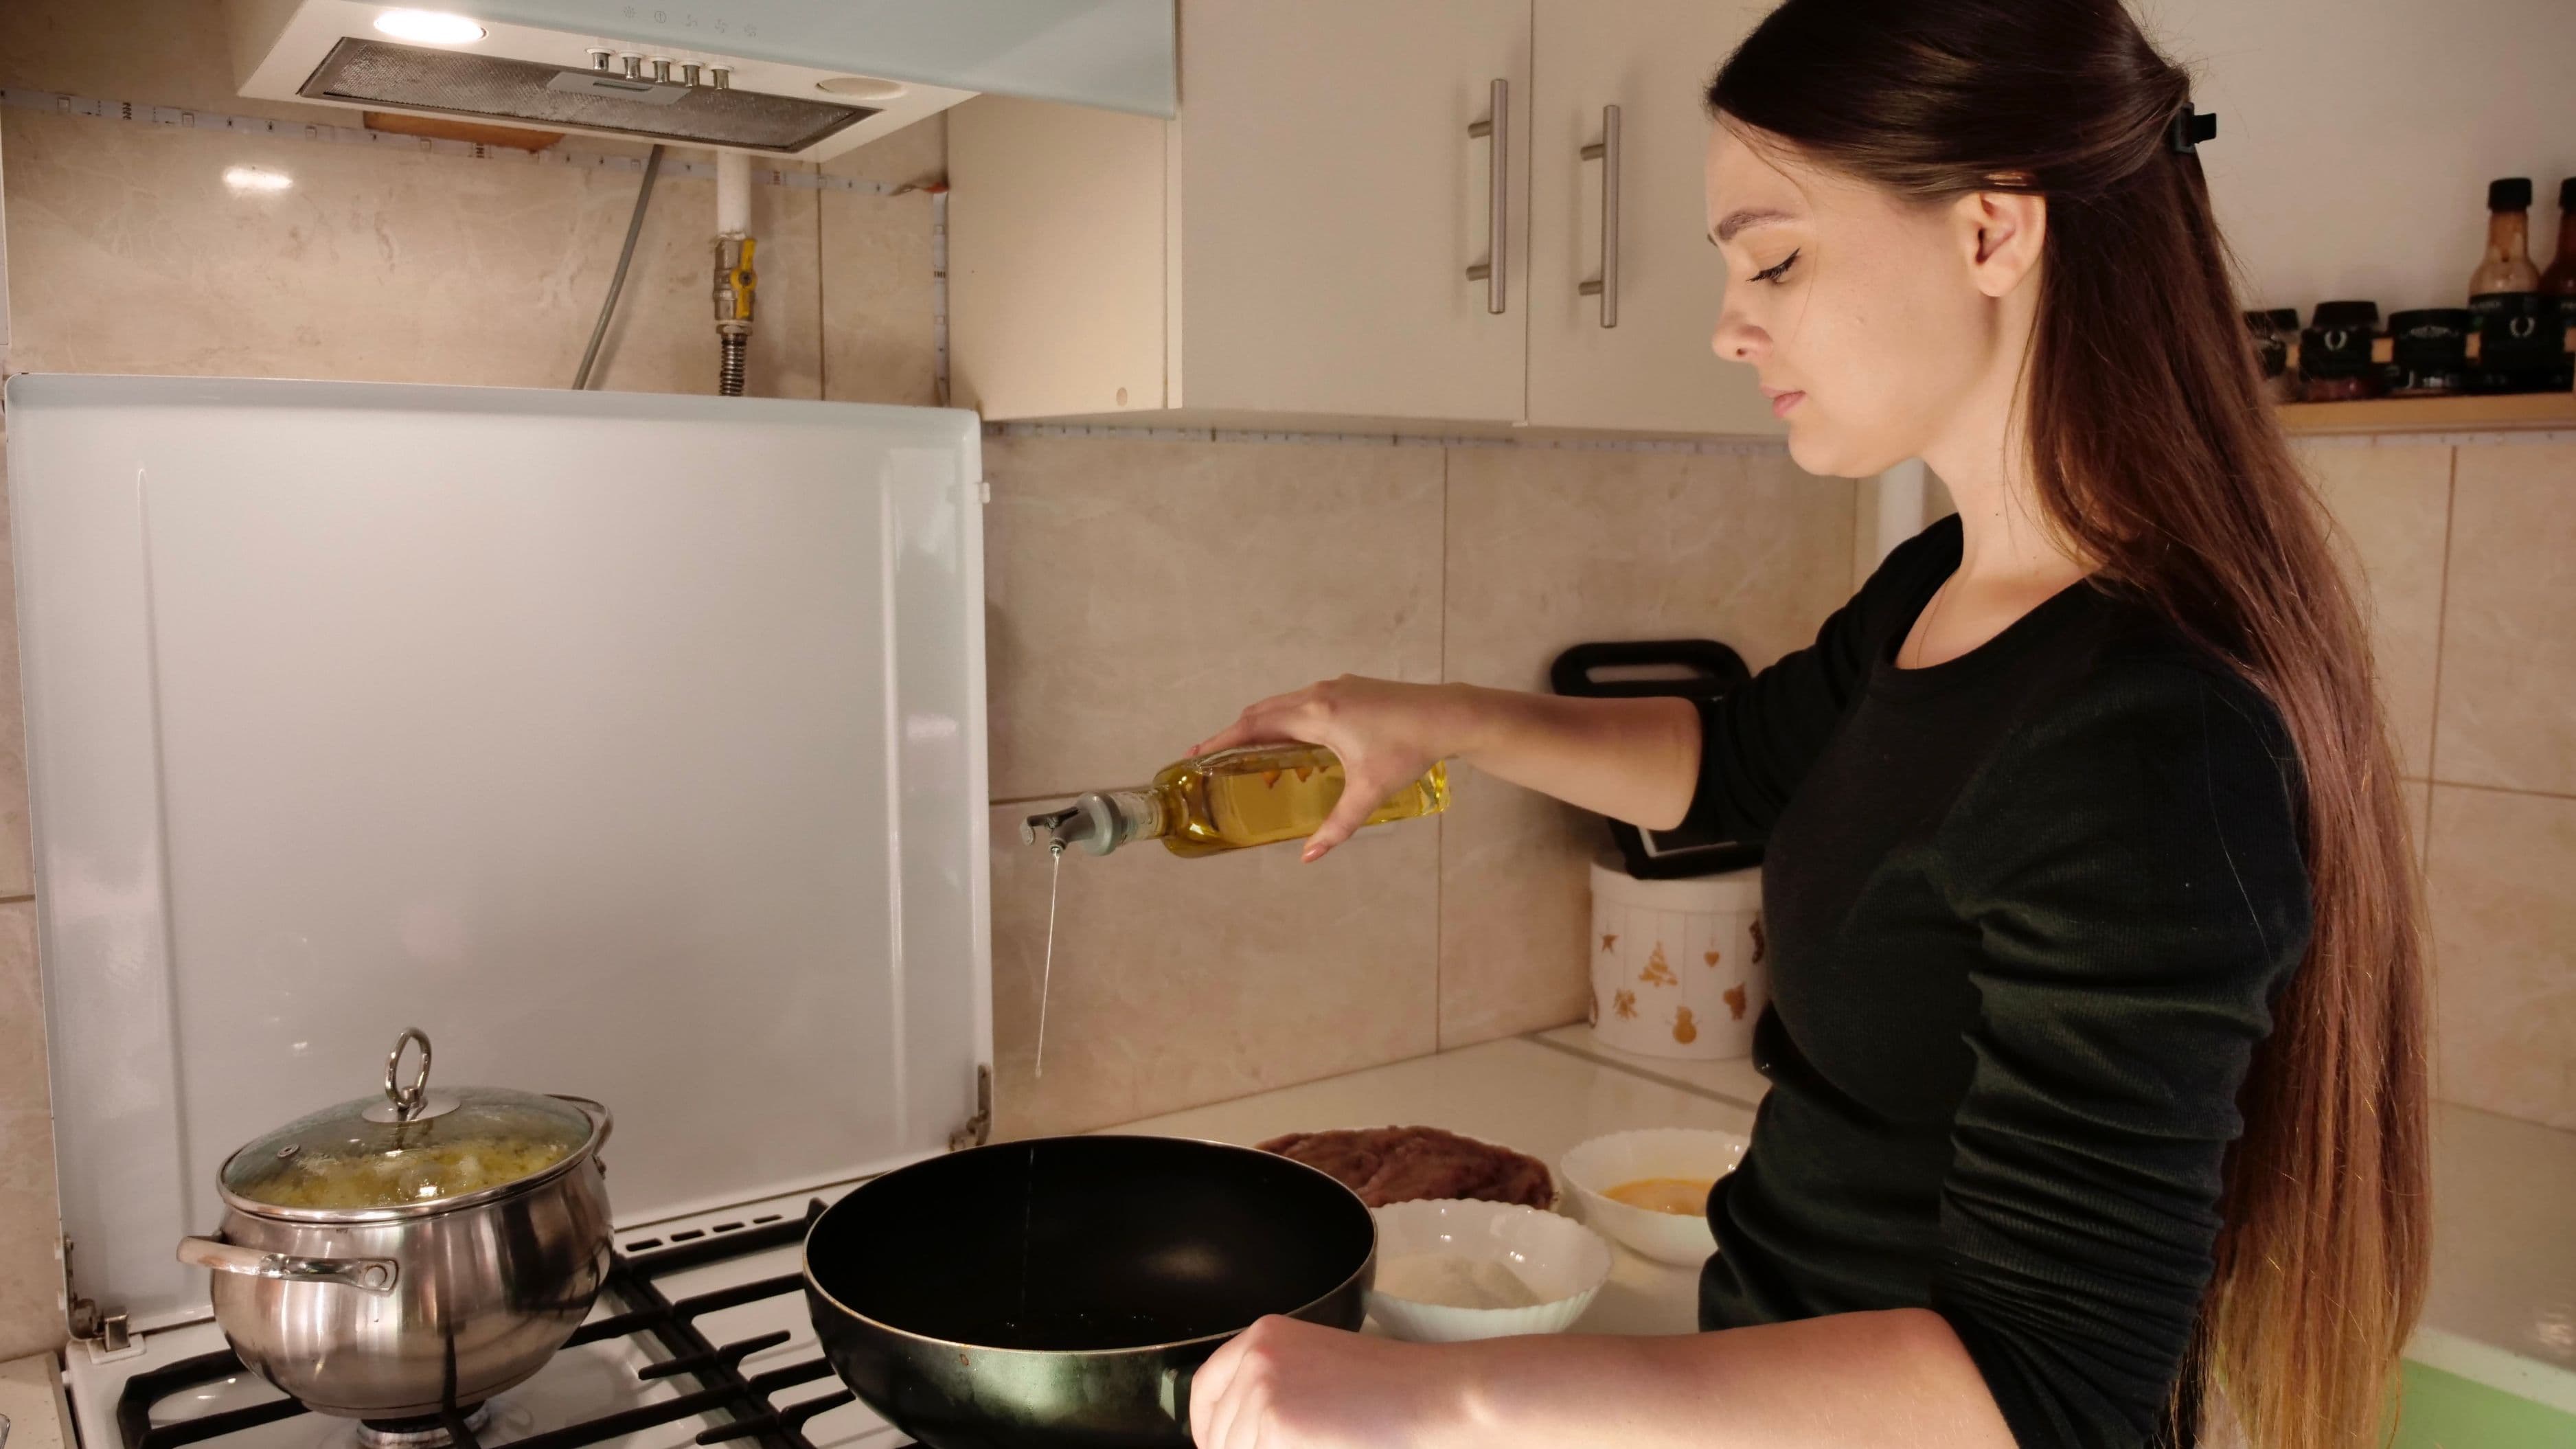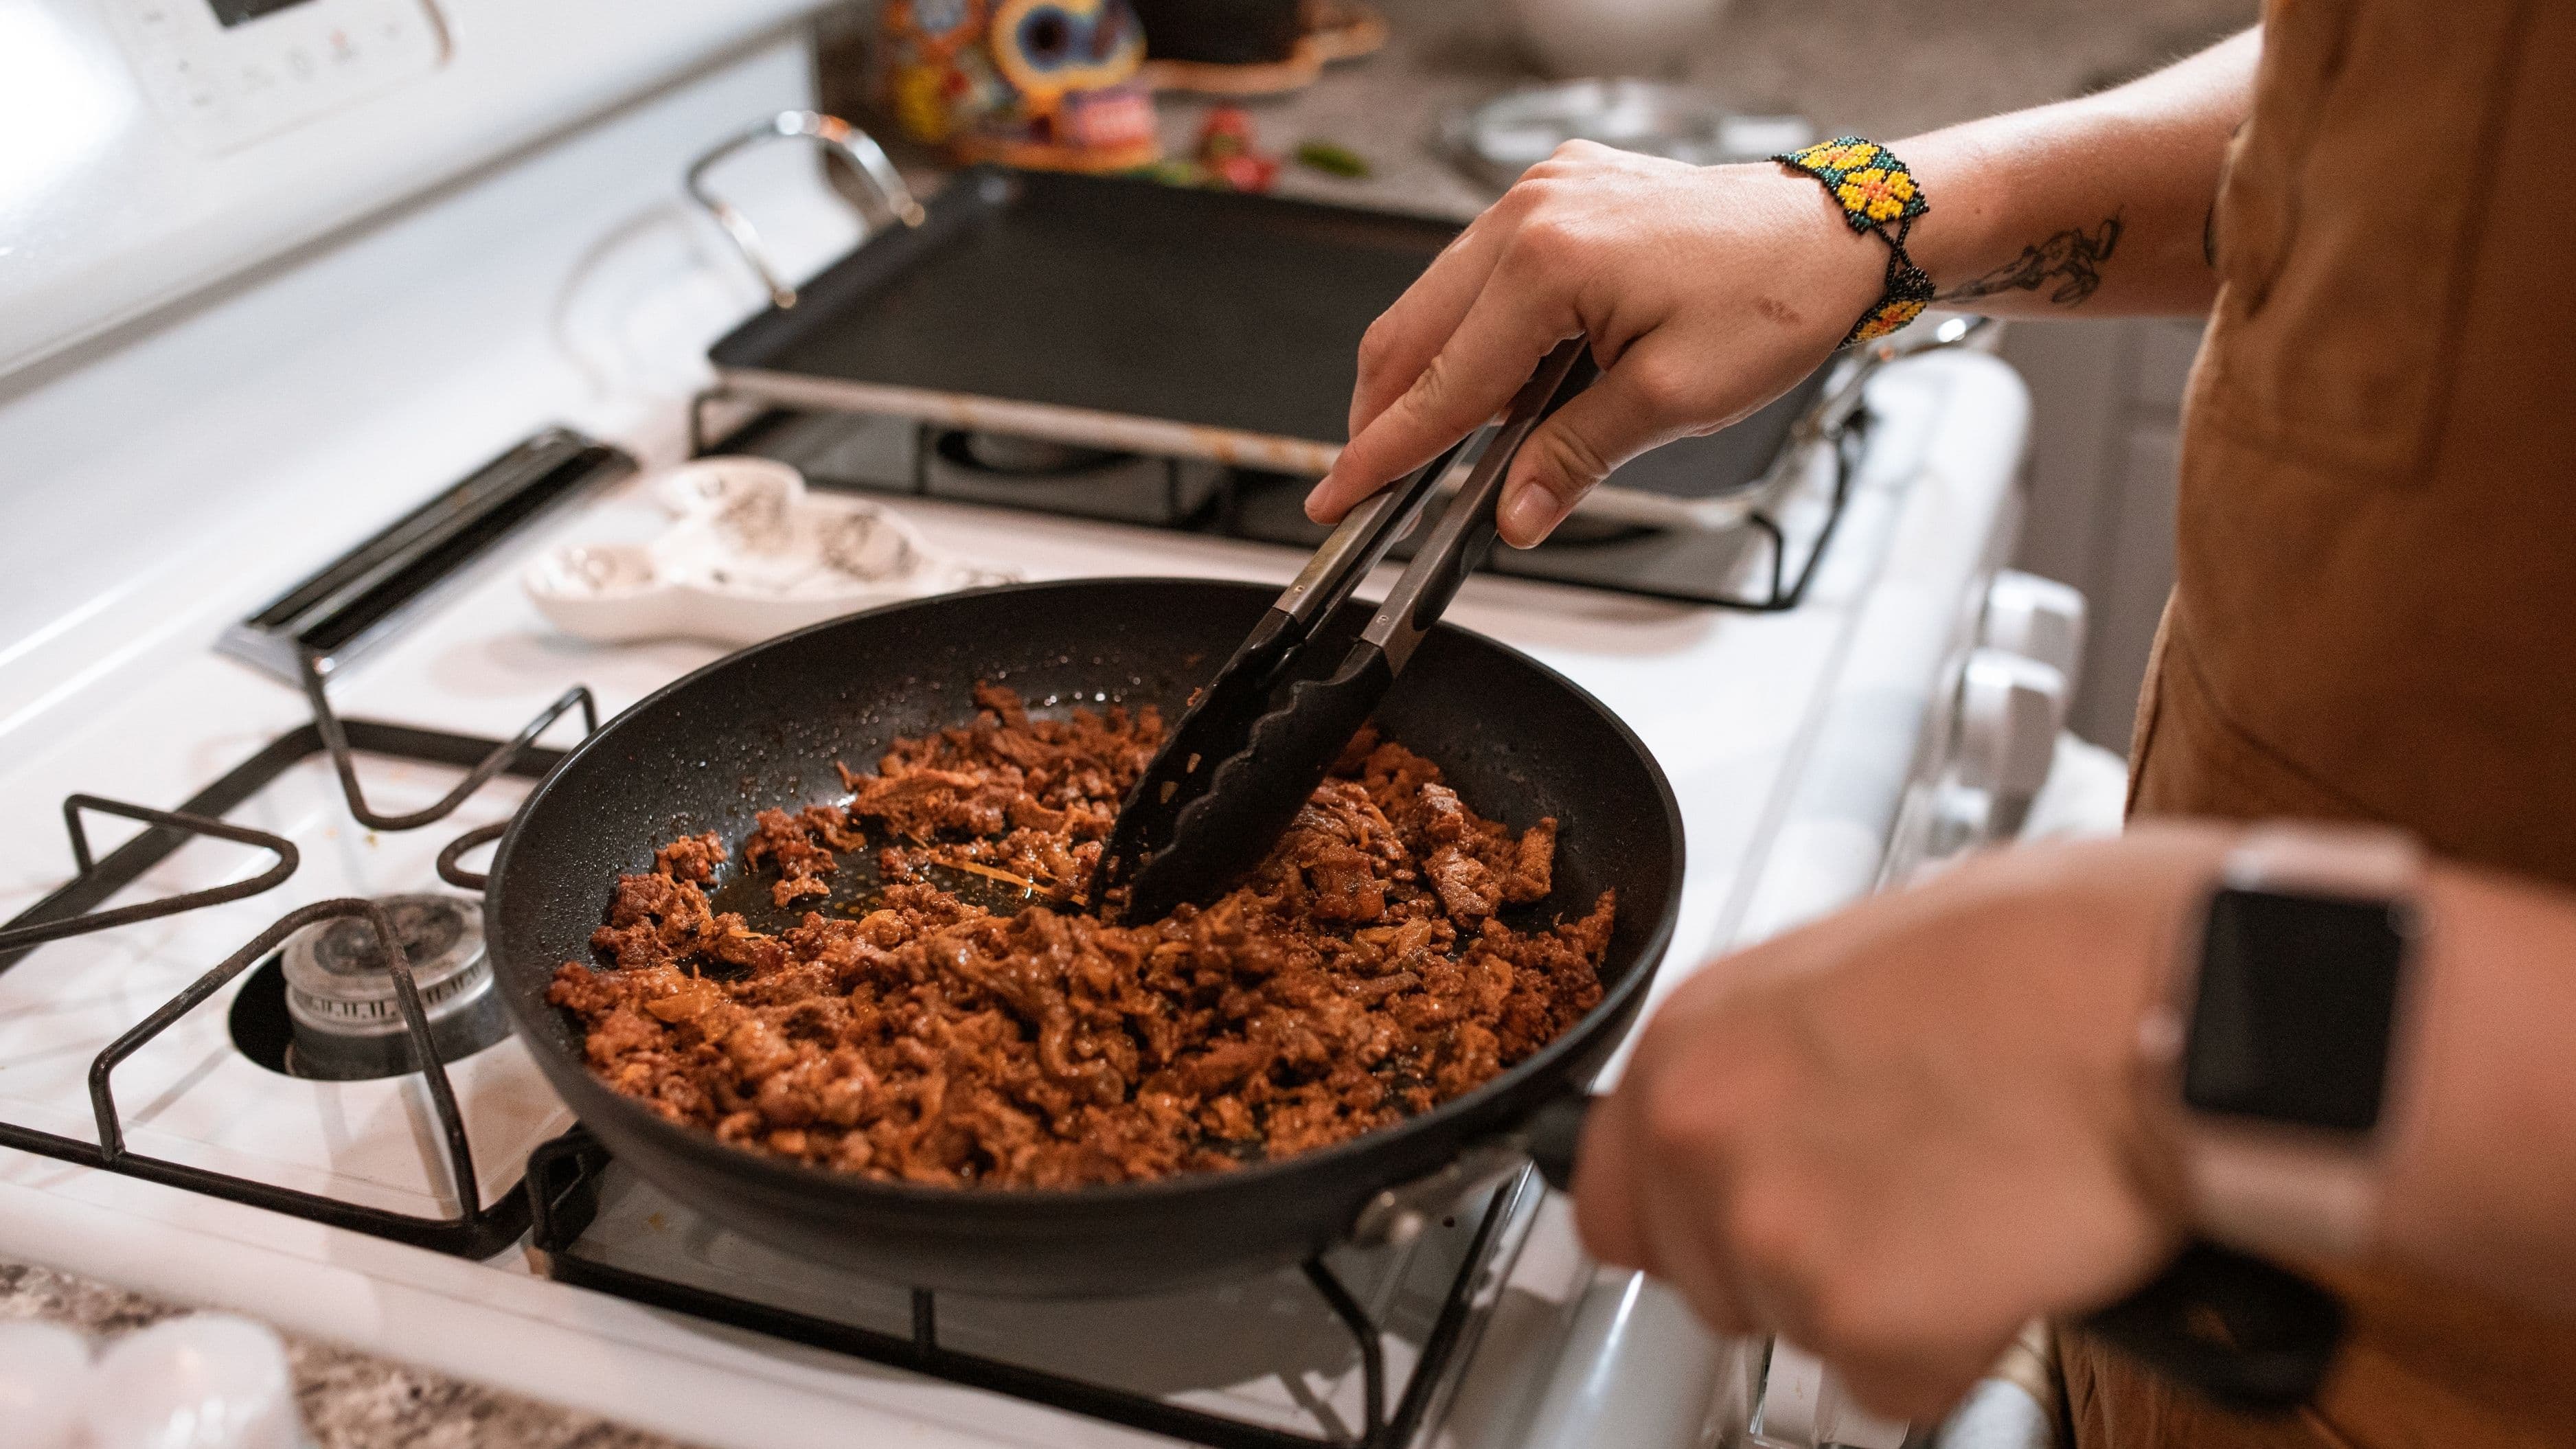

The good news is that rendering fat slowly is not complicated. It's mostly about patience and heat management. Once you understand what's actually happening and what to watch for, you'll do it confidently every time.
What Rendering Fat Actually Means
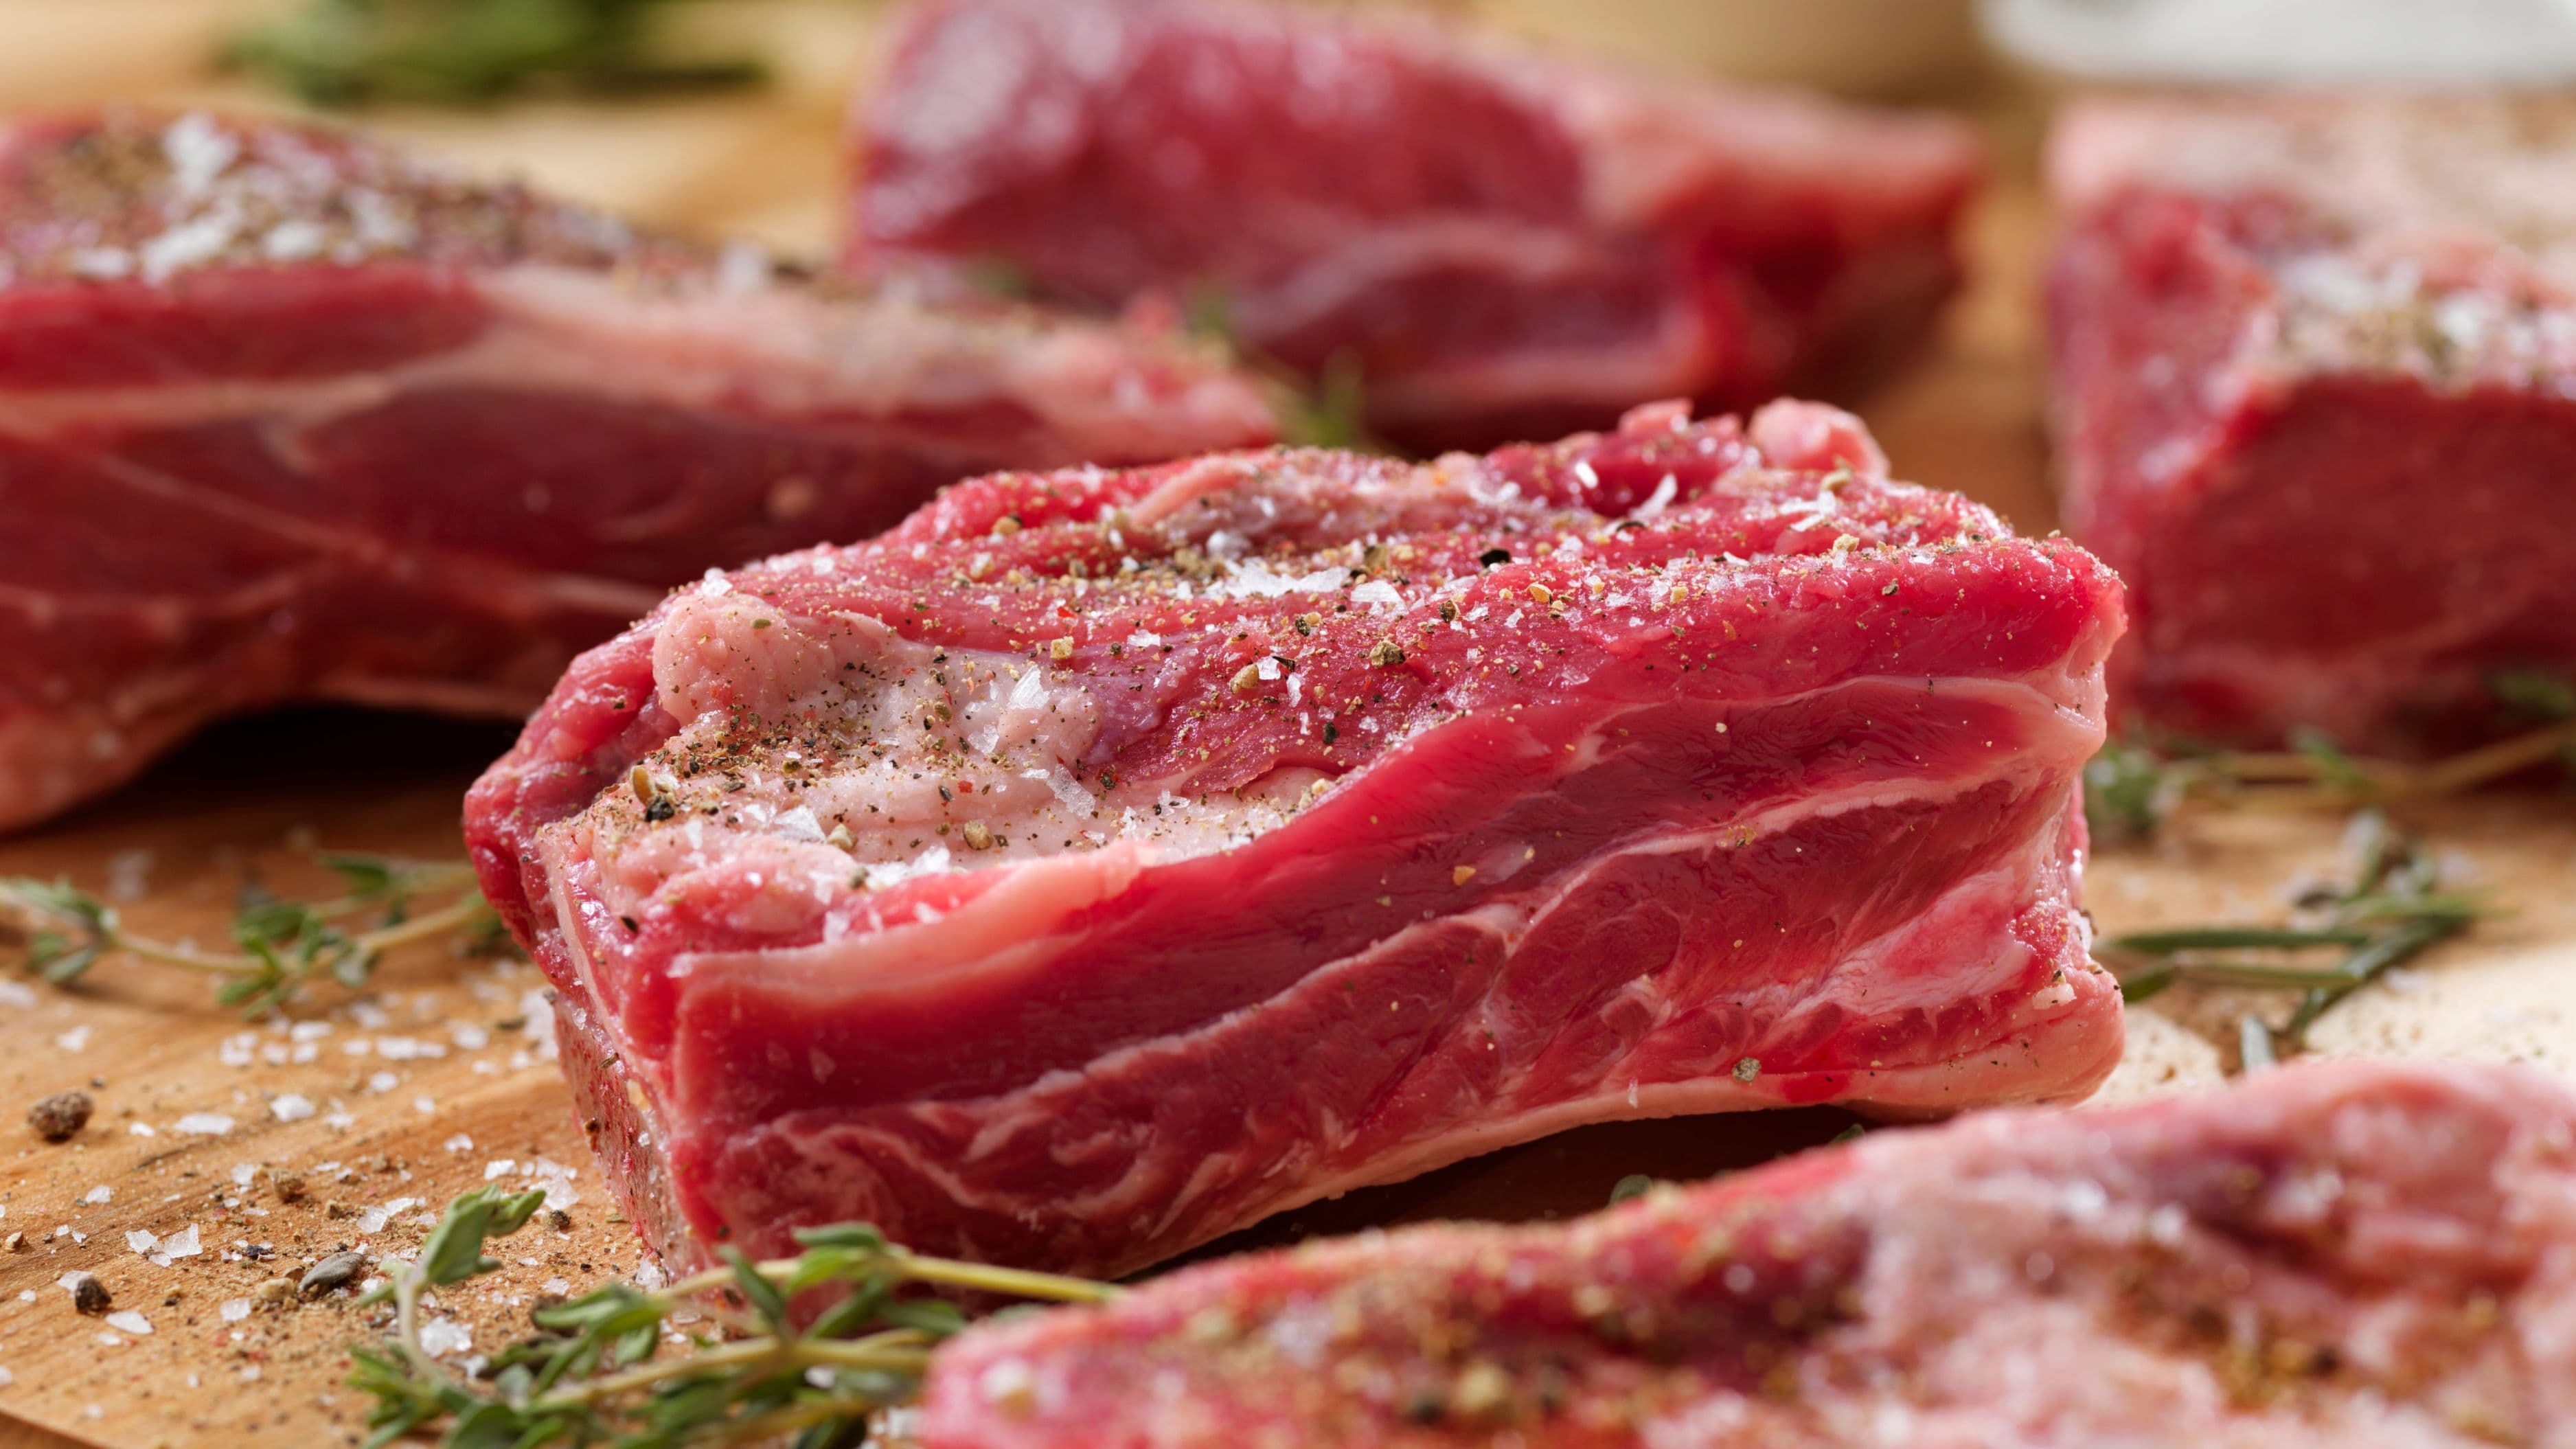
When you render fat, you're using low heat to melt the solid fat embedded in meat – whether that's the thick white layer on a duck breast, the marbled fat in pork belly, or the pieces of beef suet you're converting to dripping. As the fat heats up, it liquefies and slowly seeps out of the tissue, leaving behind crisp, browned skin or small cracklings and a pan of liquid gold.
The reason you go slowly is that fat doesn't behave like water. Water evaporates at 212°F (100°C) and is long gone before anything burns. Fat can withstand heat well, but the proteins and moisture in the skin surrounding it cannot. Hit the heat too hard, the proteins cook and tighten before the fat has a chance to escape, and you end up with rubbery or burnt skin with half the fat still trapped inside. Low, patient heat gives the fat time to melt gradually while the skin dries out and crisps gently rather than burning.
What You'll Need
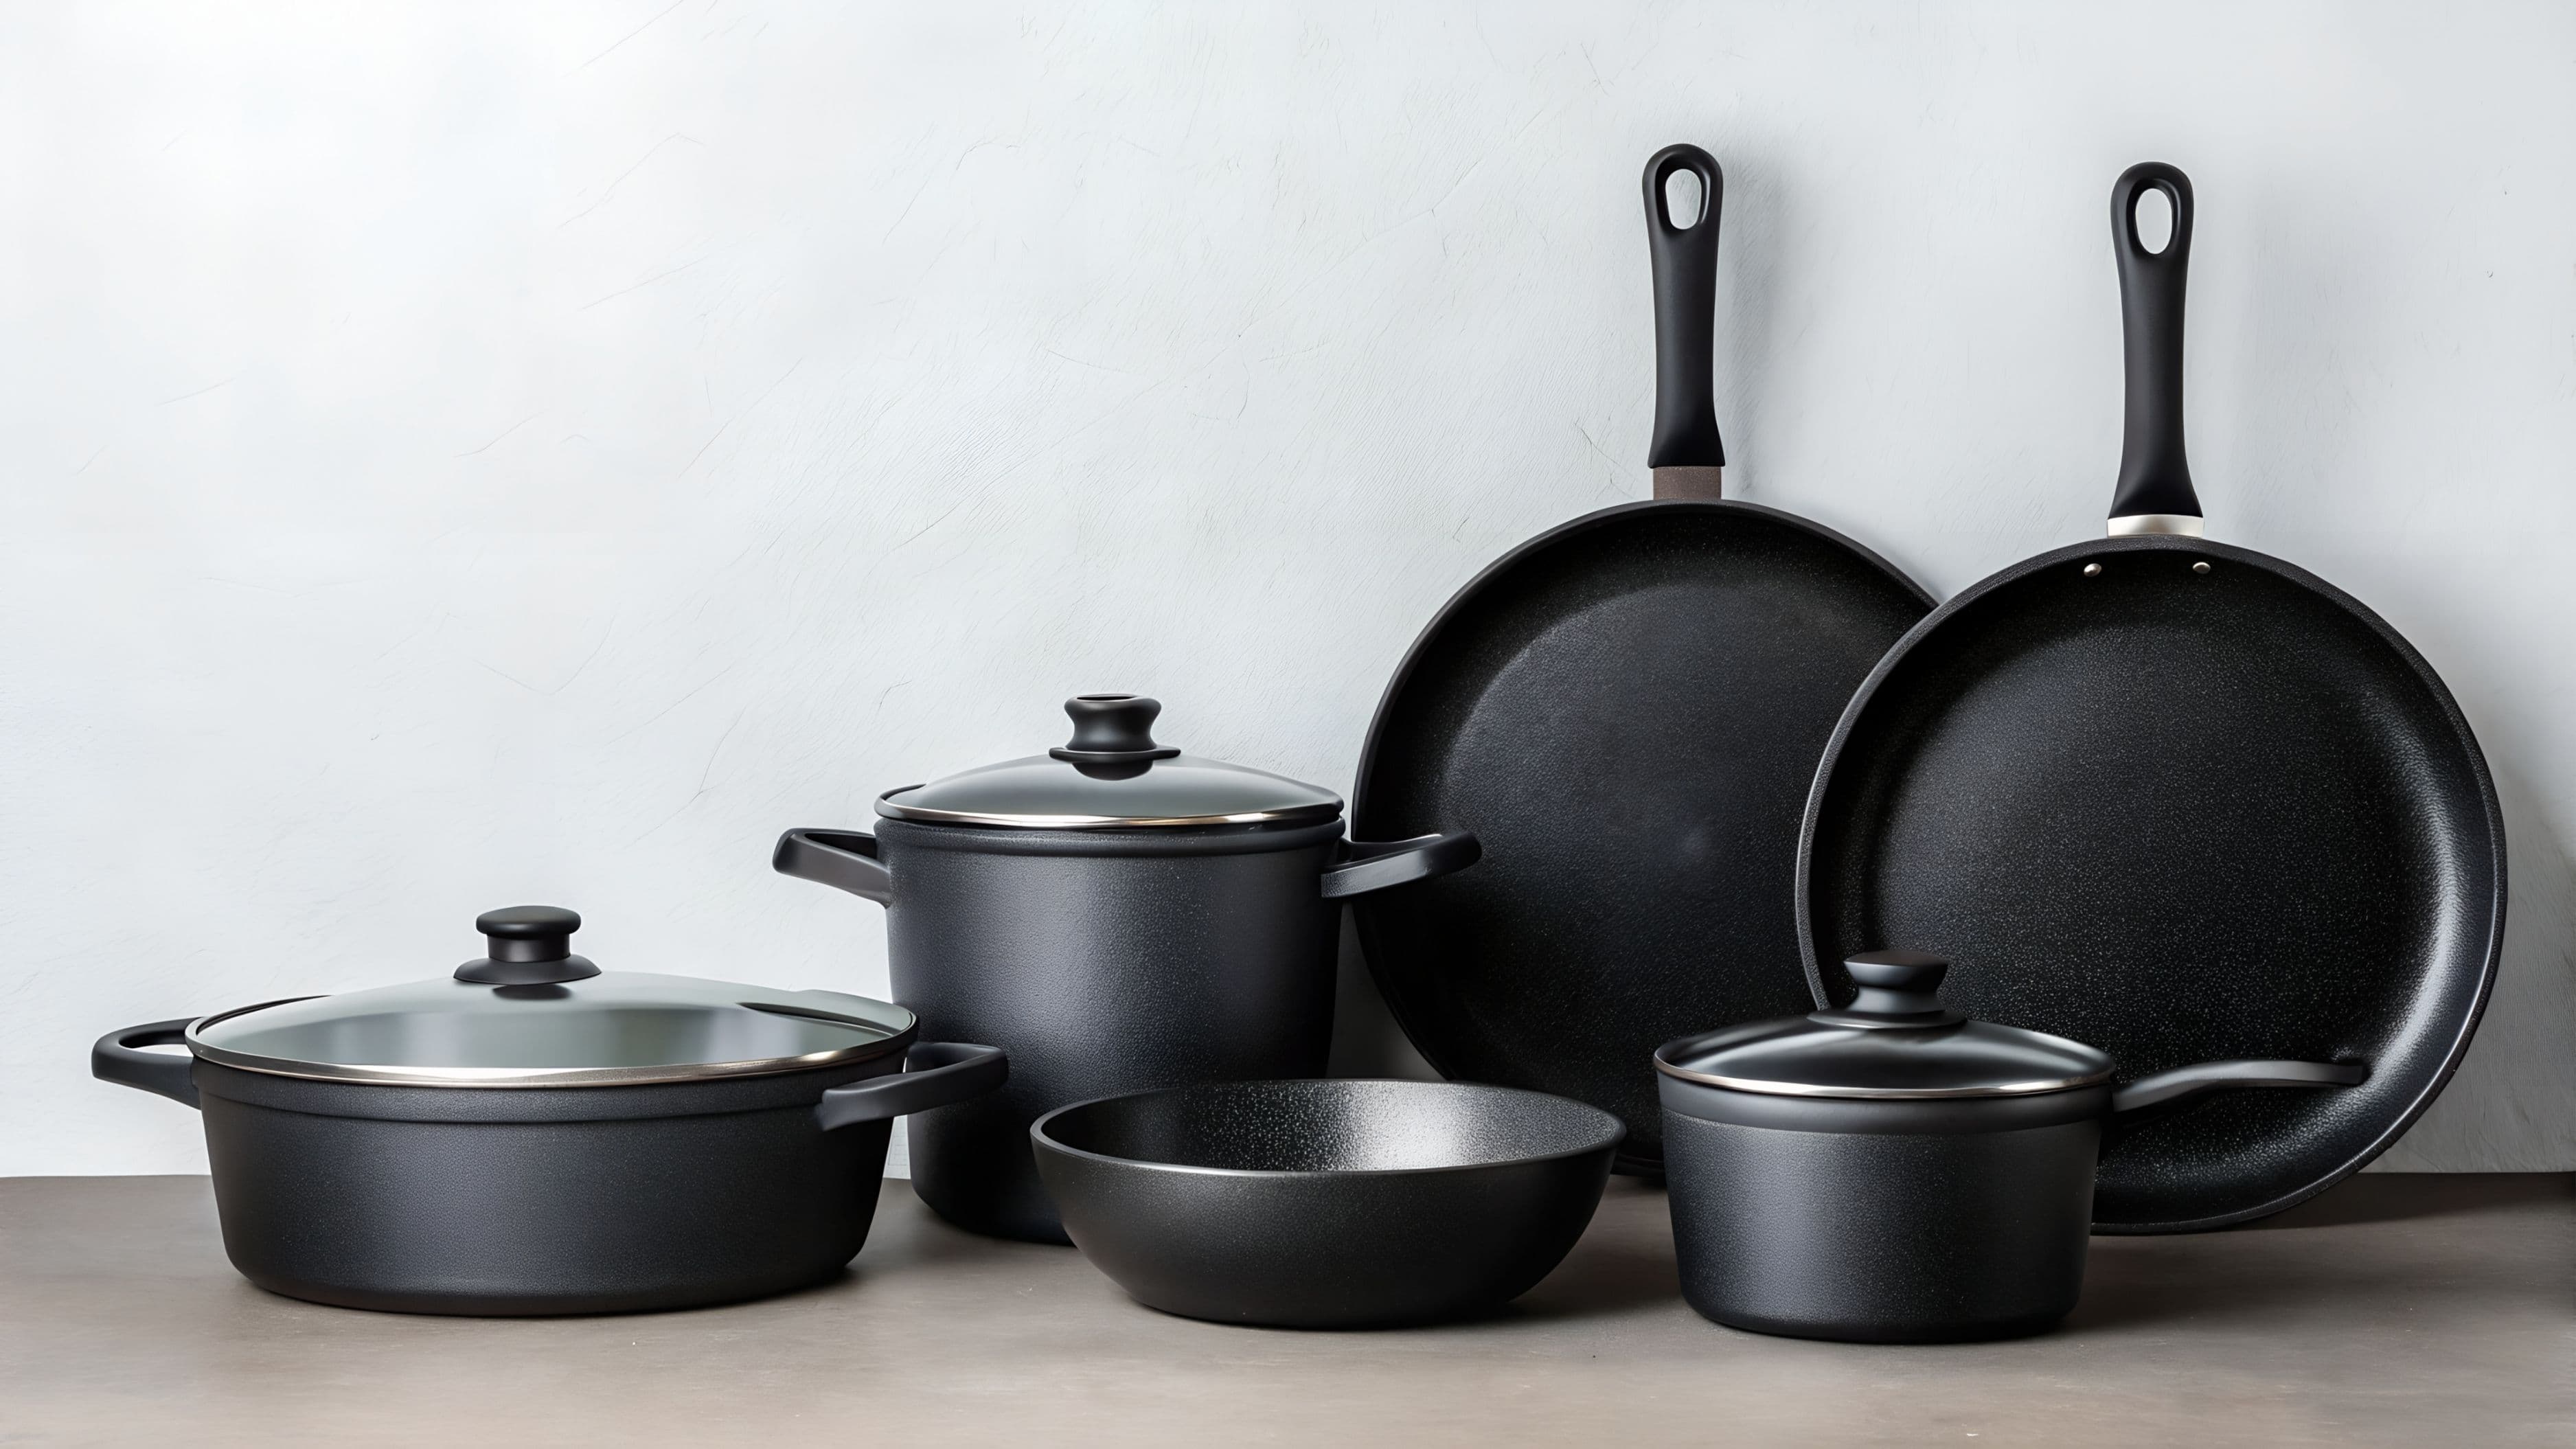
The good news is that you don't need any special equipment. A heavy-bottomed pan – cast iron, stainless steel, or a thick-bottomed non-stick – works well. Avoid thin pans, which create hot spots that make slow, even heat almost impossible to maintain.
You'll also need the meat or fat itself (duck breast, pork belly, chicken thighs, beef fat trimmings, or pieces of lard), a splatter screen if you have one (not essential, but helpful), and some patience. The process can take anywhere from 10 minutes for a duck breast to 45 minutes or longer for a thick piece of pork belly or a batch of lard.
No oil or butter needed – the whole point is that the fat produces its own cooking medium.
Step-by-Step: How to Render Fat Without Burning It
Step 1: Score the Fat if There's a Thick Layer
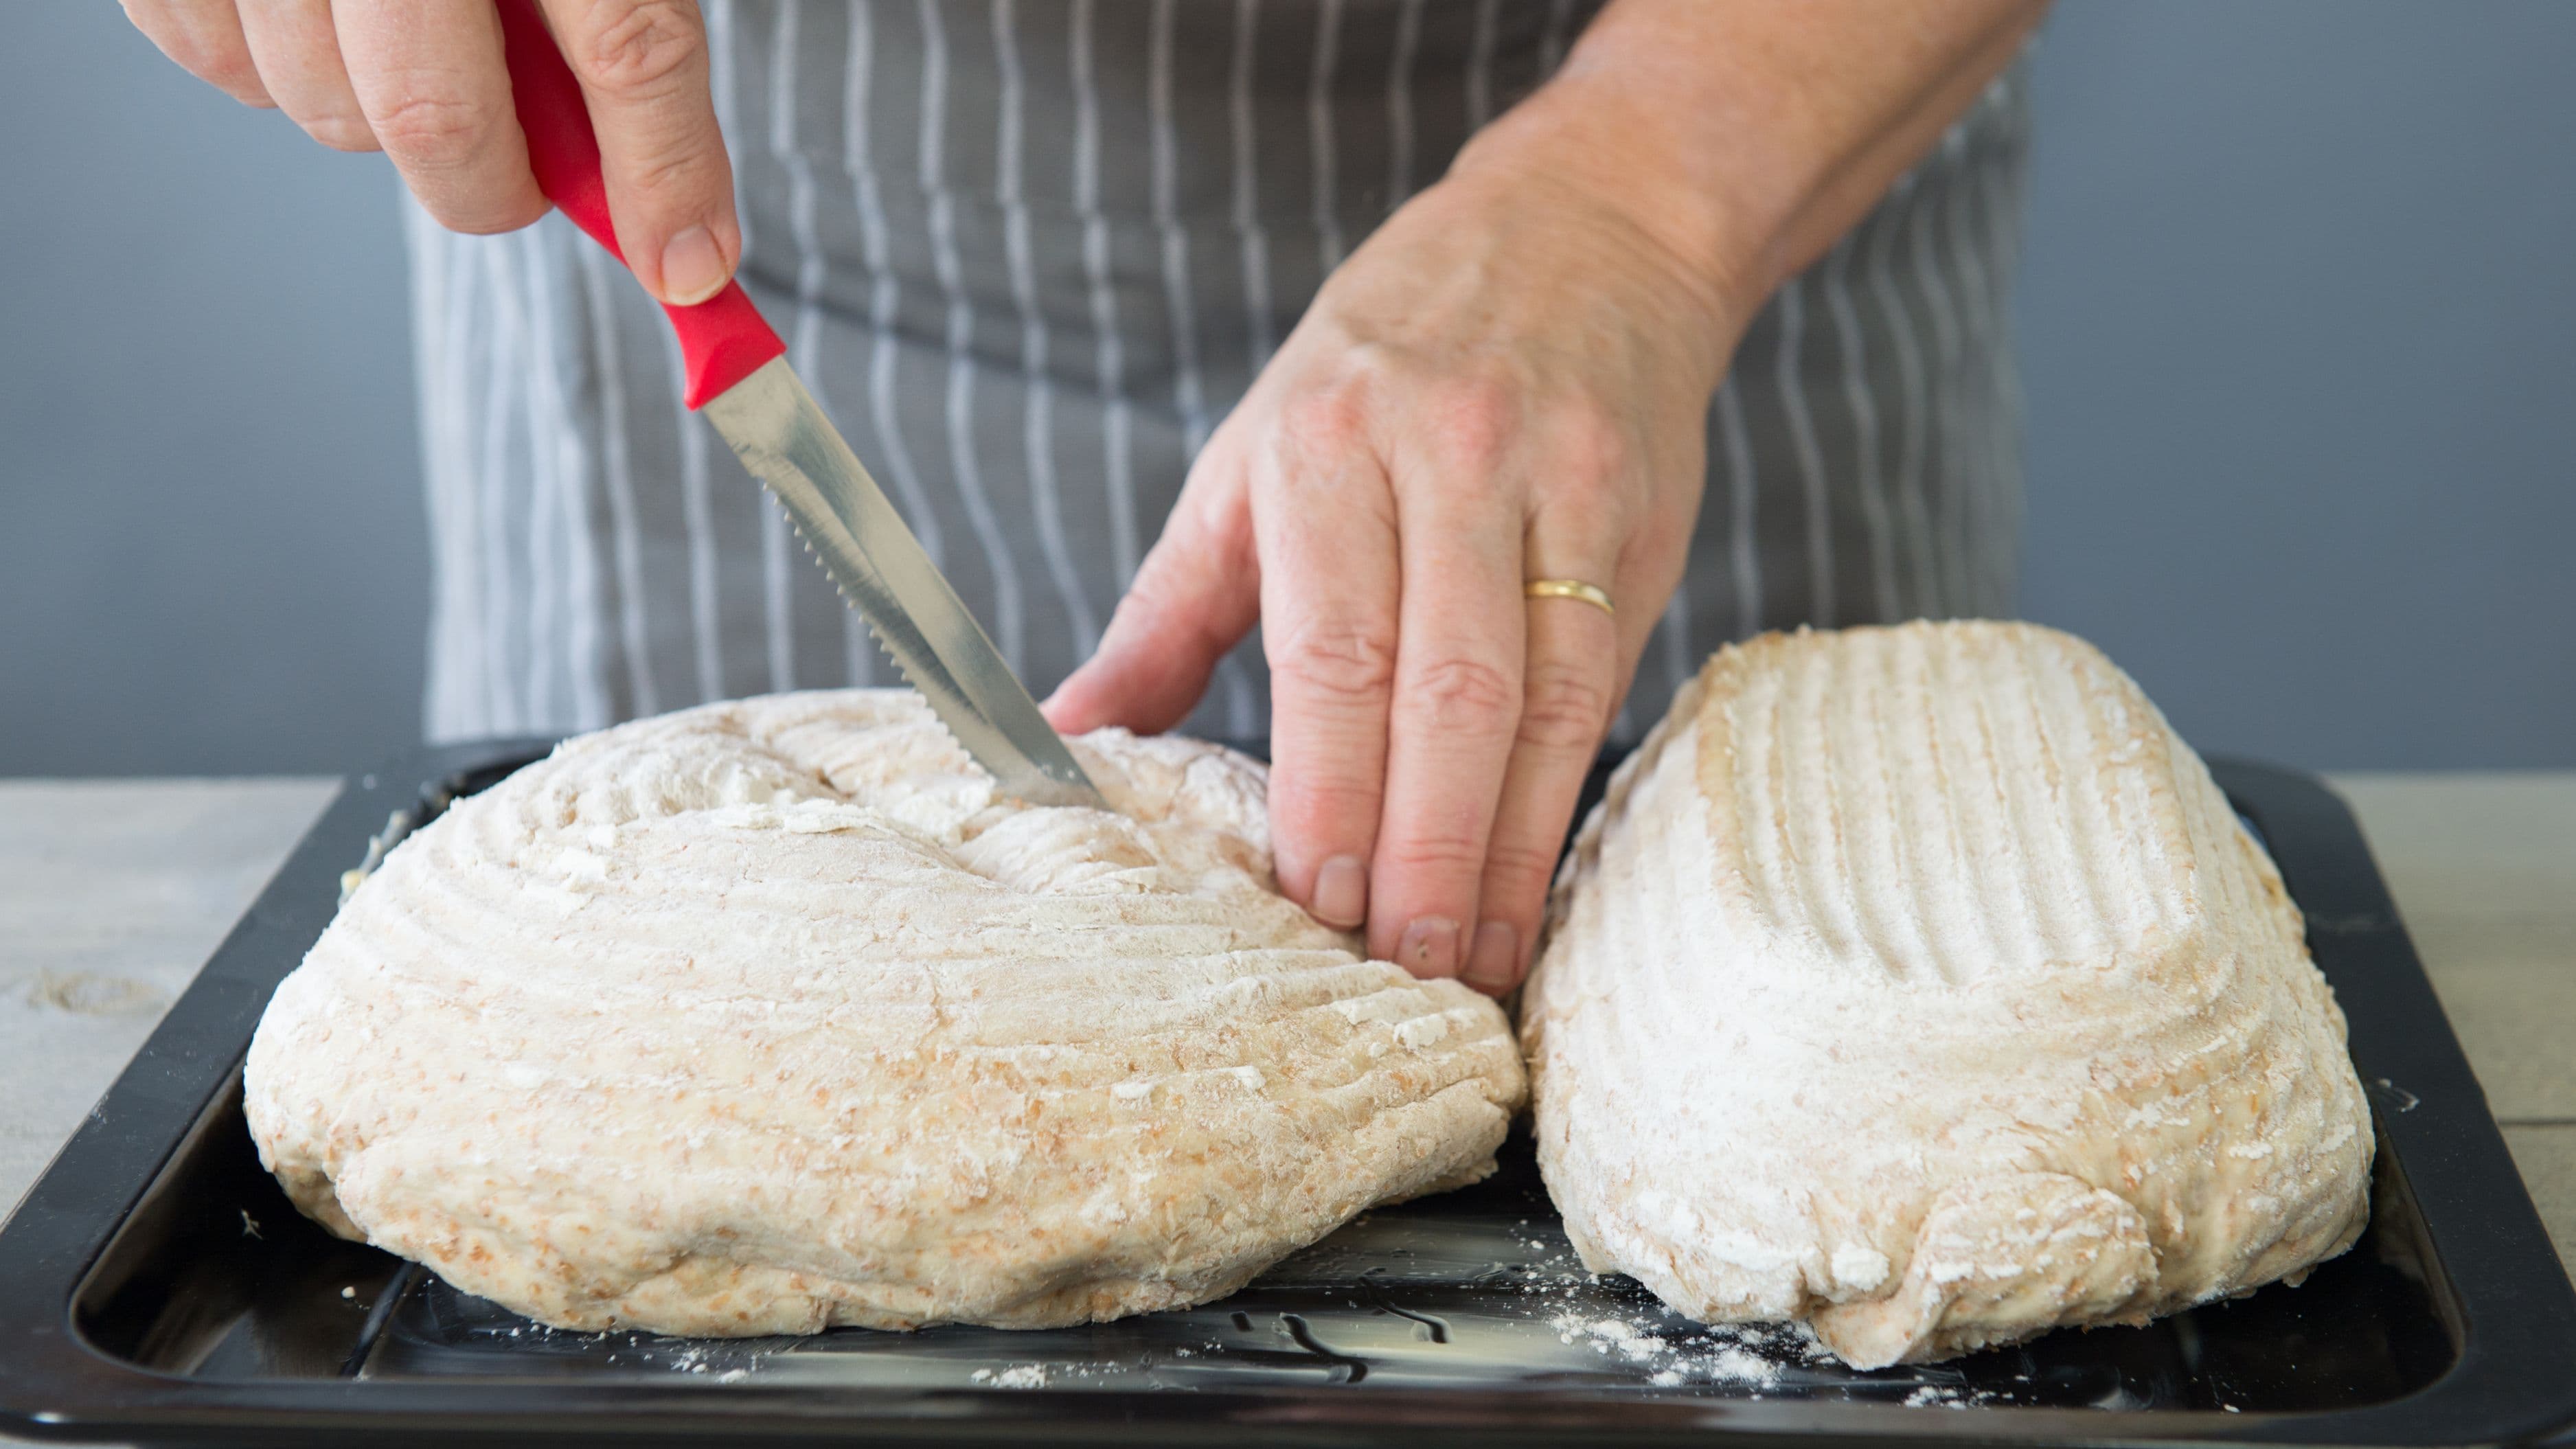
If you're working with duck breast, pork belly, or any cut with a thick, solid cap of fat on one side, score it before cooking. Use a sharp knife to cut shallow diagonal lines through the fat, spaced about half an inch apart, crossing in the other direction to create a crosshatch pattern. Don't cut into the meat below – just through the fat layer.
Scoring does two things: it opens up the surface area so fat can escape more quickly, and it helps the skin contract evenly during cooking rather than pulling and buckling into odd shapes. It also gives the finished skin that distinctive, attractive diamond pattern.
Step 2: Start Cold – No Preheated Pan
This is the step most people skip, and it makes a real difference. Place your meat fat-side down in a cold pan, then set the heat to medium-low or low. You want the fat to warm up gradually alongside the pan, not shock it with immediate high heat.
When the pan is preheated and you add cold meat, the outside of the fat can sear quickly while the inside is still solid. Starting cold allows heat to penetrate the full depth of the fat layer evenly, giving the interior fat time to liquefy before the surface cooks through.
Step 3: Maintain Steady, Gentle Heat
Once the pan heats up and the fat starts to sizzle gently, that's your target – a gentle, steady sizzle rather than aggressive spitting and bubbling. Adjust your burner to keep this level consistent. Different stoves vary considerably, so on a gas hob this might be a low-medium flame, while on an electric ring it might be a 3–4 out of 10 setting.
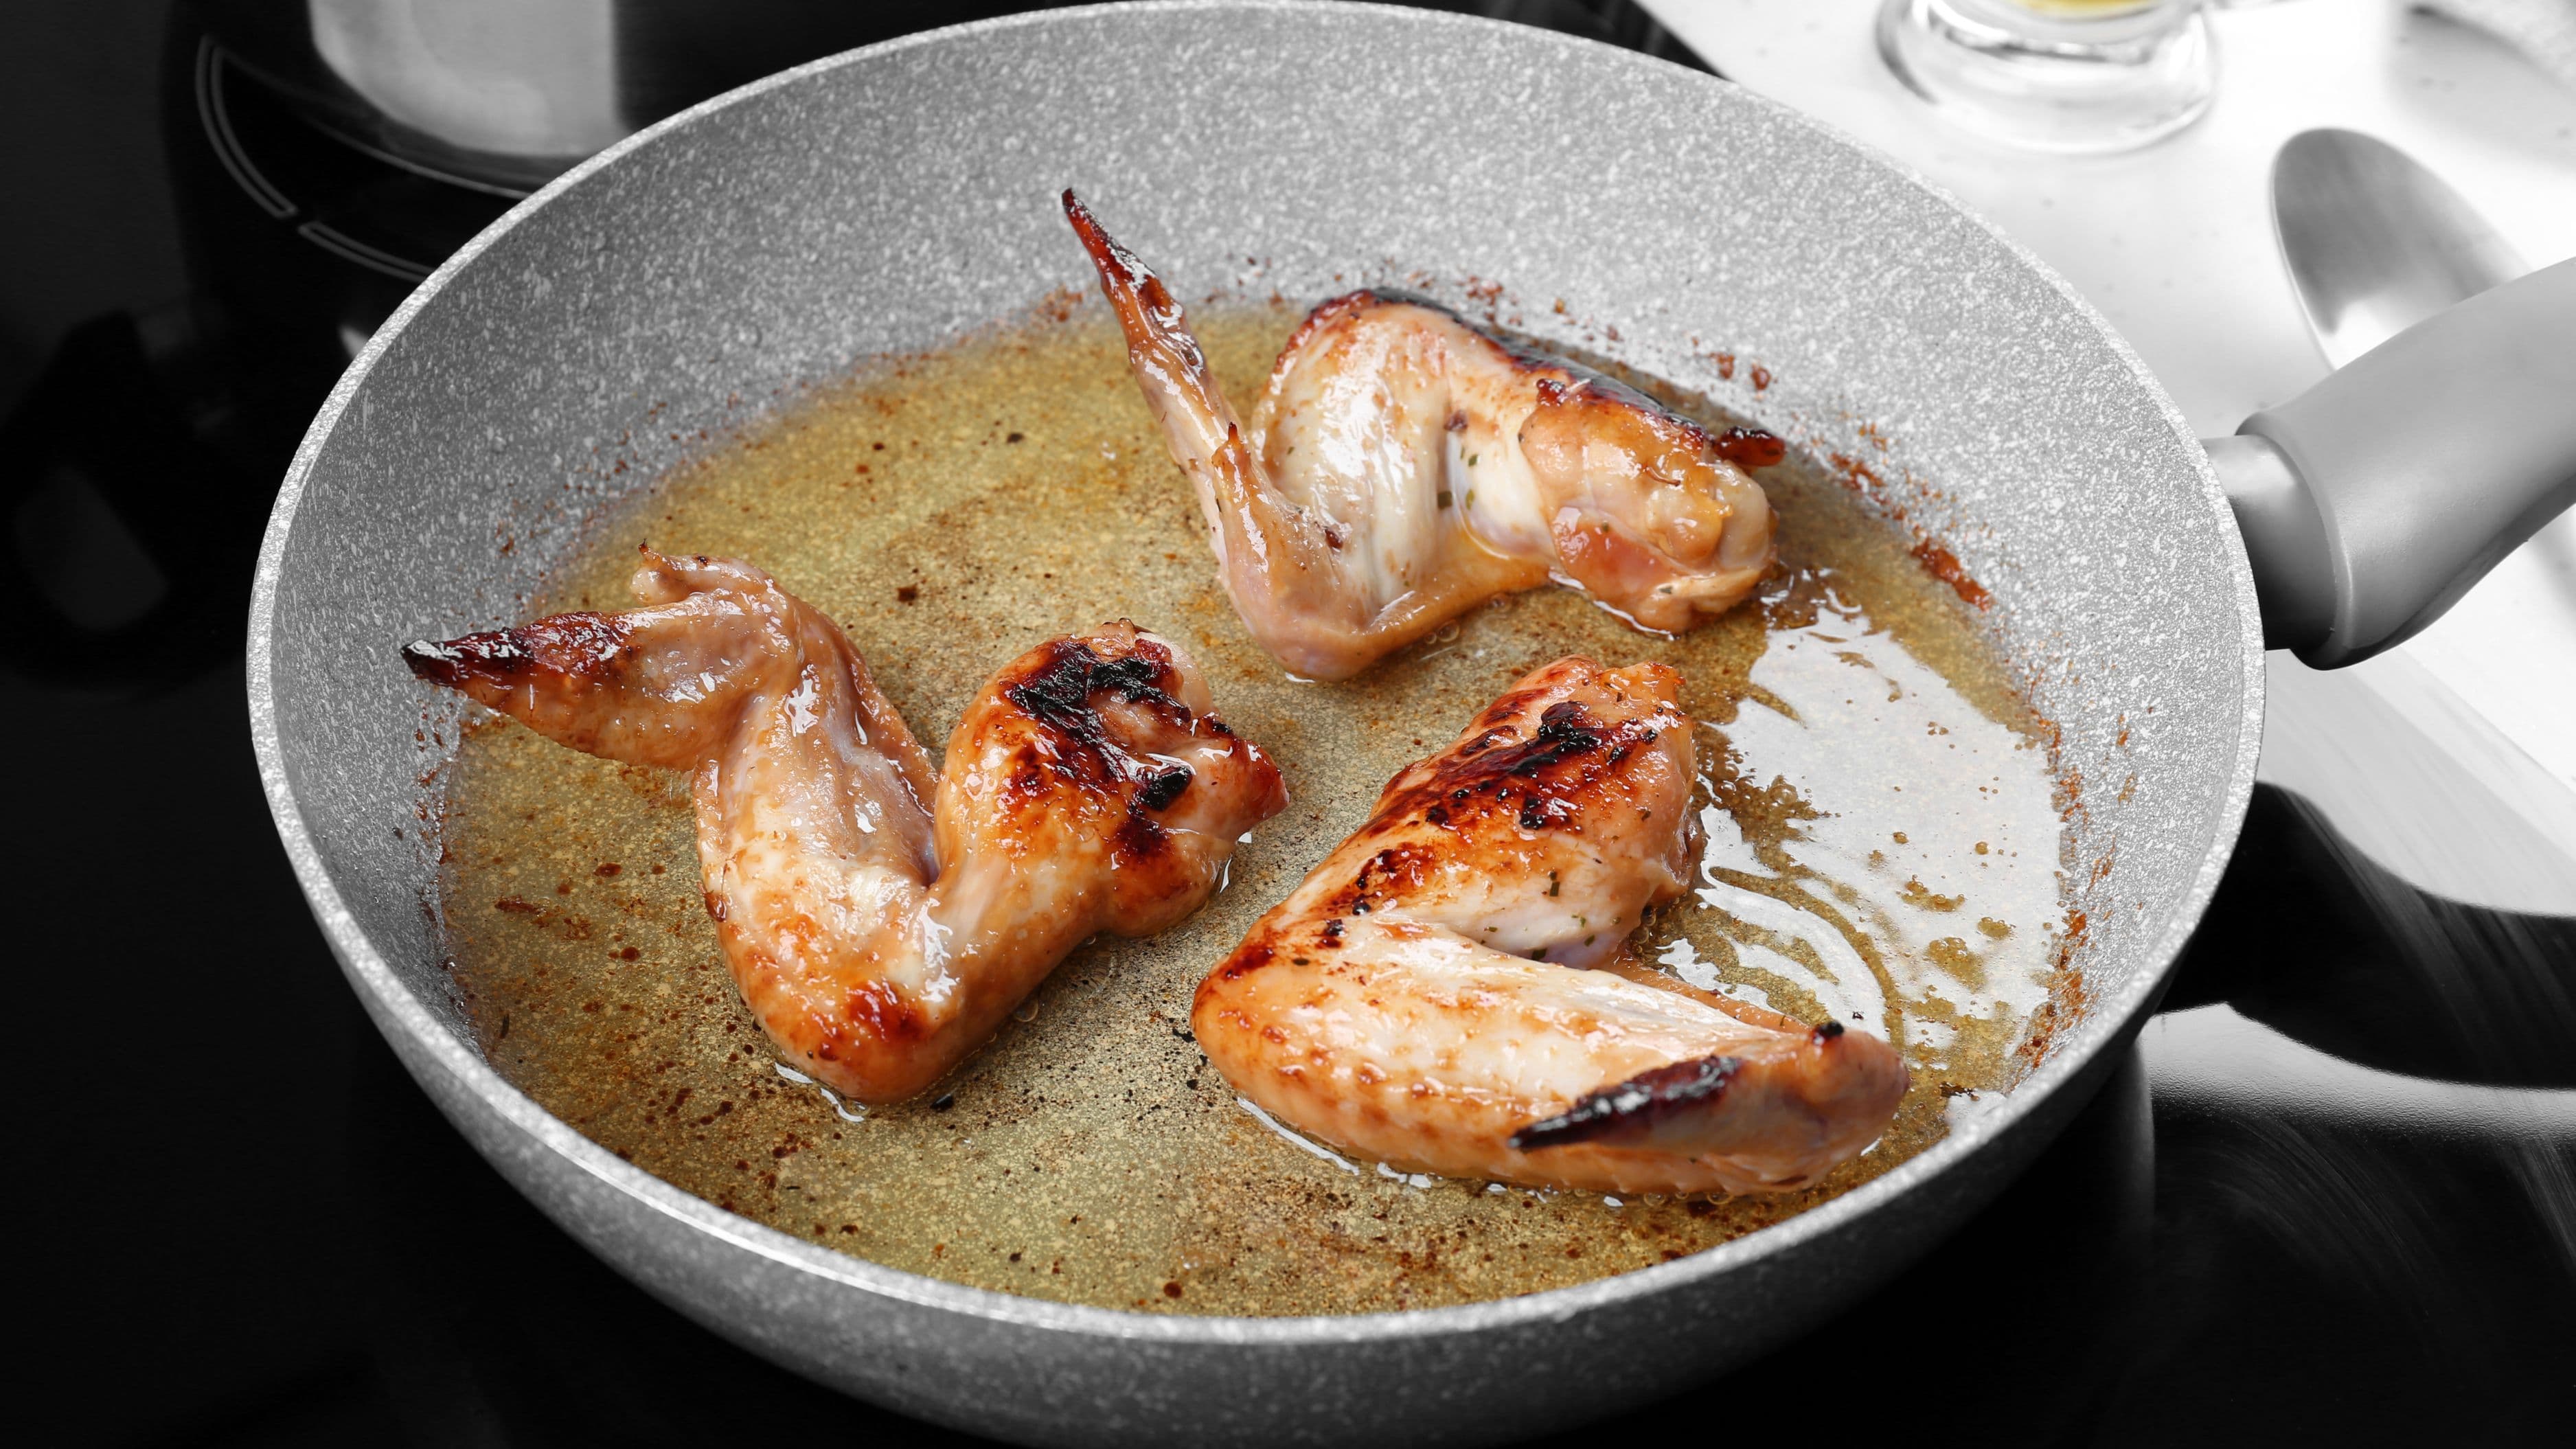
If you see strong spitting, smoke, or the fat is browning too quickly, reduce the heat immediately. A small amount of steam and a quiet sizzle is what you're after. The fat will pool in the pan as it melts out – that's exactly what you want. You can spoon it out periodically if there's too much accumulation, or leave it in the pan to continue basting the skin.
Step 4: Don't Move It (Mostly)
Resist the urge to lift, prod, or move the meat around. One of the most common rendering mistakes is checking too often – every time you lift the meat off the pan, you interrupt the contact that's driving the fat out. Leave it alone for at least 8–10 minutes before your first check.
When you do check, lift one edge gently and look at the fat: is it golden and shrinking, or is it still pale and thick? If the skin is getting too dark before the fat has fully rendered, reduce the heat and continue. If it's barely coloring after 15 minutes, you can nudge the heat up very slightly.
Step 5: Finish With a Brief Increase in Heat (Optional)
Once most of the fat has rendered and the skin or outer layer is a pale golden color and has visibly thinned, you can increase the heat to medium for the final 2–3 minutes to crisp the skin to a deeper golden brown. At this point, there's much less risk of burning because most of the fat is already out and the skin has dried sufficiently to handle higher heat without scorching.
This final stage is optional – for some applications like making lard or dripping from fat trimmings, you'll just drain and strain without needing to brown anything. But for skin-on cuts like duck or pork belly, the brief finish makes the difference between golden and genuinely crisp.
Step 6: Rest the Meat and Save the Fat
Once rendering is done, transfer the meat to a board or plate to rest. Don't skip this – resting allows the juices to redistribute and the skin to stay crisp rather than going soggy immediately.
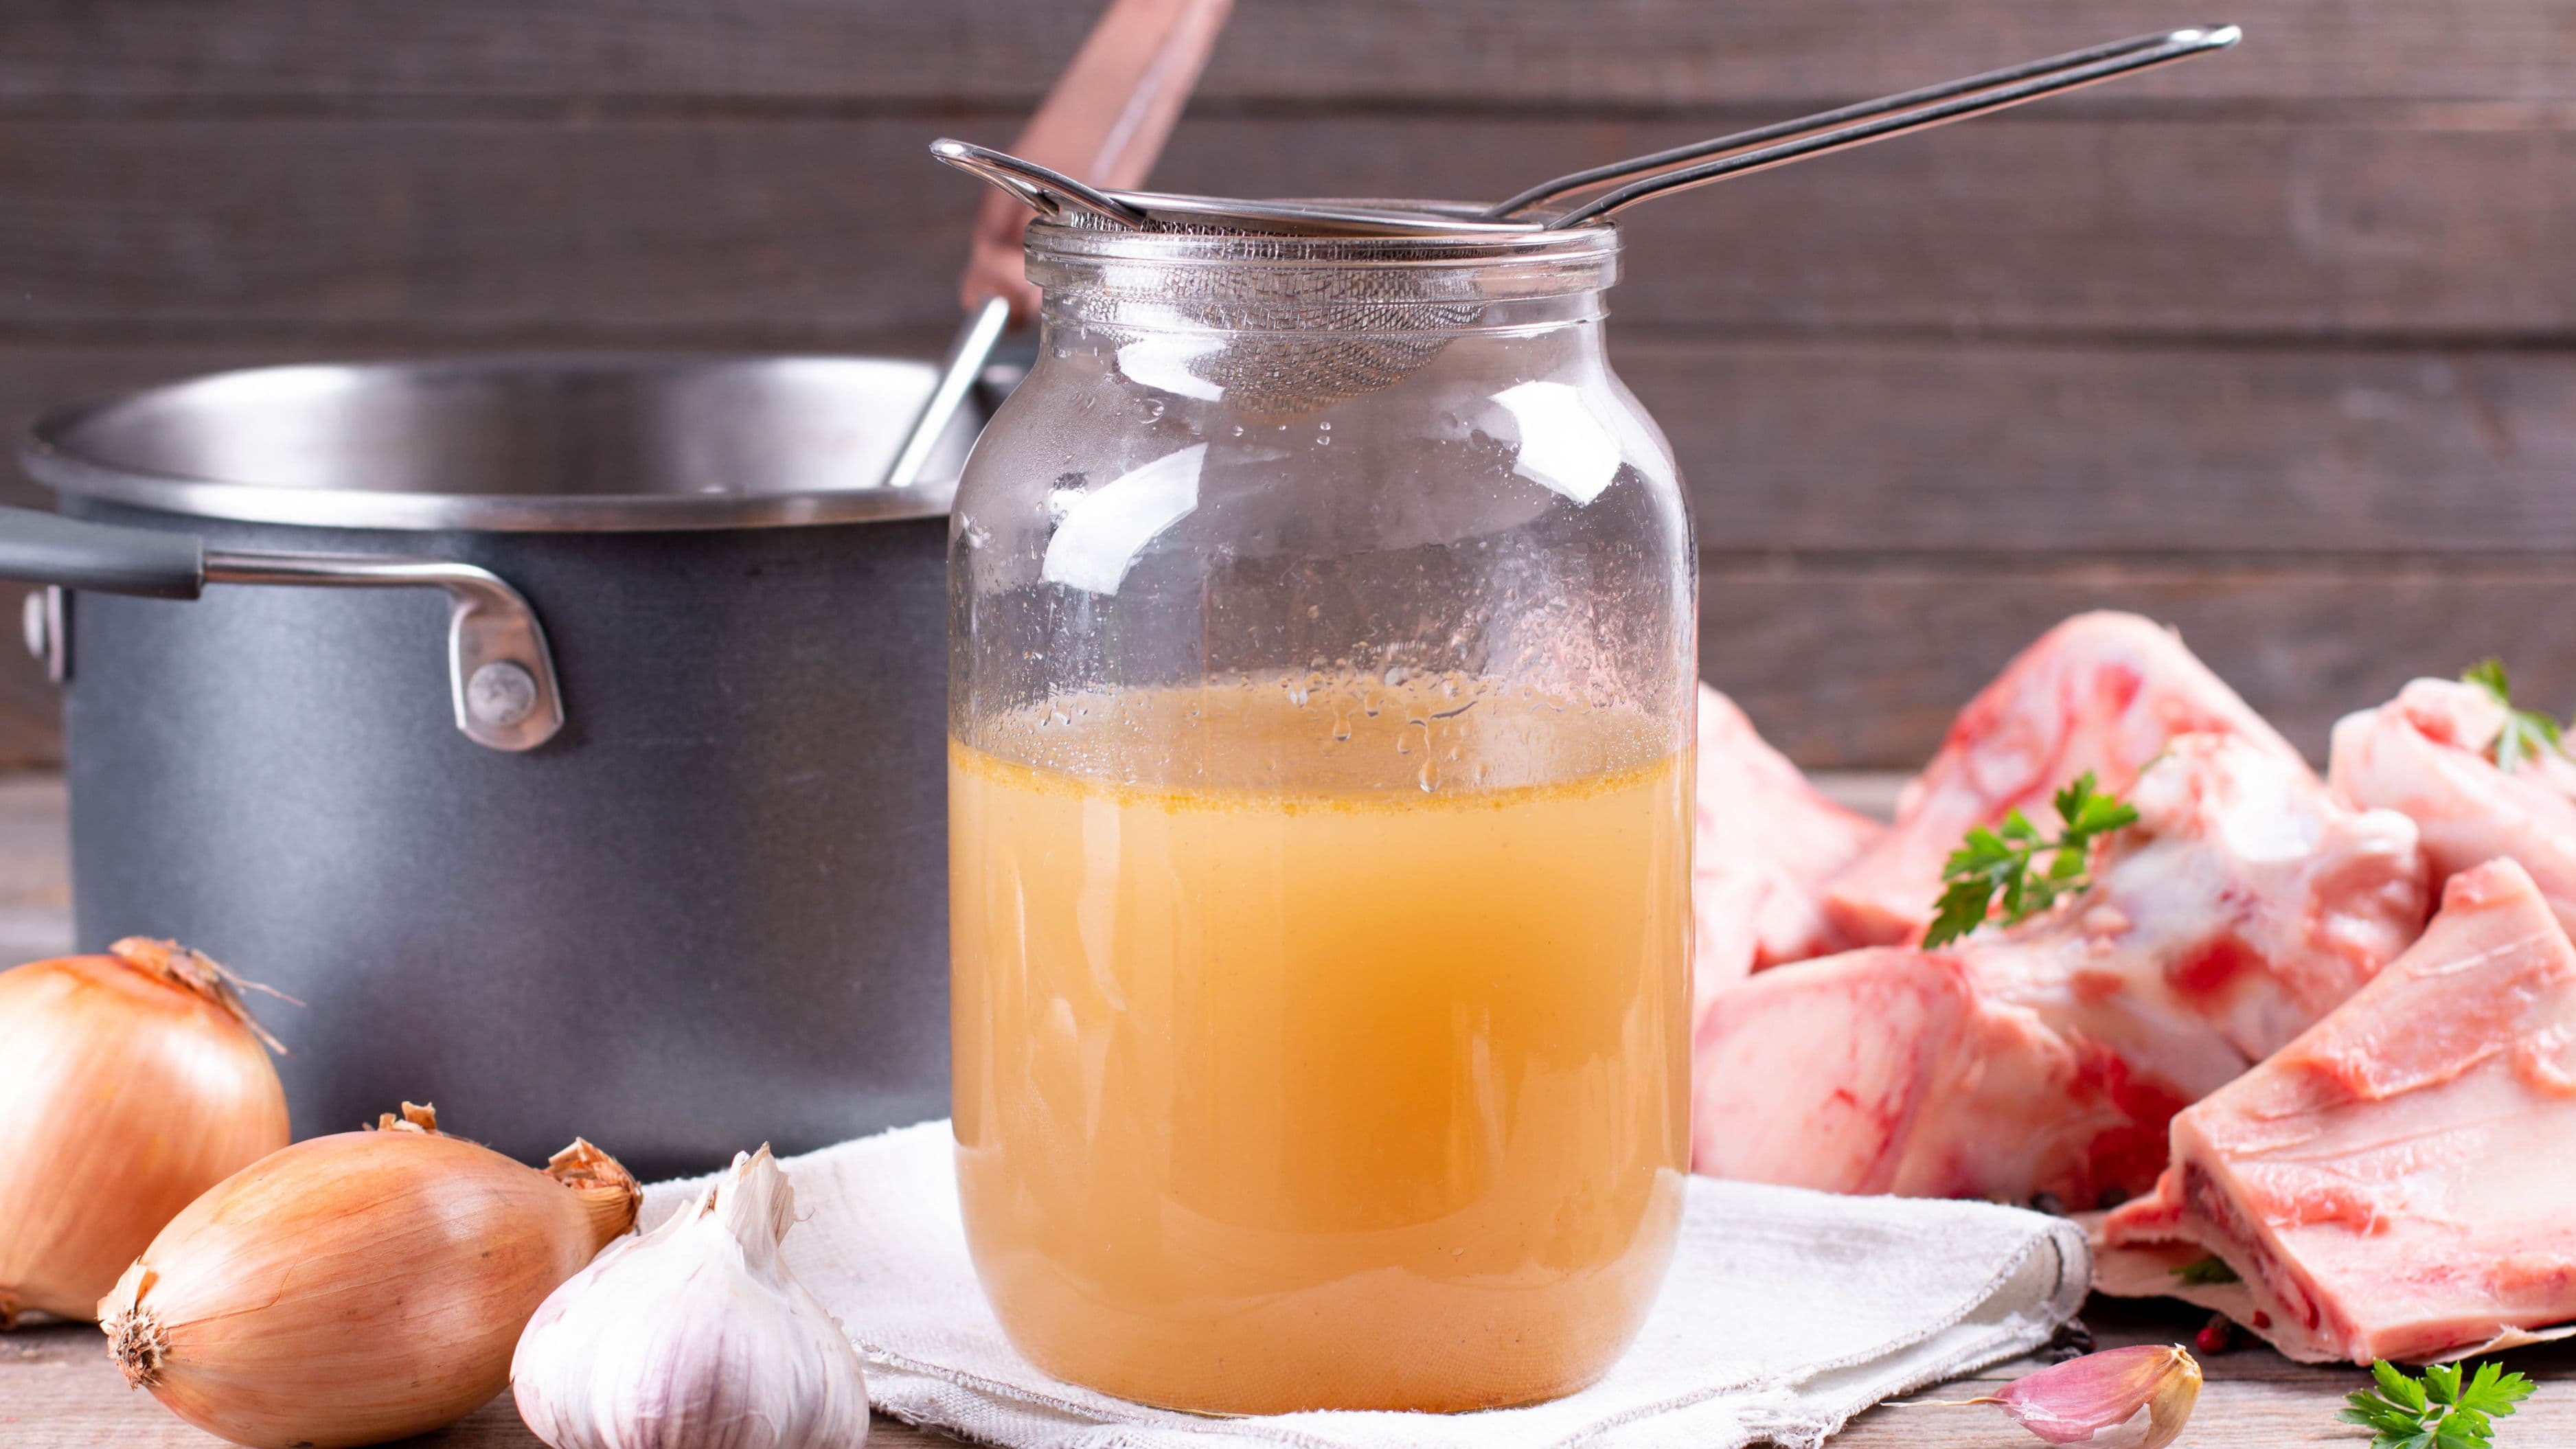
The fat in the pan is now liquid gold. Let it cool slightly, then strain it through a fine mesh sieve into a clean jar and store it in the fridge for up to a month, or the freezer for much longer. Duck fat, pork lard, and beef dripping all store well and are incredible cooking fats for roasting potatoes, frying eggs, sautéing vegetables, or basting meat.
Which Fats Render Best and How Long They Take
Different fats have different structures, so timing varies considerably:
Duck breast fat: Moderate thickness, renders in 15–20 minutes over medium-low heat. The skin goes from pale to a rich golden amber. One of the most forgiving fats to render because duck fat has a high melting point and is very stable.
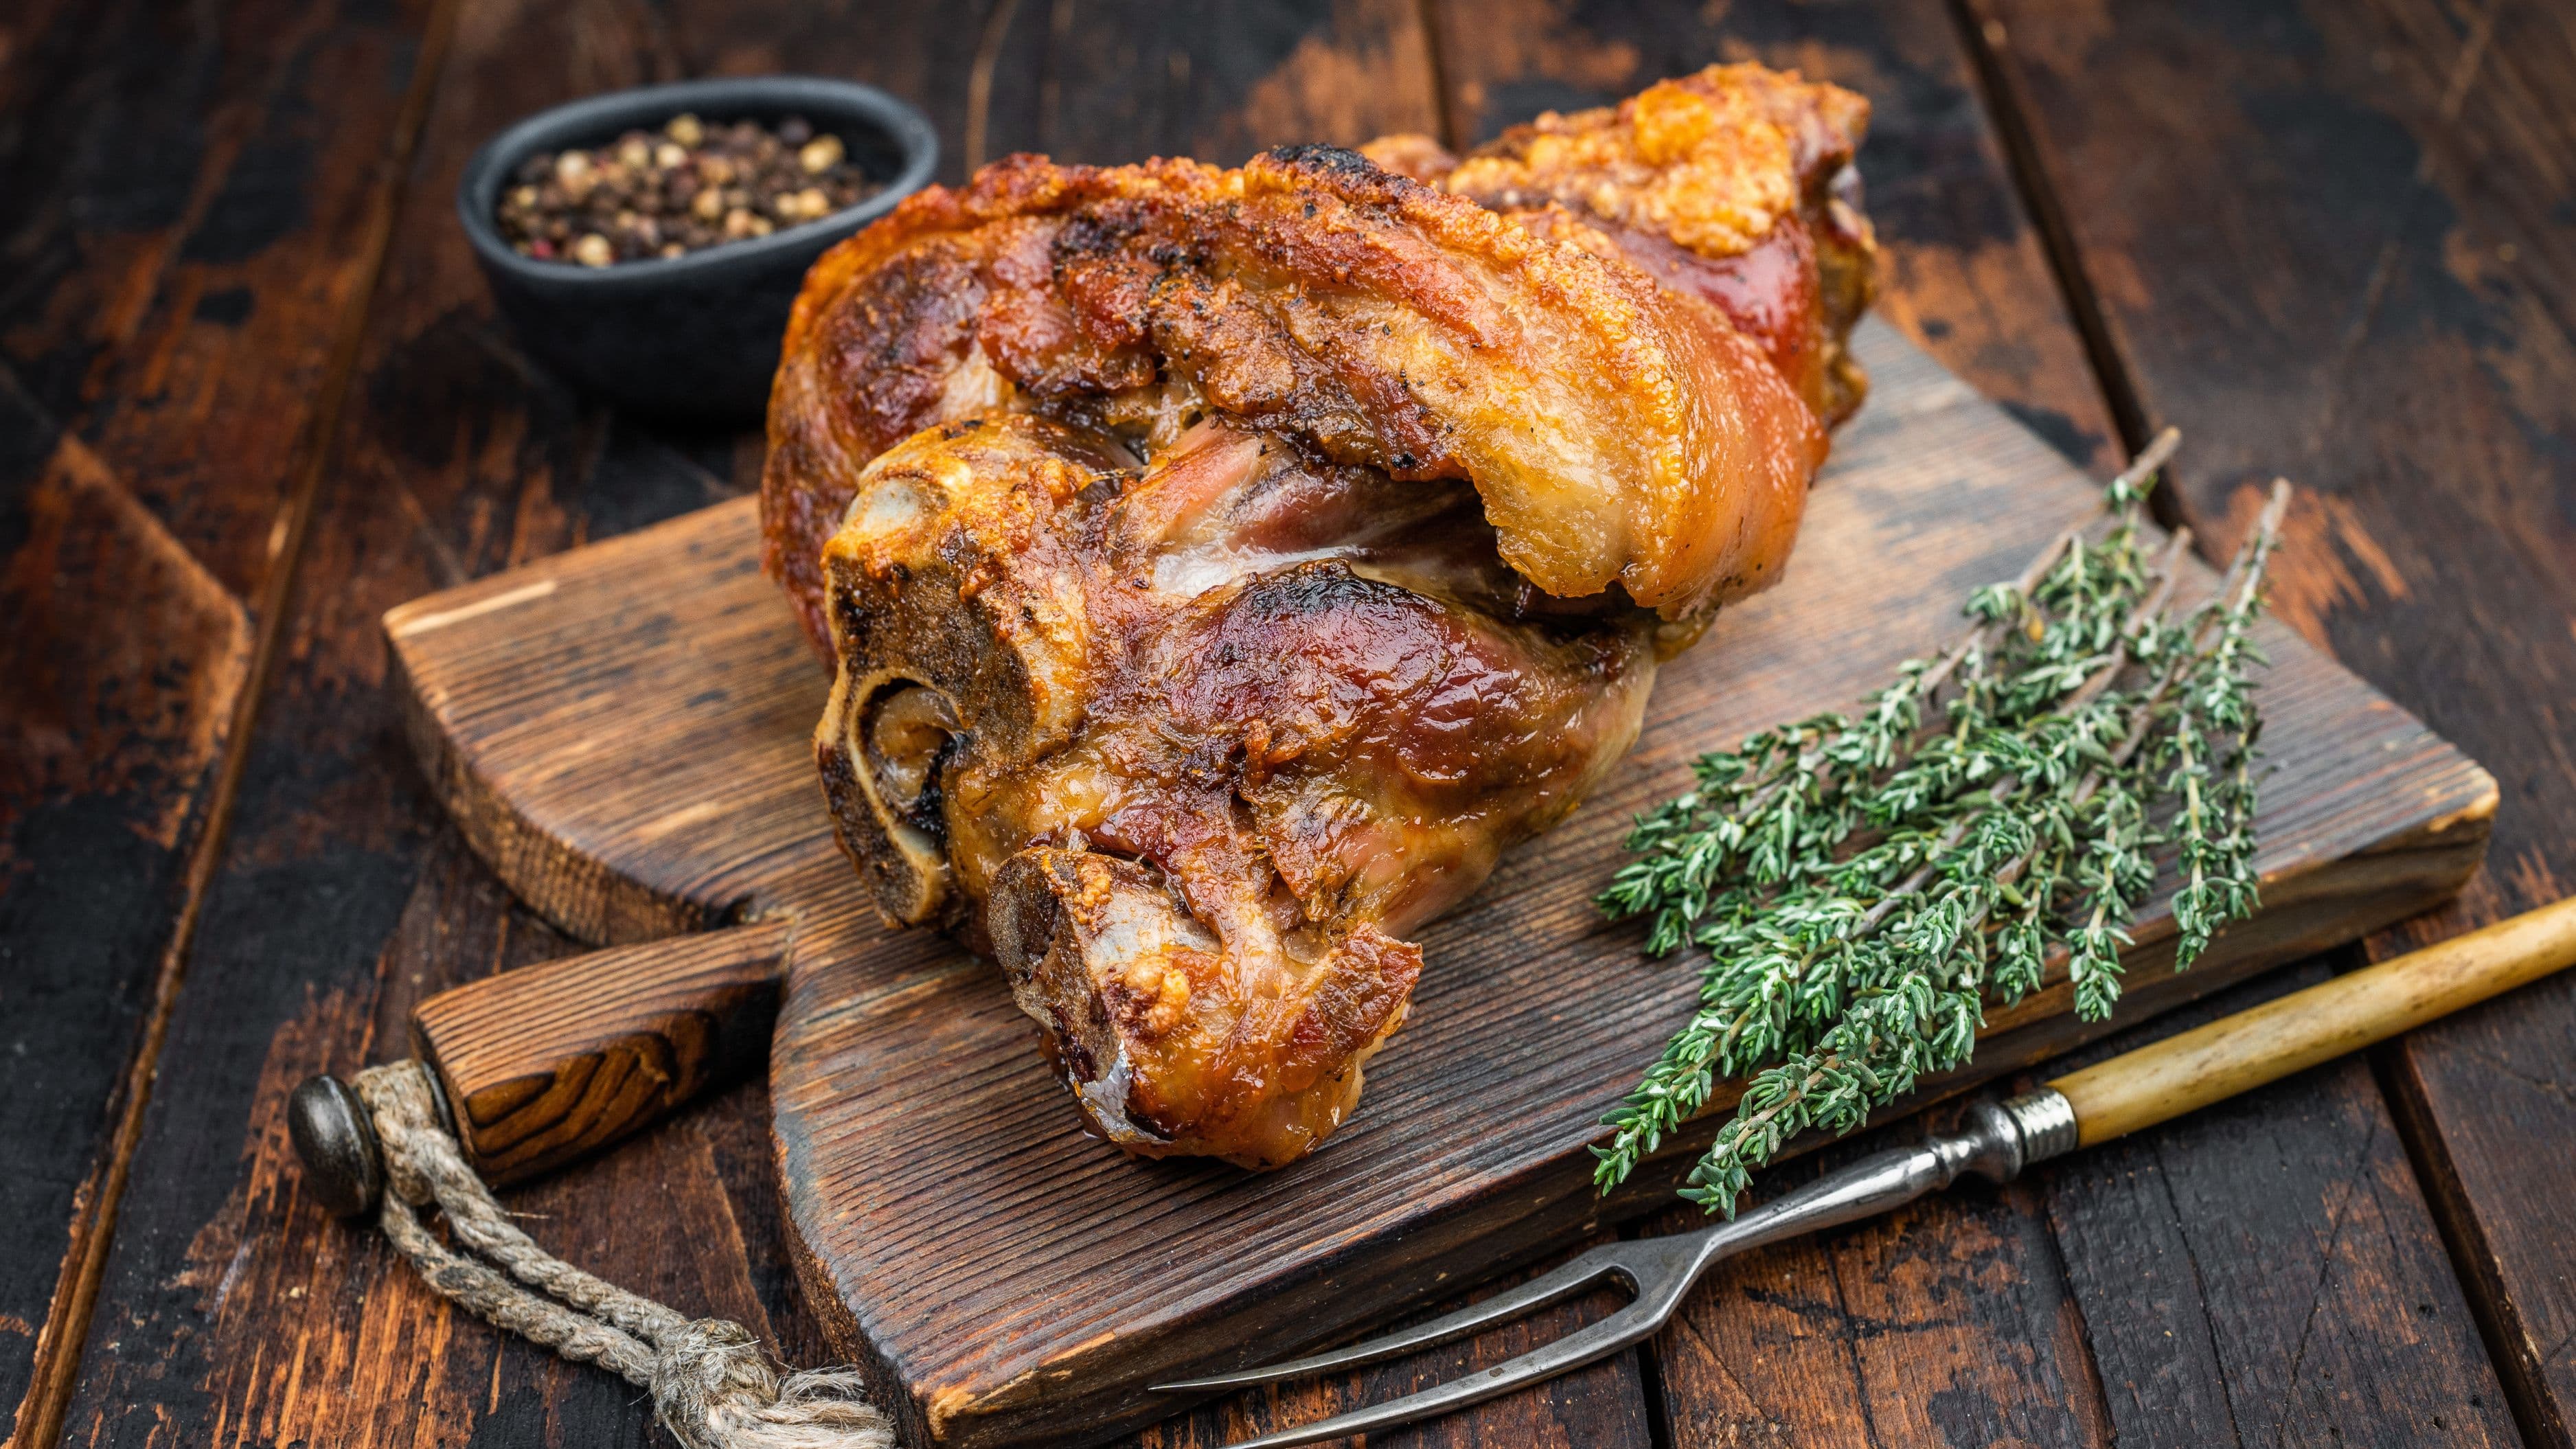
Pork belly fat: Thick and layered, can take 30–45 minutes on the stovetop. Pork belly benefits from starting in a cold oven (300°F/150°C) for longer, gentler rendering before finishing on the hob or under the broiler. The slow oven method is particularly effective for thicker pieces.
Chicken thigh skin: Thin fat layer, renders quickly – 10–15 minutes is usually enough. Easy to burn, so keep heat lower than you think you need to.
Beef fat trimmings (for dripping): Best done in the oven at 250–300°F (120–150°C) in a heavy pot with a splash of water to start. Stir occasionally. This takes 1–2 hours for a meaningful quantity but is largely hands-off.
Pancetta or bacon: Pre-sliced, renders in 5–10 minutes in a pan. The thin slices give up their fat quickly.
Tips for Getting It Right
Use a heavy pan. Thin pans conduct heat unevenly and make steady low temperatures difficult to maintain. Cast iron is ideal because it holds heat steadily; a good stainless steel tri-ply pan is an excellent second choice.
Pat the skin dry before you start. Surface moisture causes steam and sputtering, which slows the rendering and can make the skin rubbery. Patting dry with kitchen paper – even leaving the meat uncovered in the fridge for an hour beforehand – makes a noticeable difference.
Don't rush it. The most common mistake is getting impatient and turning the heat up too soon. If the fat isn't rendering as fast as you'd like, hold steady. Burnt fat is bitter, wasteful, and impossible to fix.
If cooking skin-on chicken or duck in a pan before finishing in the oven, start the rendering on the stovetop and finish in a 375–400°F (190–200°C) oven. The ambient heat of the oven crisps the skin more evenly than a stovetop flame alone.
Common Mistakes to Avoid
Starting with too-high heat is the most frequent error. The pan should not be smoking when you add the meat, and the fat should not sizzle aggressively from the first 30 seconds. If it does, take the pan off the heat, wait a minute, and restart at a lower temperature.
Adding water or liquid to speed things up is counterproductive unless you're making lard from raw fat trimmings, where a small amount of water at the start can help prevent scorching as the fat begins to melt. For skin-on meat, liquid causes steaming rather than rendering and produces soft, rubbery skin rather than crisp.
Using the wrong pan – particularly a thin or coated non-stick pan at higher temperatures – can damage the pan and makes heat control much harder. Save the non-stick for lower-temperature tasks.
Crowding the pan is another issue. If you're rendering several duck breasts or chicken thighs at once, use a large enough pan so they sit flat and each piece maintains good contact with the surface. Overlapping meat doesn't render; it steams.
FAQ
What's the difference between rendering and just frying in fat? Rendering extracts fat from meat using low, slow heat – the meat or skin is the source of the cooking fat, and you're melting it out rather than adding fat to the pan. Frying in fat uses pre-existing fat (oil, butter, lard) in the pan as the cooking medium. Rendering produces both a cooked product and the rendered fat as a byproduct. Frying uses fat as a starting input.
Can I render fat in the oven instead of the stovetop? Yes, and for thicker cuts or large batches, the oven is often better. A low oven (275–325°F / 135–165°C) provides very even, ambient heat that renders fat gently without the risk of hot spots from a stovetop burner. Place the meat fat-side up on a rack over a roasting tray so rendered fat drips down and collects cleanly.
Why does my chicken skin come out rubbery instead of crispy? The two most common causes are moisture and heat that's too high. If the skin has surface moisture (from marinades, being freshly washed, or condensation), it steams rather than crisps. Pat dry thoroughly. If the heat was too high, the proteins on the outside of the skin set before the fat inside could escape. Start lower and give it more time.
Can I use rendered fat for other cooking? Absolutely – this is one of the best reasons to render fat properly. Duck fat is exceptional for roasting potatoes and cooking root vegetables. Pork lard makes incredibly flaky pastry and is excellent for frying. Beef dripping is the traditional fat for chips and roasted beef dishes. Chicken fat (schmaltz) is a classic in Jewish cooking for sautéing and as a spread. Store each type separately in the fridge or freezer and use within a month or up to six months frozen.
What do I do if the skin starts to burn before the fat is fully rendered? Remove from the heat immediately and reduce the temperature. If the skin has started to brown in spots, you can add a small splash of water to the pan to cool it down temporarily, then continue at lower heat. The skin will lose some crispness but is usually recoverable unless it has charred. Prevention is easier – watch closely and stay at a genuinely low heat throughout.
📚 Sources
Serious Eats – The Science of Rendering Fat: https://www.seriouseats.com/how-to-render-duck-fat
The Food Lab (J. Kenji López-Alt) – Crispy Chicken Skin Technique: https://www.seriouseats.com/the-best-roast-chicken
BBC Good Food – How to Cook Duck Breast: https://www.bbcgoodfood.com/howto/guide/how-cook-duck-breast
America's Test Kitchen – How to Render Pork Fat at Home: https://www.americastestkitchen.com/articles/7046-how-to-render-lard
Fine Cooking – Understanding Fat Rendering: https://www.finecooking.com/article/the-science-of-searing
The Kitchn – How to Render Lard Step by Step: https://www.thekitchn.com/how-to-render-lard-cooking-lessons-from-the-kitchn-193953
Saveur – Rendered Fats and How to Use Them: https://www.saveur.com/cooking/how-to-render-fat/
Harold McGee – On Food and Cooking: The Science and Lore of the Kitchen: https://www.harpercollins.com/products/on-food-and-cooking-harold-mcgee
Bon Appétit – The Right Way to Get Crispy Duck Skin: https://www.bonappetit.com/story/how-to-cook-duck-breast
Food52 – A Complete Guide to Cooking Fats: https://food52.com/blog/25493-guide-to-cooking-fats