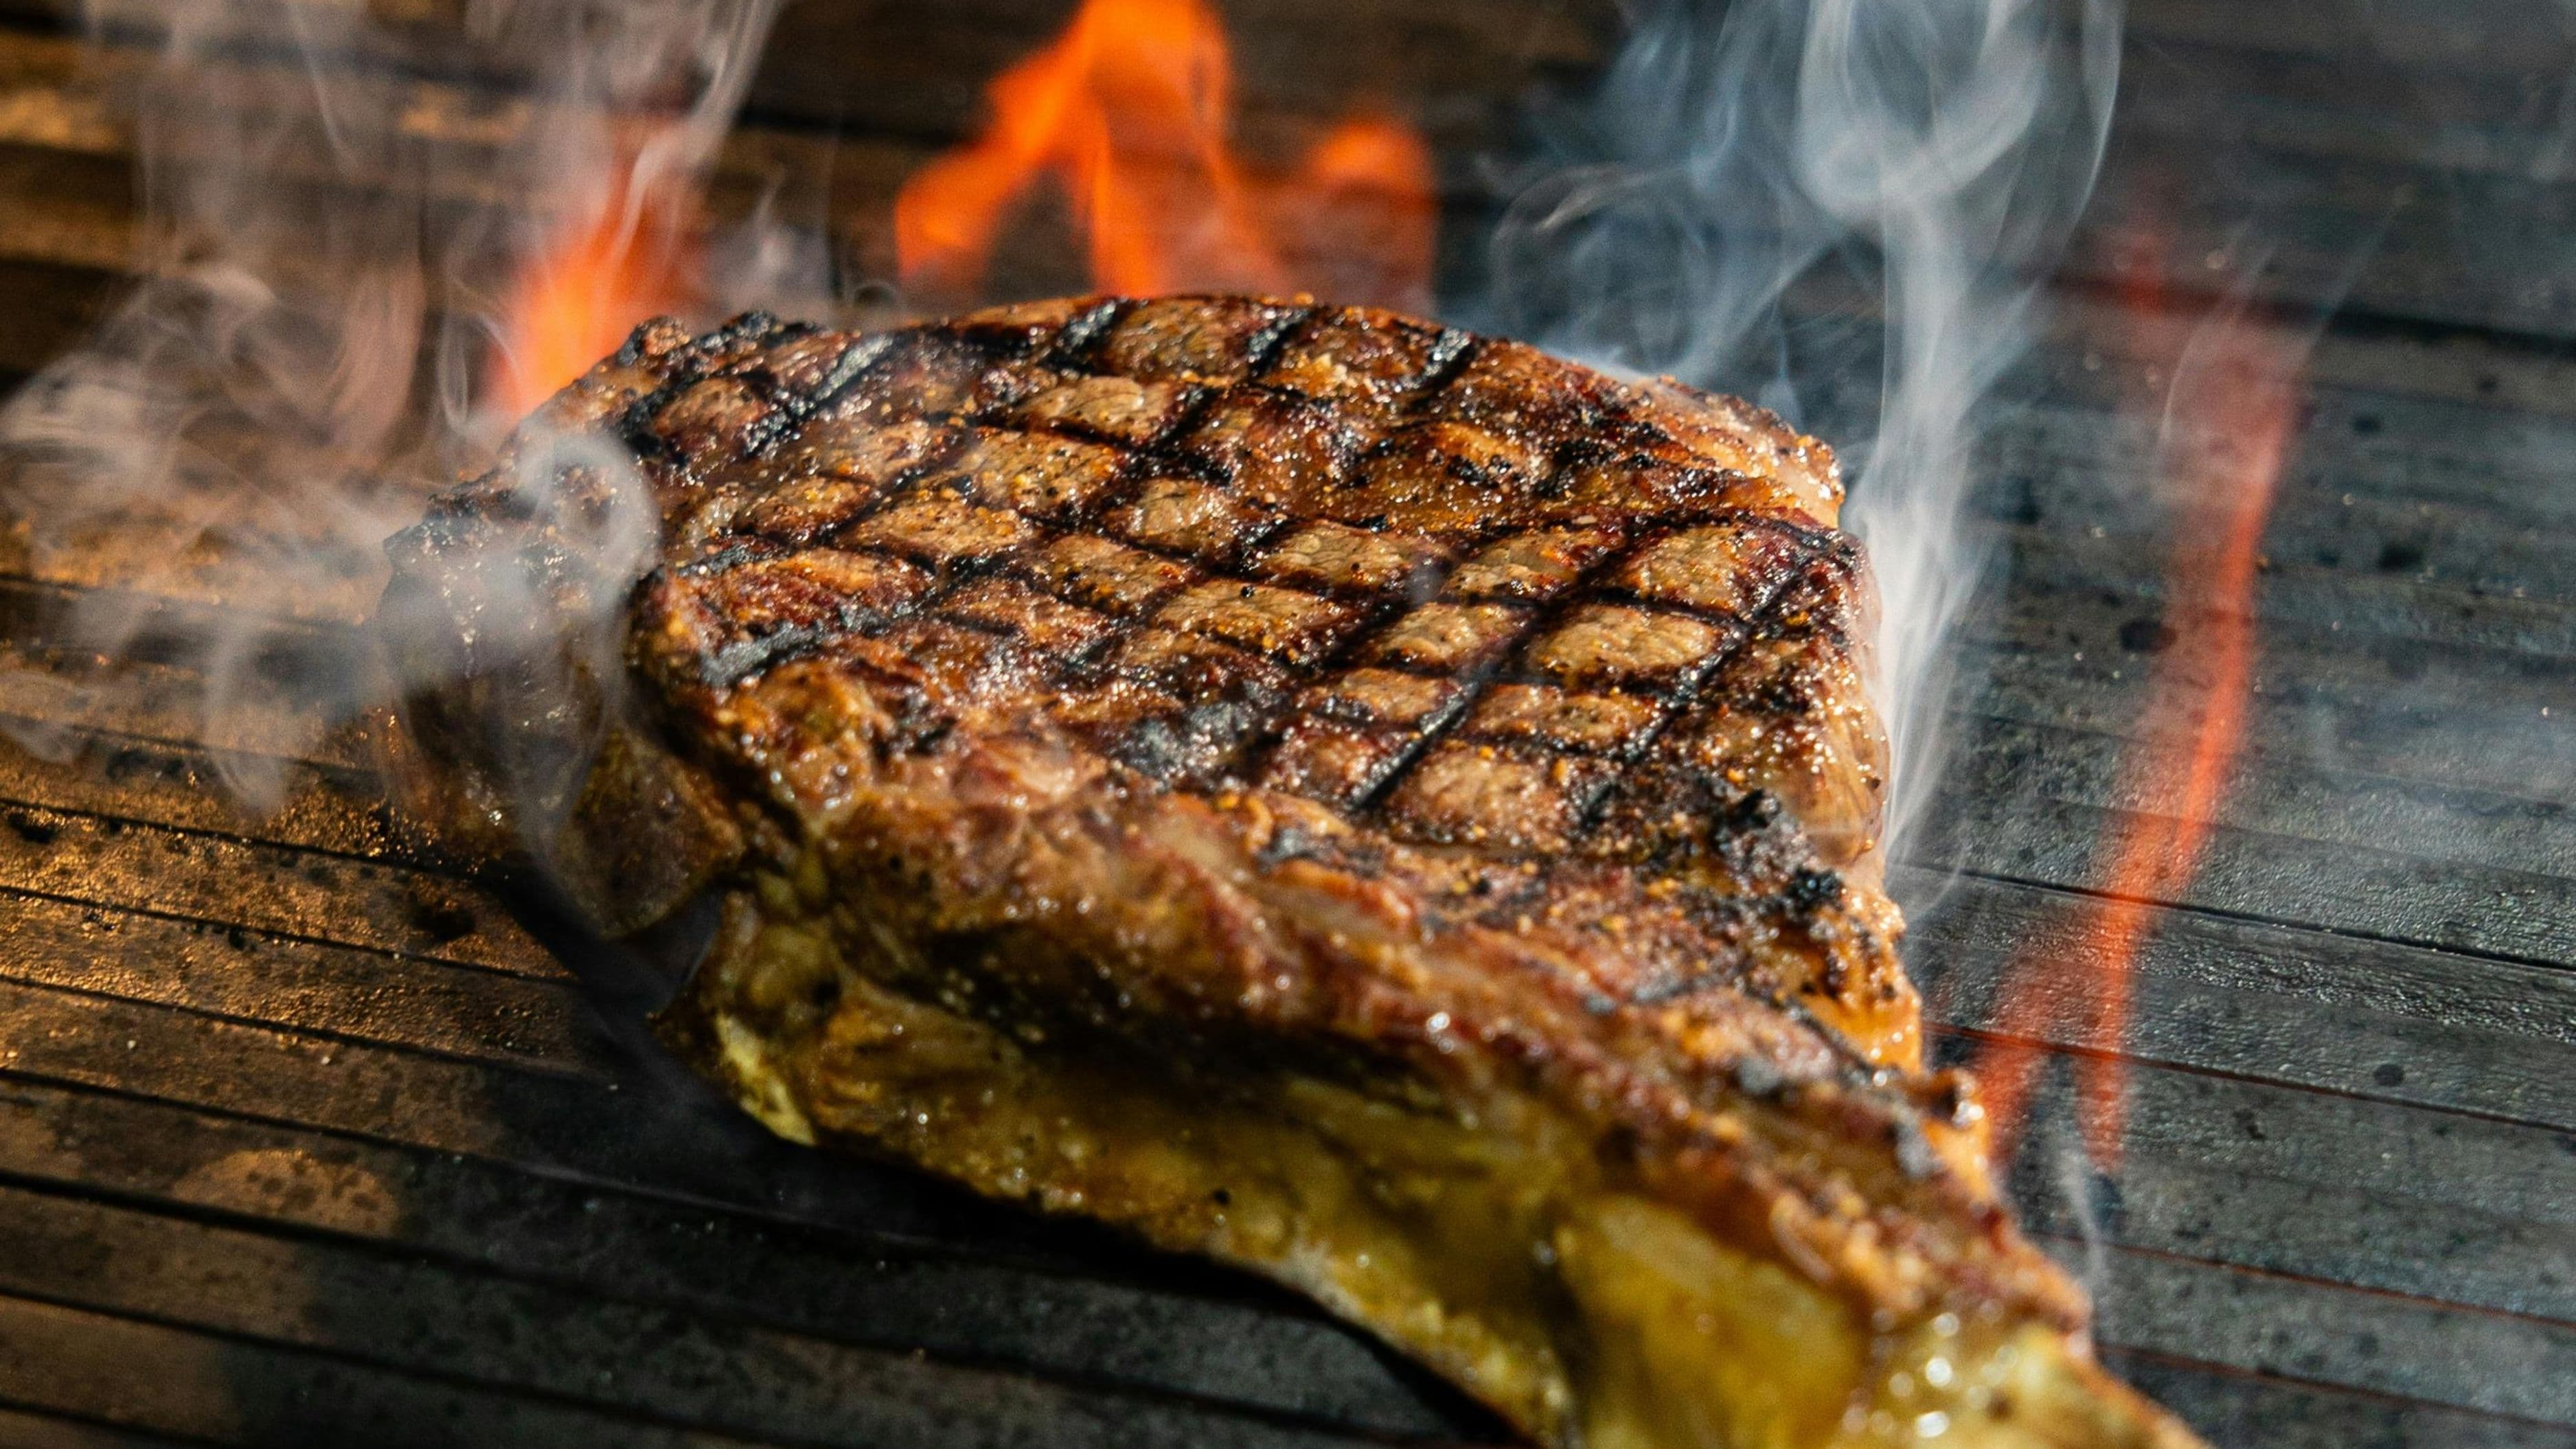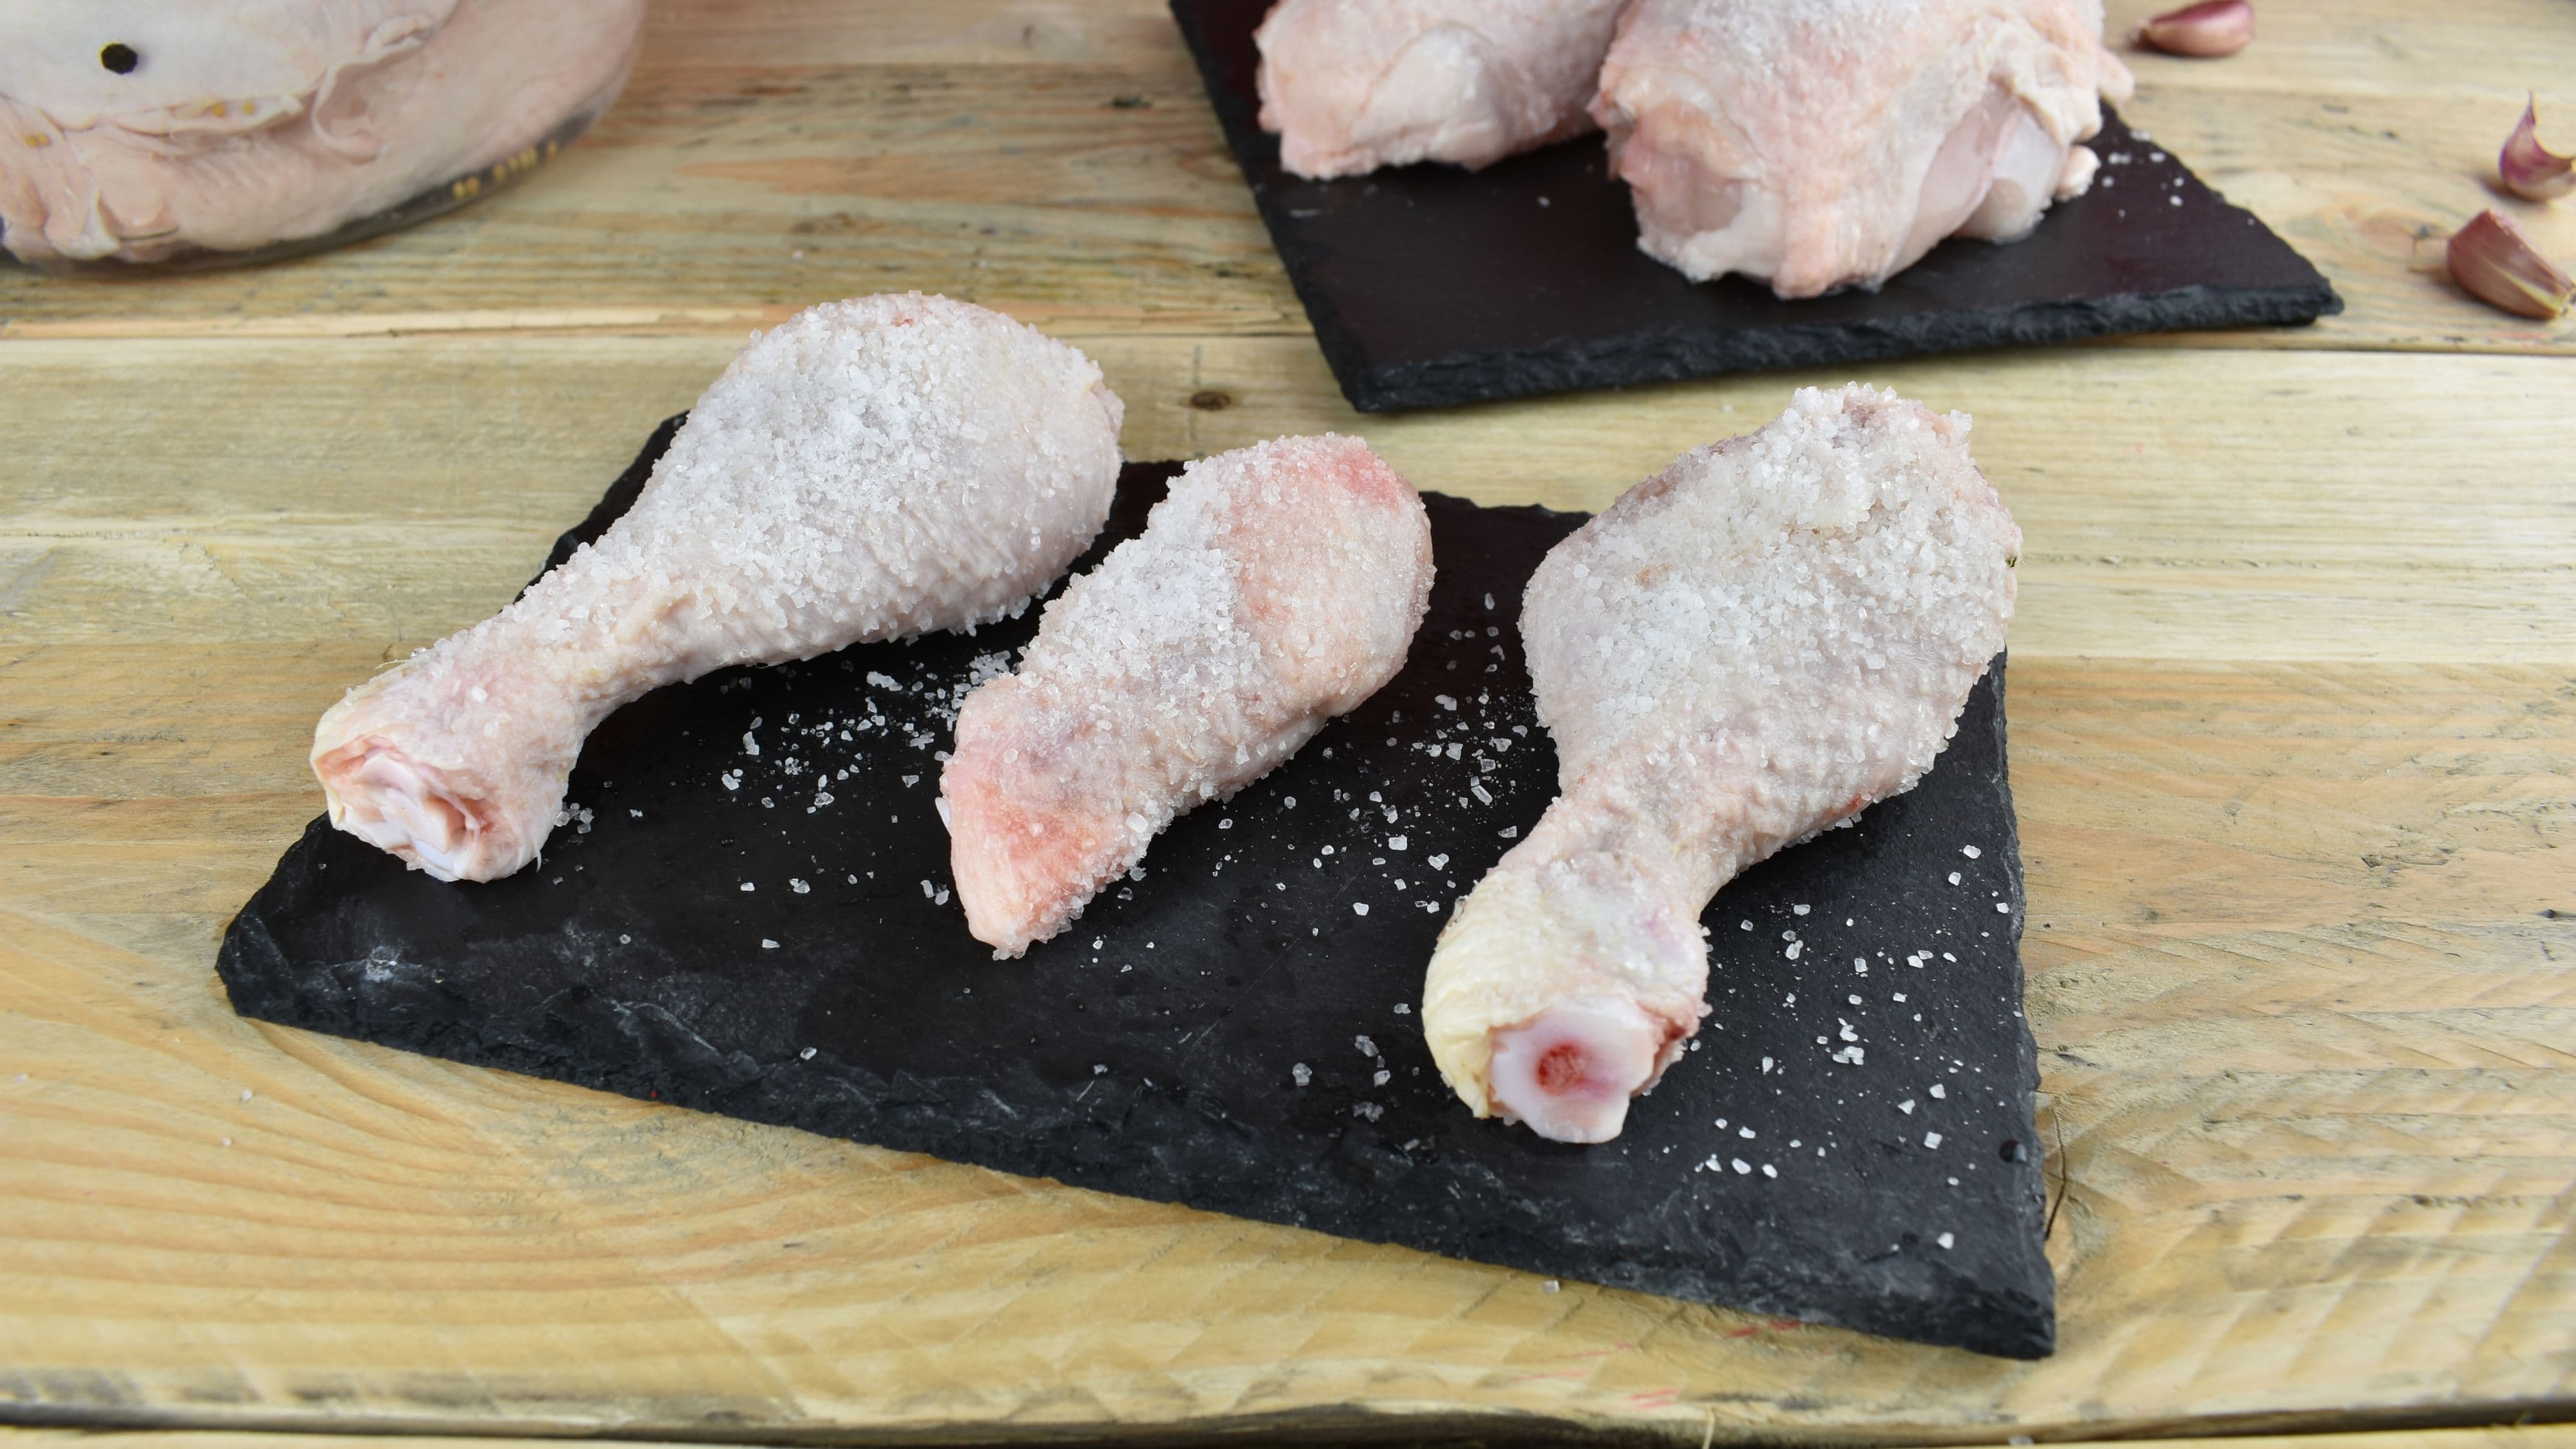
A proper sear – the kind that builds a dark, crackling, flavorful crust – comes down to four controllable factors. Get all four right and you'll get a restaurant-quality crust every single time, regardless of what cut you're cooking.
Why a Proper Sear Matters
Before getting into technique, it's worth understanding what you're actually trying to achieve and why. The browning that happens when meat hits a very hot surface is called the Maillard reaction – a chemical process between amino acids and sugars in the meat that produces hundreds of new flavor compounds. It's responsible for the savory, complex, slightly caramelized flavor that makes a well-seared piece of meat taste fundamentally different from a simply cooked one.
This reaction only happens at temperatures above 285°F (140°C) at the surface of the meat. Below that threshold, you get steaming and graying rather than browning. The enemy of the Maillard reaction is moisture – water on the surface of the meat cools the pan and turns to steam, dropping the surface temperature and preventing browning until all the moisture evaporates. Understanding that simple fact explains every single tip in this guide.
Step 1 – Dry the Meat Completely
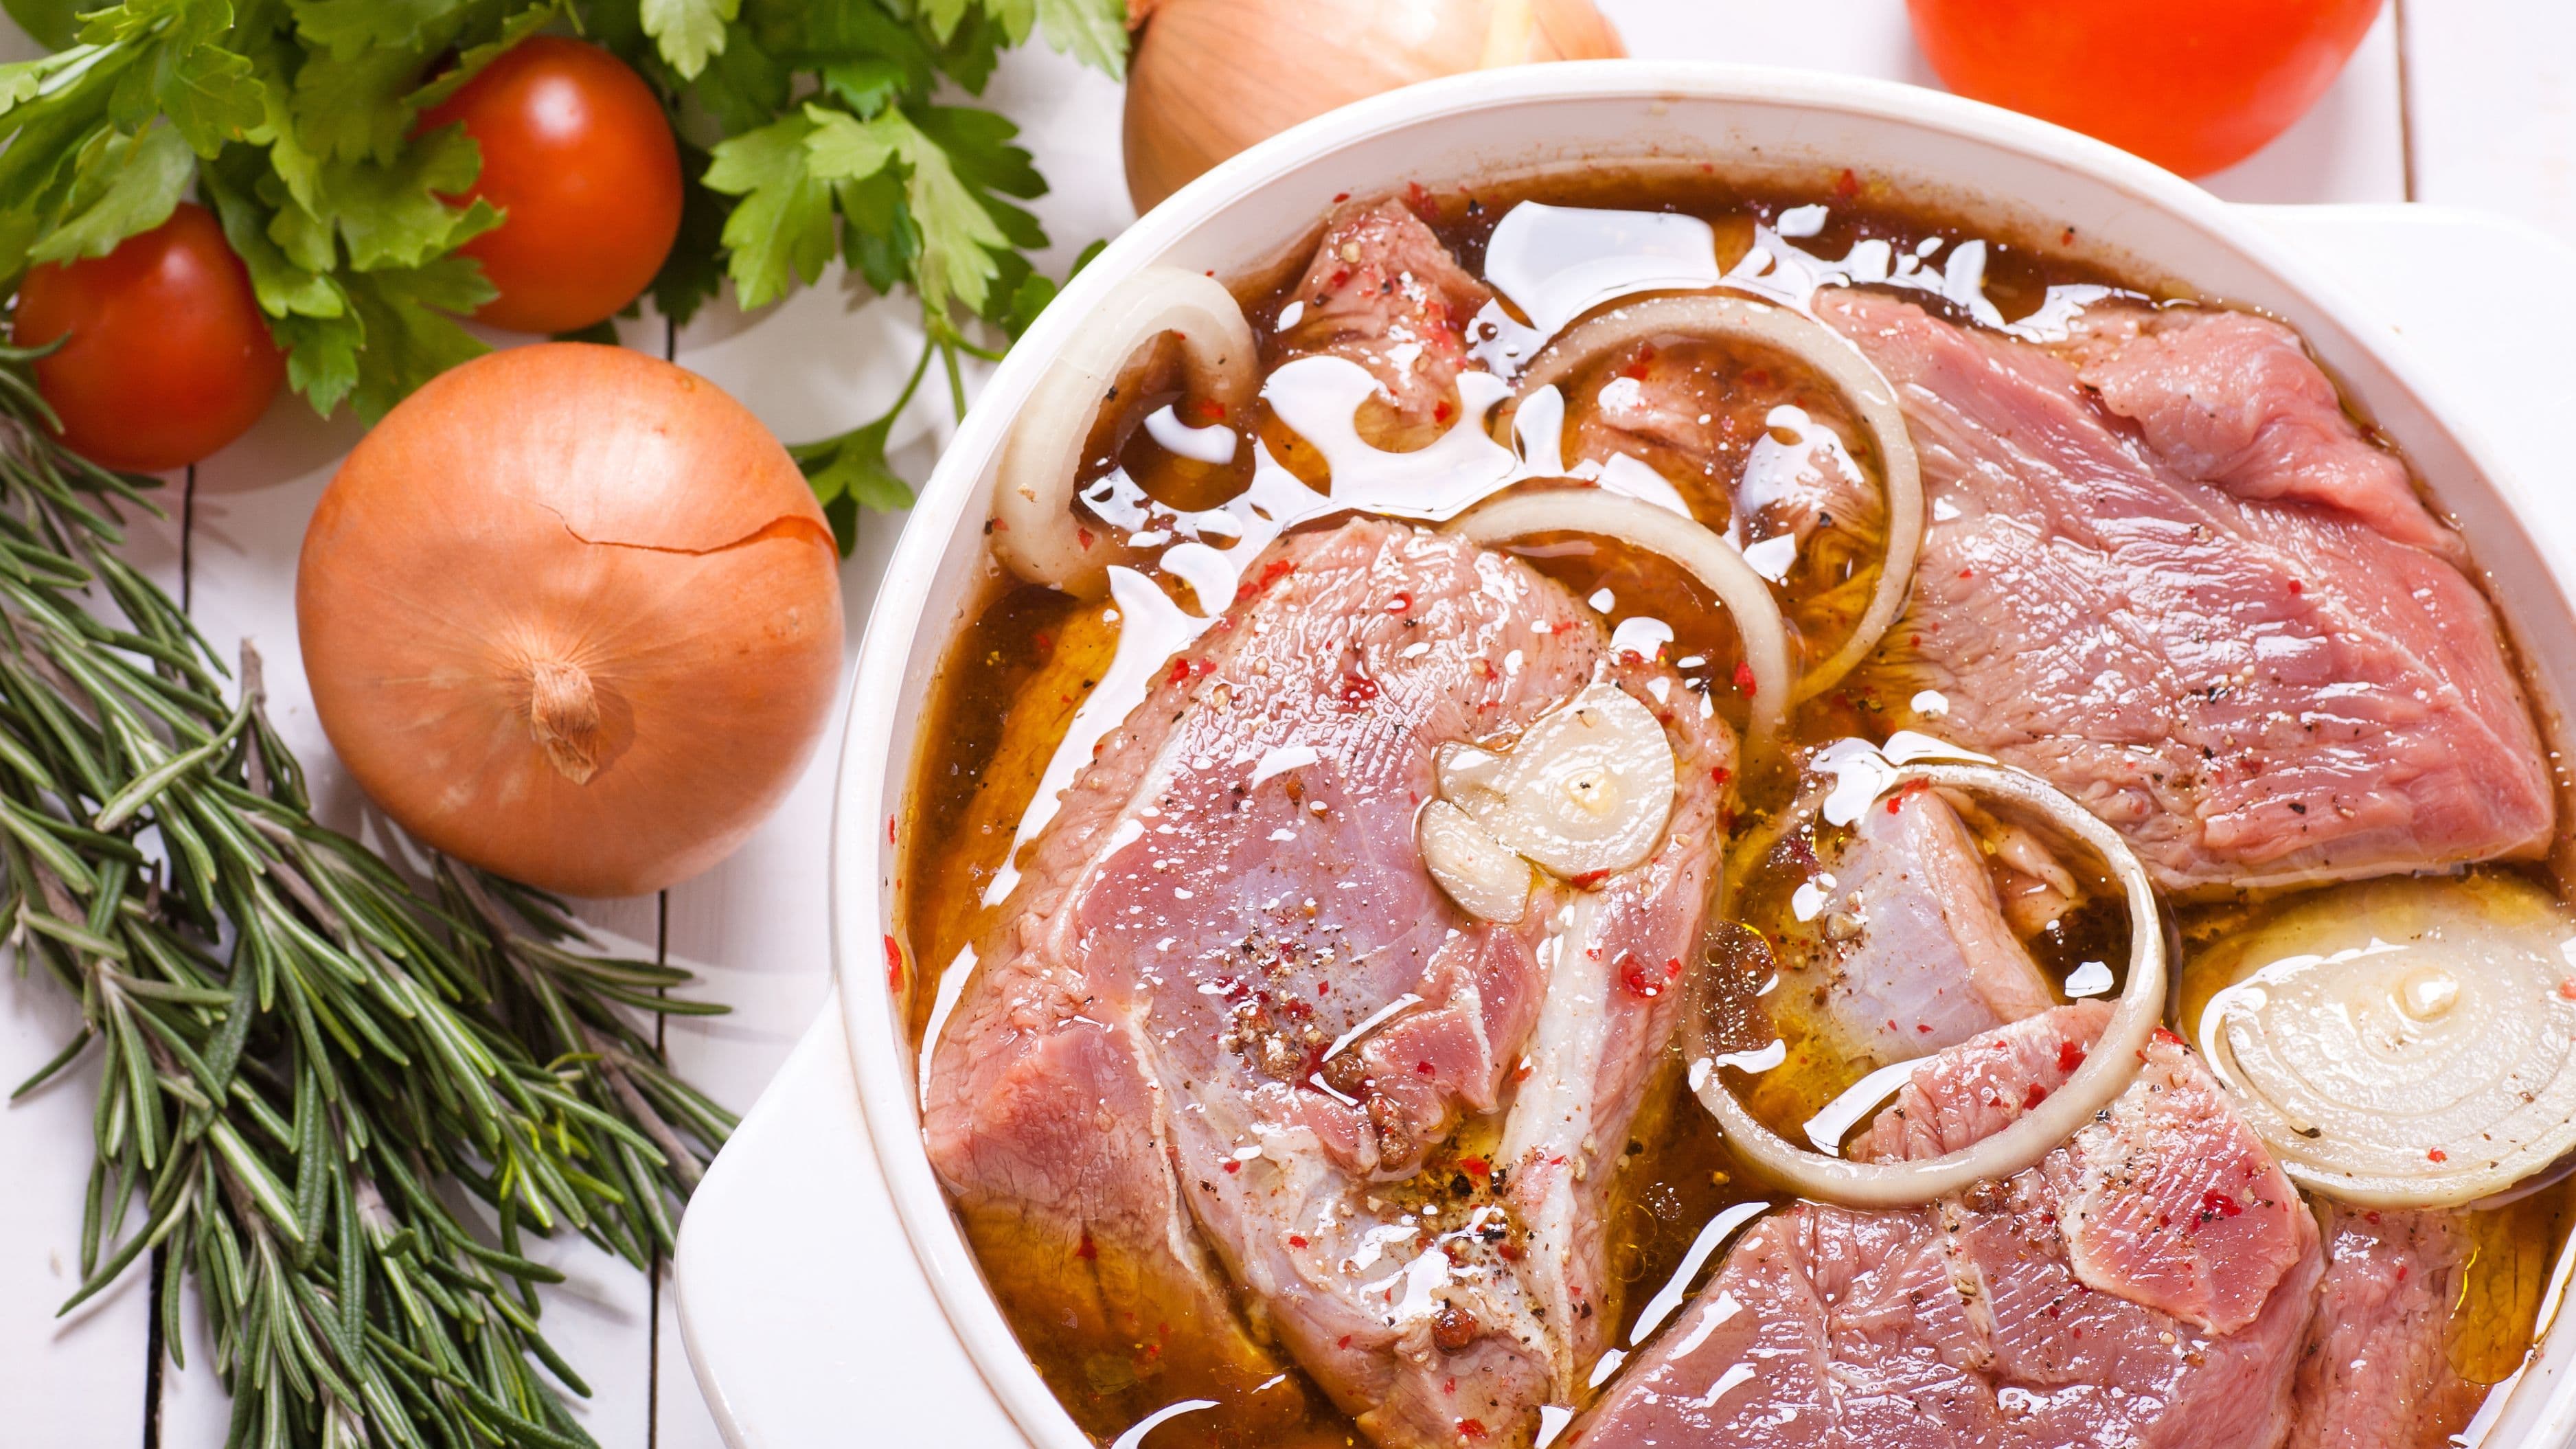
This is the step most home cooks skip, and it's the single biggest reason sears underperform. Meat that comes straight from packaging or after a marinade carries moisture on its surface. The moment that moisture hits the pan, it flashes to steam and the surface temperature drops instantly. You're no longer searing – you're steaming, and the meat will sit in a pool of liquid until every drop evaporates before browning can begin.
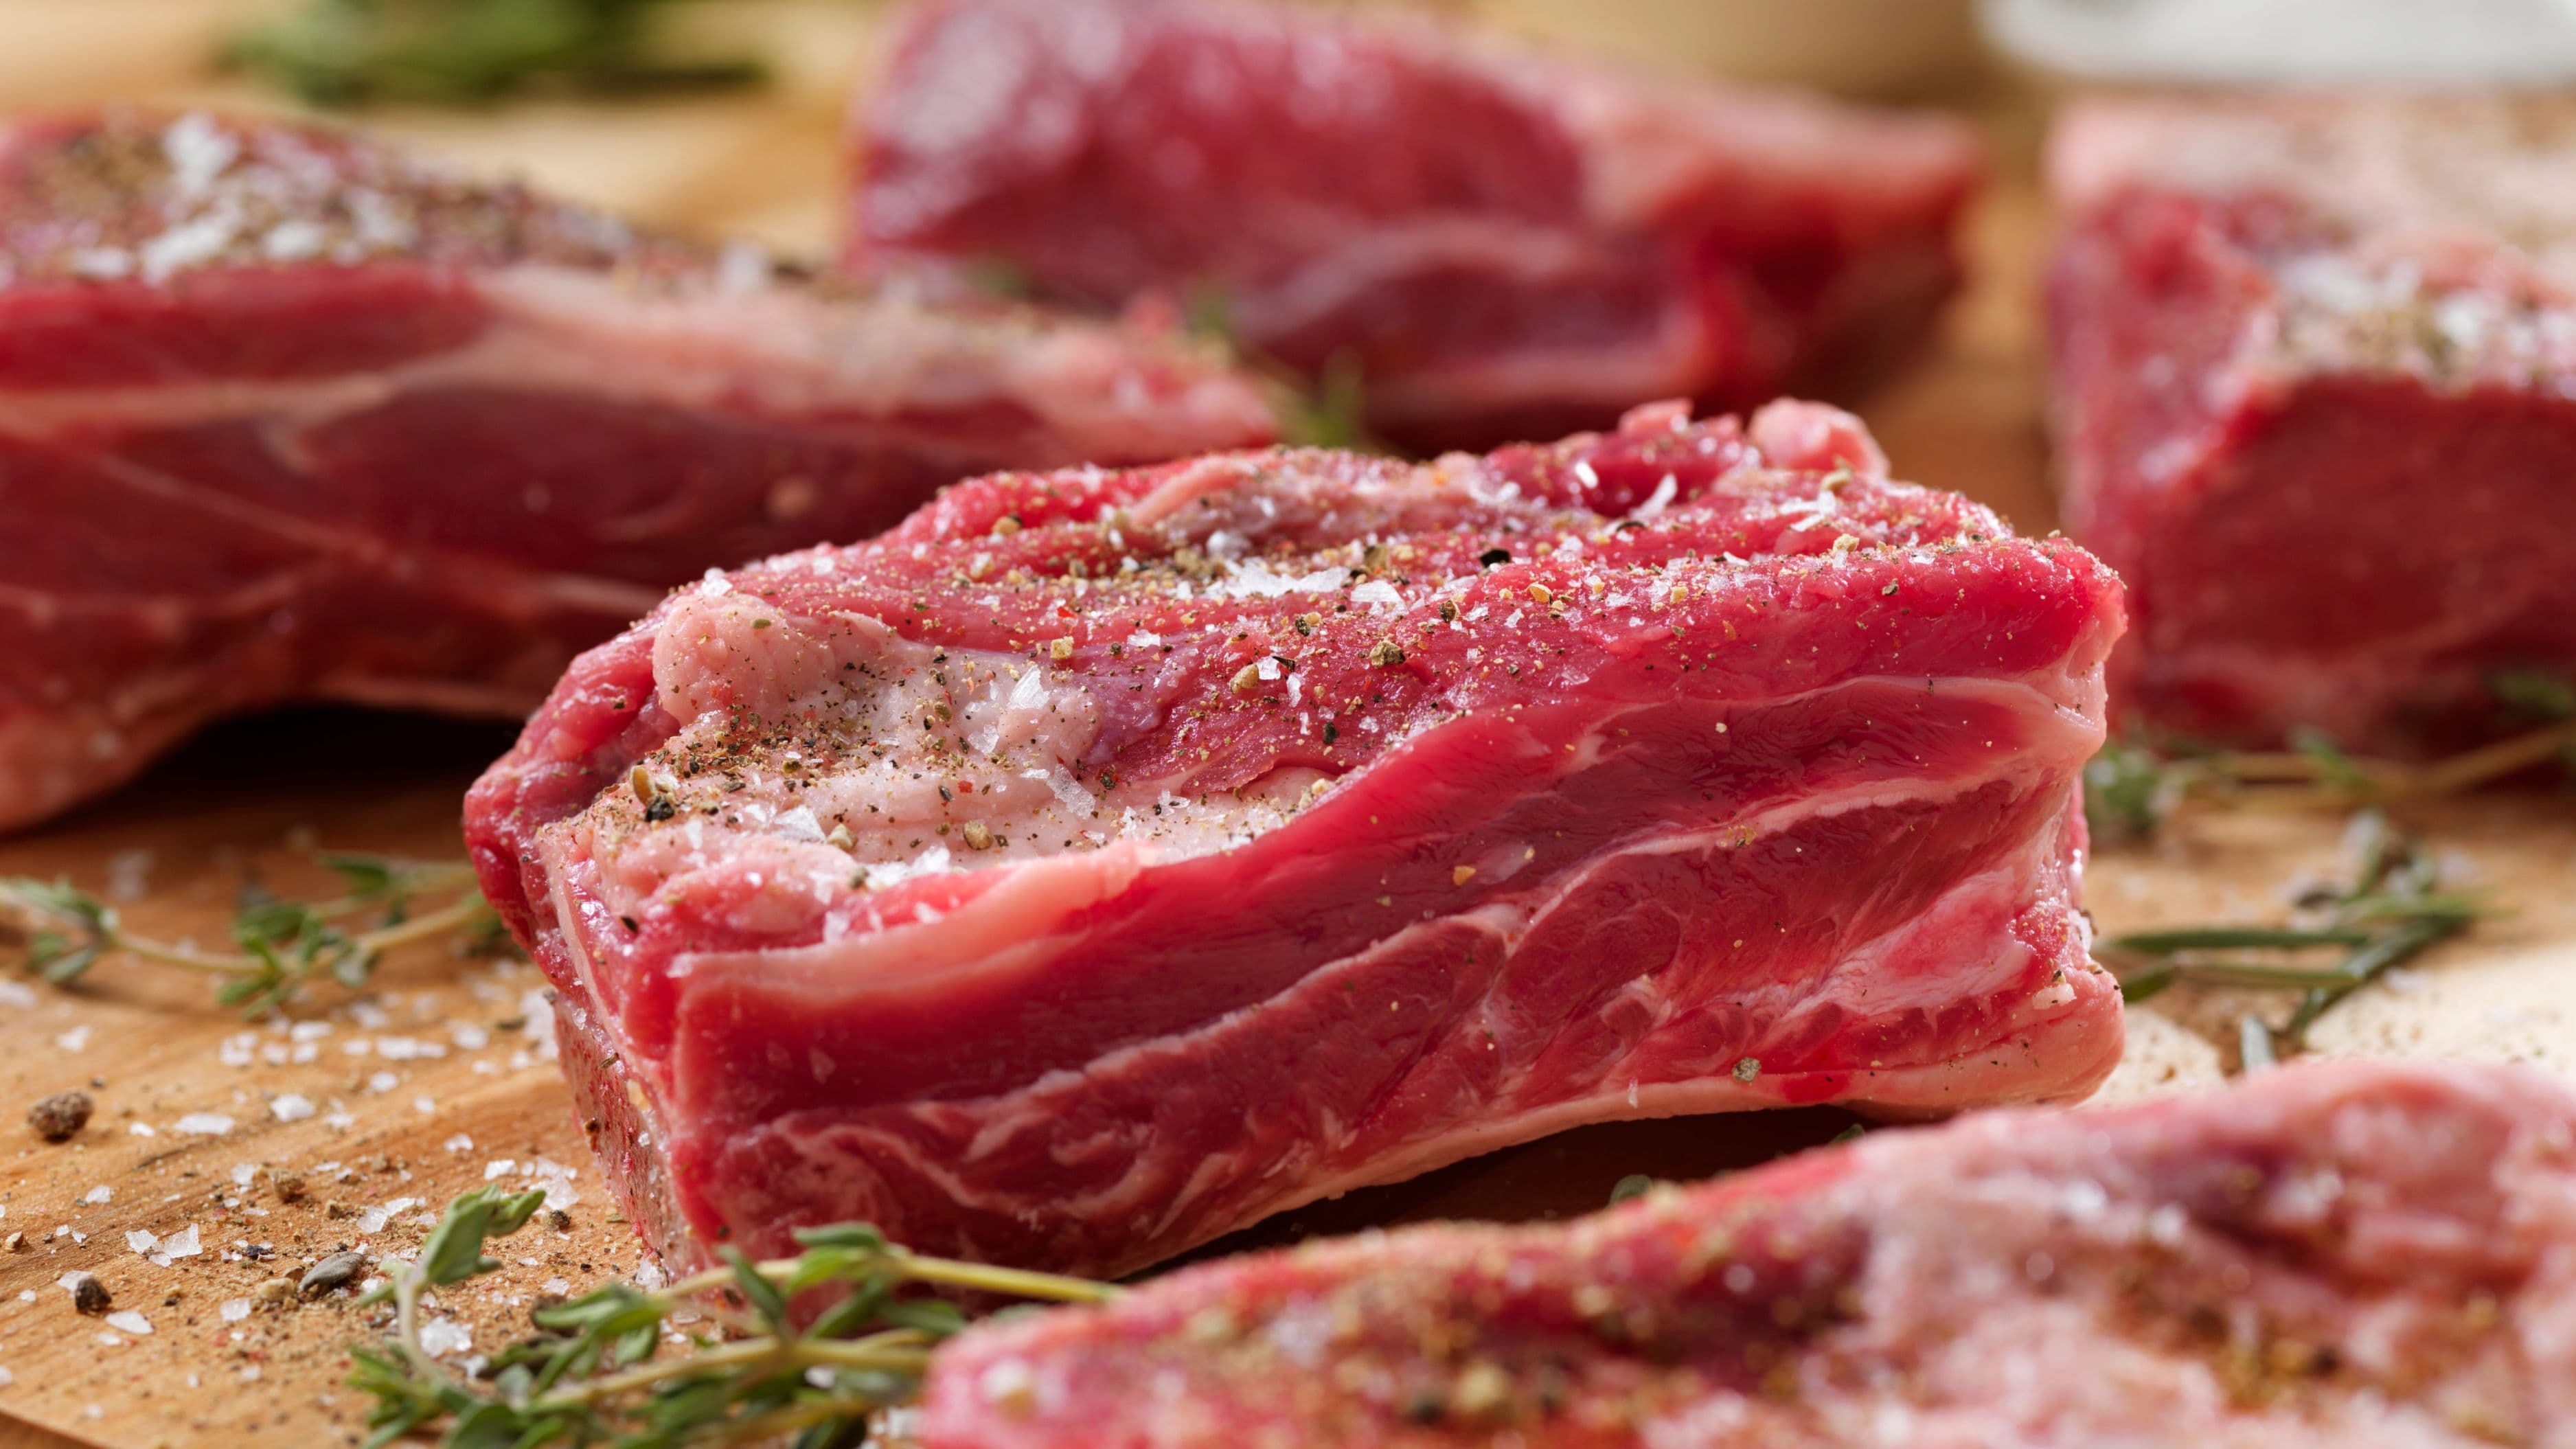
Pat the meat dry with paper towels – thoroughly, on all sides, including the edges. Don't be gentle about it. You want the surface visibly dry to the touch before the meat goes anywhere near heat. For the best results, place the dried meat on a wire rack set over a baking sheet and leave it uncovered in the refrigerator for at least one hour, or up to overnight. The cold air draws additional moisture to the surface where it evaporates, leaving an almost tacky, slightly dried exterior that browns extraordinarily fast when it hits a hot pan.
This dry-brine approach also has the secondary benefit of seasoning the meat more deeply if you apply salt before refrigerating. Season generously with kosher salt at least 45 minutes before cooking (ideally several hours), and the salt first draws moisture out, then gets reabsorbed back into the meat along with the dissolved salt. The result is meat that's seasoned throughout rather than just on the surface.
Step 2 – Choose the Right Pan
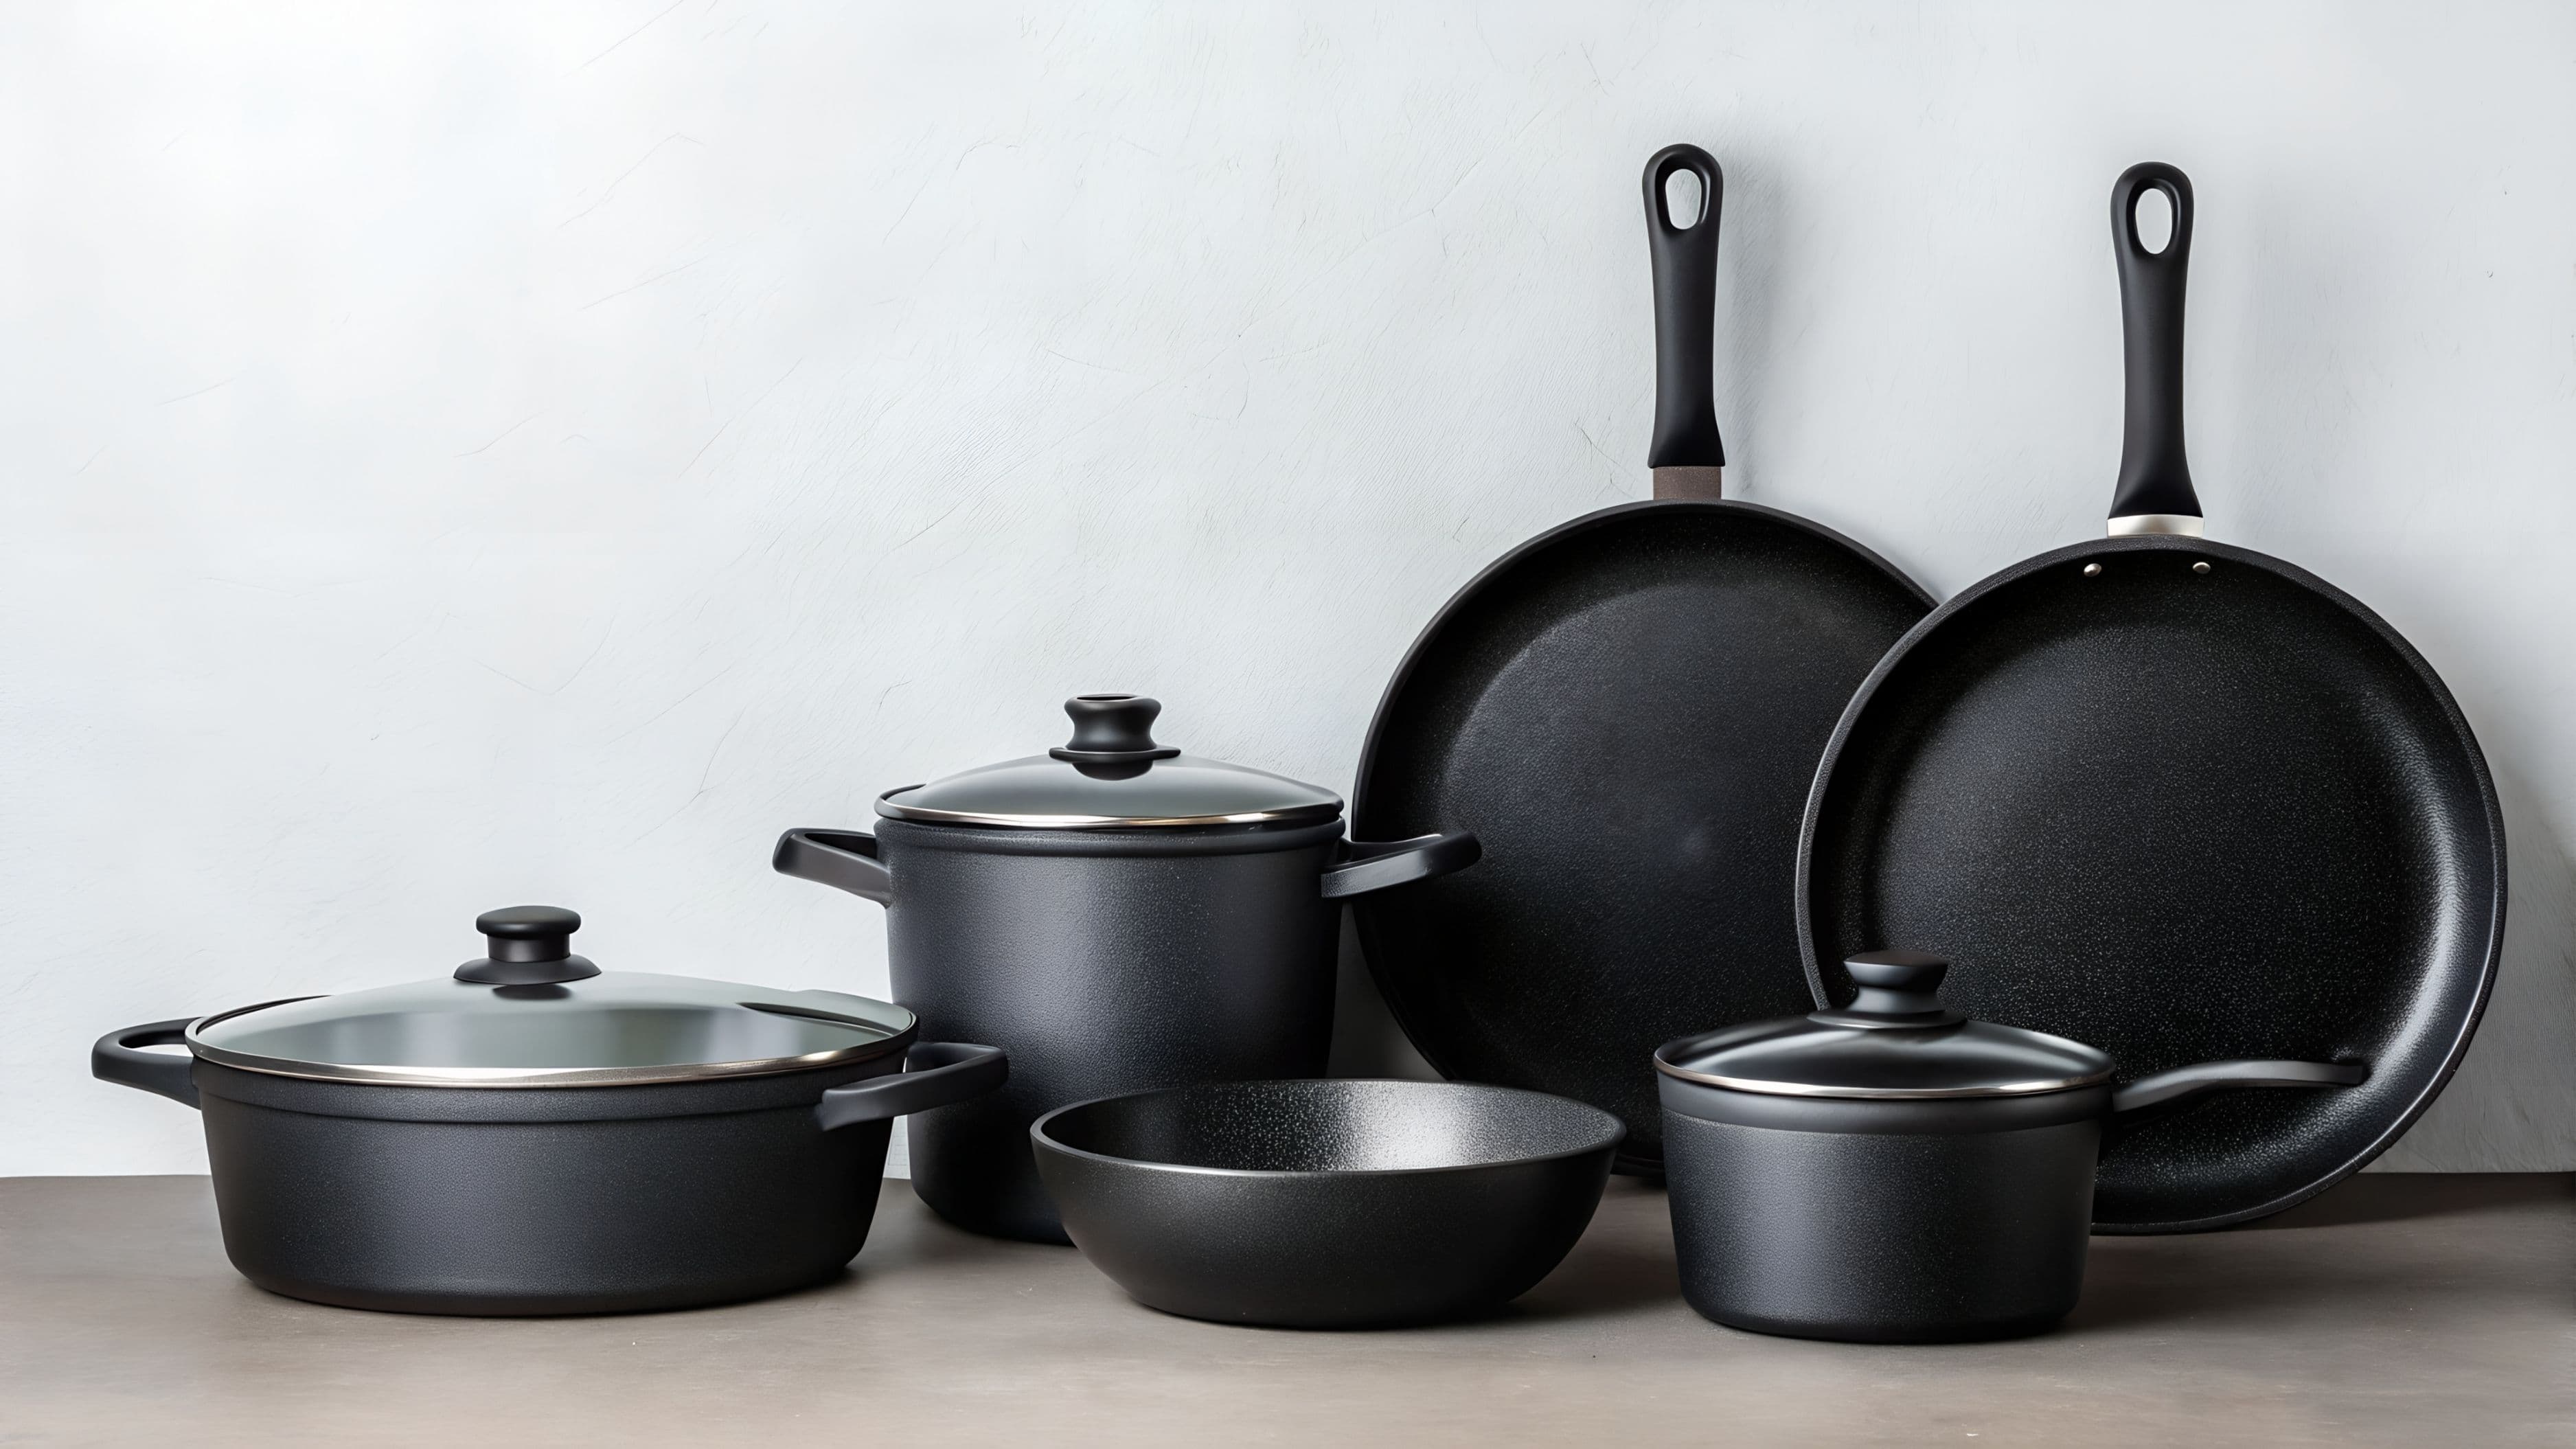
The pan matters more than most people realize. A proper sear requires a pan that can retain heat when cold meat is added – because the moment meat touches the pan, it drops the surface temperature significantly. A pan that loses heat quickly will struggle to recover and you'll end up steaming the meat instead of searing it.
Cast iron is the best material for searing for exactly this reason. It has exceptional heat retention – once it's hot, it stays hot even when cold protein hits the surface. It also develops a natural nonstick surface over time and can go from stovetop to oven seamlessly, which matters for thicker cuts that need finishing time after the sear. A well-seasoned cast iron skillet is worth every dollar and will outlast everything else in your kitchen.
Carbon steel pans are the professional kitchen alternative to cast iron – they heat faster, are slightly lighter, and behave similarly once seasoned. Stainless steel tri-ply pans (like those from All-Clad or similar brands) also work well because their heavy construction provides adequate heat retention. What doesn't work well is thin stainless steel, nonstick pans, and lightweight aluminum – they heat unevenly and lose temperature too quickly when cold meat is added.
Size the pan to your cut. The meat should fit in the pan with an inch or two of clearance around each piece. Crowding the pan is a critical mistake – multiple pieces of meat close together trap steam, drop the pan temperature dramatically, and prevent browning. If you're cooking four steaks, work in batches or use two pans rather than cramming everything in together.
Step 3 – Get the Pan Genuinely Hot Before Anything Goes In
This is where patience pays off. A common mistake is adding meat before the pan has reached the temperature it needs. Putting meat into a warm-but-not-hot pan almost guarantees a poor crust – the surface temperature will be too low to trigger immediate browning, and by the time the pan recovers, you've already overcooked the interior.
Place the pan over high heat and leave it for 2–3 minutes with nothing in it. For cast iron, which takes longer to heat evenly, 3–4 minutes is appropriate. A simple test: hold your hand 3–4 inches above the pan surface. You should feel intense radiant heat – more than you can comfortably hold your hand near for more than a couple of seconds. Another test is the water droplet method: a few drops of water flicked into a properly hot cast iron pan will instantly ball up and skitter across the surface (the Leidenfrost effect) rather than sitting and sizzling. At that temperature, you're ready.
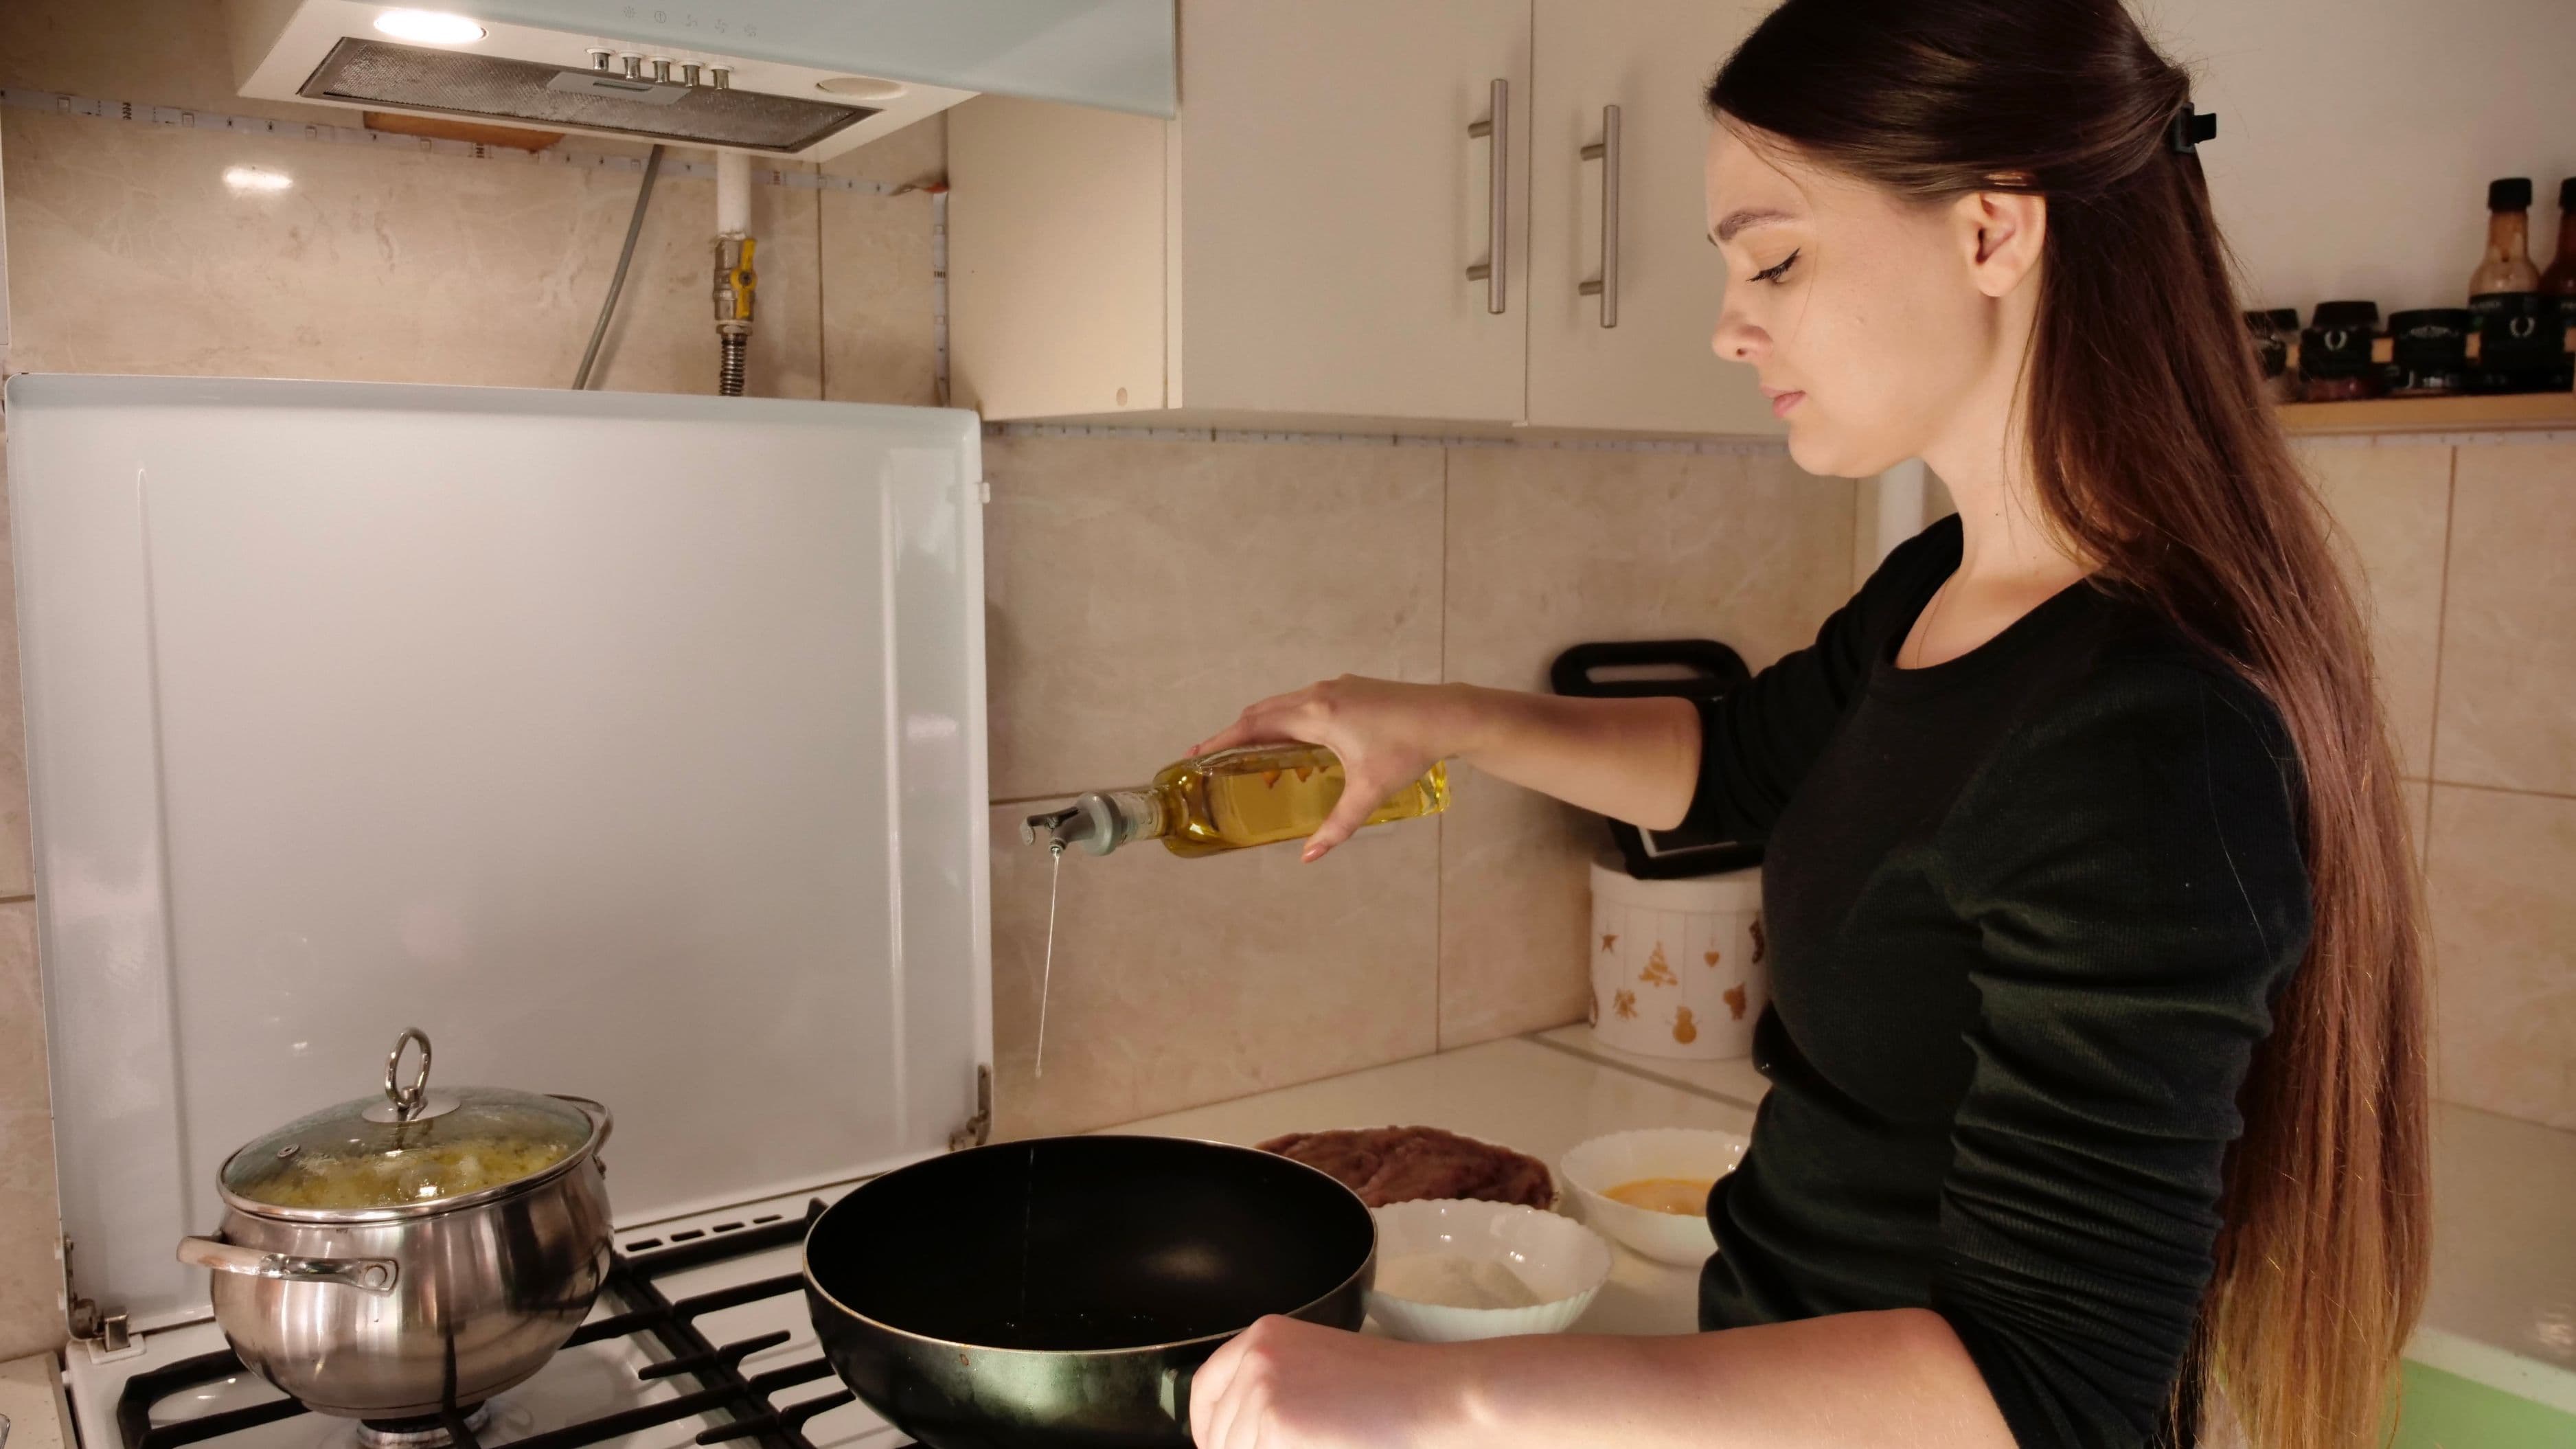
Add a high smoke point oil to the hot pan – just enough to coat the bottom. Avocado oil, refined canola oil, grapeseed oil, and refined sunflower oil all have smoke points above 400°F and are appropriate for high-heat searing. Butter alone burns at searing temperatures and should only be added near the end for basting, not at the beginning. Extra virgin olive oil smokes at relatively low temperatures and is not a good choice for high-heat searing. Swirl the oil to coat the pan, wait for it to begin shimmering and just starting to smoke, and then add the meat immediately.
Step 4 – Don't Move the Meat
The moment the meat hits the pan, leave it alone. Completely. This is the instruction home cooks most frequently violate out of nervousness, and it's the direct cause of the sticking and tearing that ruins crusts in progress.
Raw meat initially bonds to a hot metal surface. This is normal and temporary. As the Maillard reaction progresses and a proper crust develops, the meat naturally releases from the pan – the proteins contract and pull away from the surface, breaking the initial bond. If you try to move the meat before this happens, you'll tear the developing crust, leave it stuck to the pan, and get an uneven result on the meat itself.
Trust the process: put the meat down, press it gently to ensure full contact with the pan surface (using a spatula or your hand), and then do not touch it for at least 2–3 minutes for a standard steak. When it's ready to flip, it will release cleanly with light pressure. If it feels like it's sticking firmly and resisting the spatula, it's not ready yet – wait another 30–60 seconds and try again. The meat will tell you when it's ready.
Once flipped, the second side develops its crust faster than the first because the meat is now warmer throughout. For thicker cuts above 1.5 inches, finish in a preheated 400°F oven after the initial sear to bring the interior to the correct temperature without burning the exterior.
Step 5 – Baste for Depth of Flavor
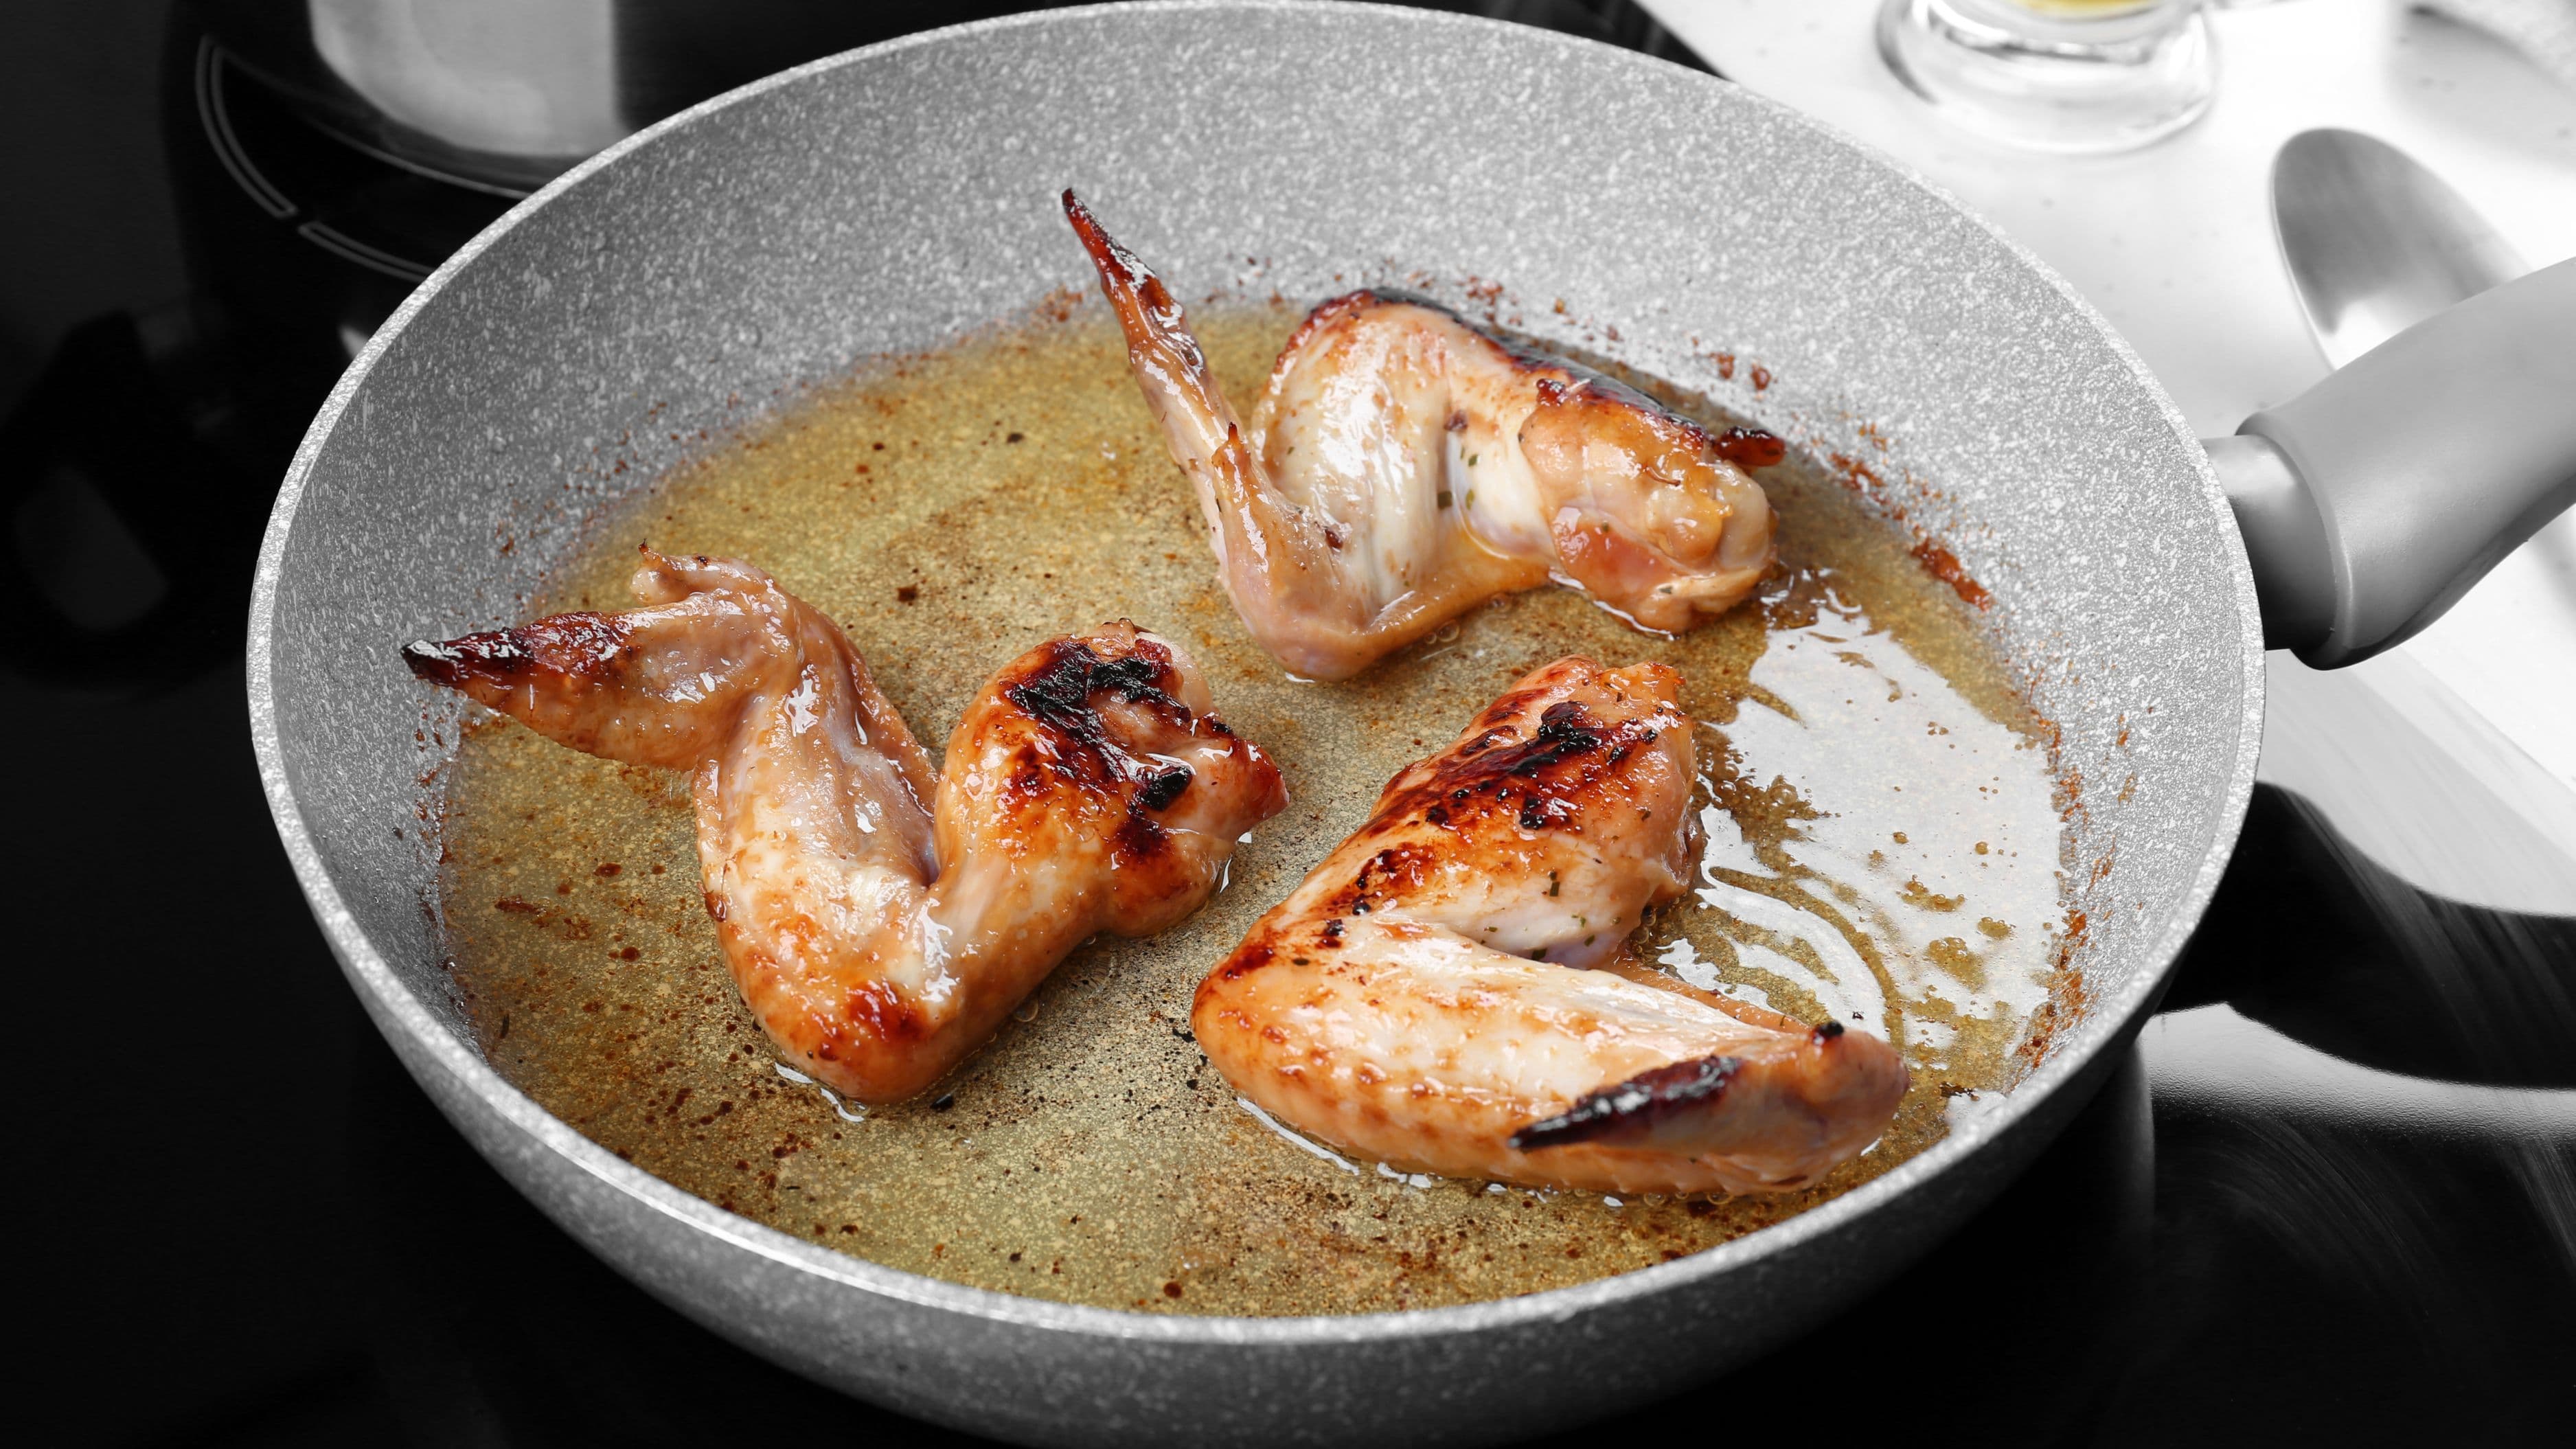
Once the first side has a crust and you've flipped, this is the moment to add butter, garlic, and fresh herbs (thyme and rosemary are the classic choices) to the pan. Tilt the pan slightly toward you and use a spoon to continuously ladle the foaming butter back over the top surface of the meat. This basting step does two things: it adds flavor from the butter and aromatics, and it keeps the already-seared top surface moist and flavorful while the second side develops its crust.
Work quickly – the butter can go from browned to burned in this heat environment. You're looking for the butter to foam and turn a light golden-nutty color. If it goes dark brown or starts to smell acrid, reduce the heat slightly and add a splash of fresh butter to drop the temperature. The basting process takes 1–2 minutes and produces the characteristic restaurant finish – a deeply flavored, glossy crust that tastes more complex than a simple sear alone.
Resting – The Step After the Sear That Completes It
After searing, rest the meat on a wire rack (not a flat plate) for a minimum of 5 minutes for a steak, longer for larger cuts. Resting allows the muscle fibers to relax and reabsorb the juices that were driven toward the center by the heat. Cut into meat immediately after cooking and those juices run out onto the cutting board. Rest the meat properly and they stay where they belong.
A wire rack rather than a flat plate prevents the bottom crust from steaming and softening in the pooled juices – small detail, real difference in texture.
Common Mistakes to Avoid
Taking the meat straight from the refrigerator to the pan is one of the most consistent sources of poor sears. Cold meat drops the pan temperature more dramatically than meat that's been sitting at room temperature for 20–30 minutes, extending the time to crust development and often overcooking the exterior before the interior reaches temperature on thick cuts. Let the meat come to room temperature before cooking – 20–30 minutes for steaks, longer for large roasts.
Using too much oil is a subtle mistake that leads to frying rather than searing. A thin coating of oil is sufficient. Excess oil pooling around the meat lowers the effective surface temperature and produces an oilier, less textured crust.
Seasoning only at the last minute is another common shortcut that limits flavor penetration. If you can't do a long dry brine, season at least 40–45 minutes before cooking – enough time for the salt to draw out moisture and be reabsorbed, or not at all (literally right before cooking). The worst outcome is seasoning 10–20 minutes before cooking, which draws moisture to the surface without enough time to reabsorb it.
Finally, using a cold pan with oil added before the pan is hot leads to oil that overheats unevenly and potentially reaches its smoke point before the meat even goes in. Heat the dry pan first, then add the oil, then add the meat within 30–60 seconds of the oil shimmering.
FAQ
Does the type of cut affect how you sear it? The technique is the same, but thicker cuts require oven finishing after the sear to reach the right internal temperature without burning the crust. Cuts thinner than 1 inch can be cooked entirely on the stovetop. Cuts 1.5 inches and above benefit from a 400°F oven finish after a 2–3 minute sear on each side. Bone-in cuts take longer than boneless cuts of the same thickness because bone conducts heat slowly.
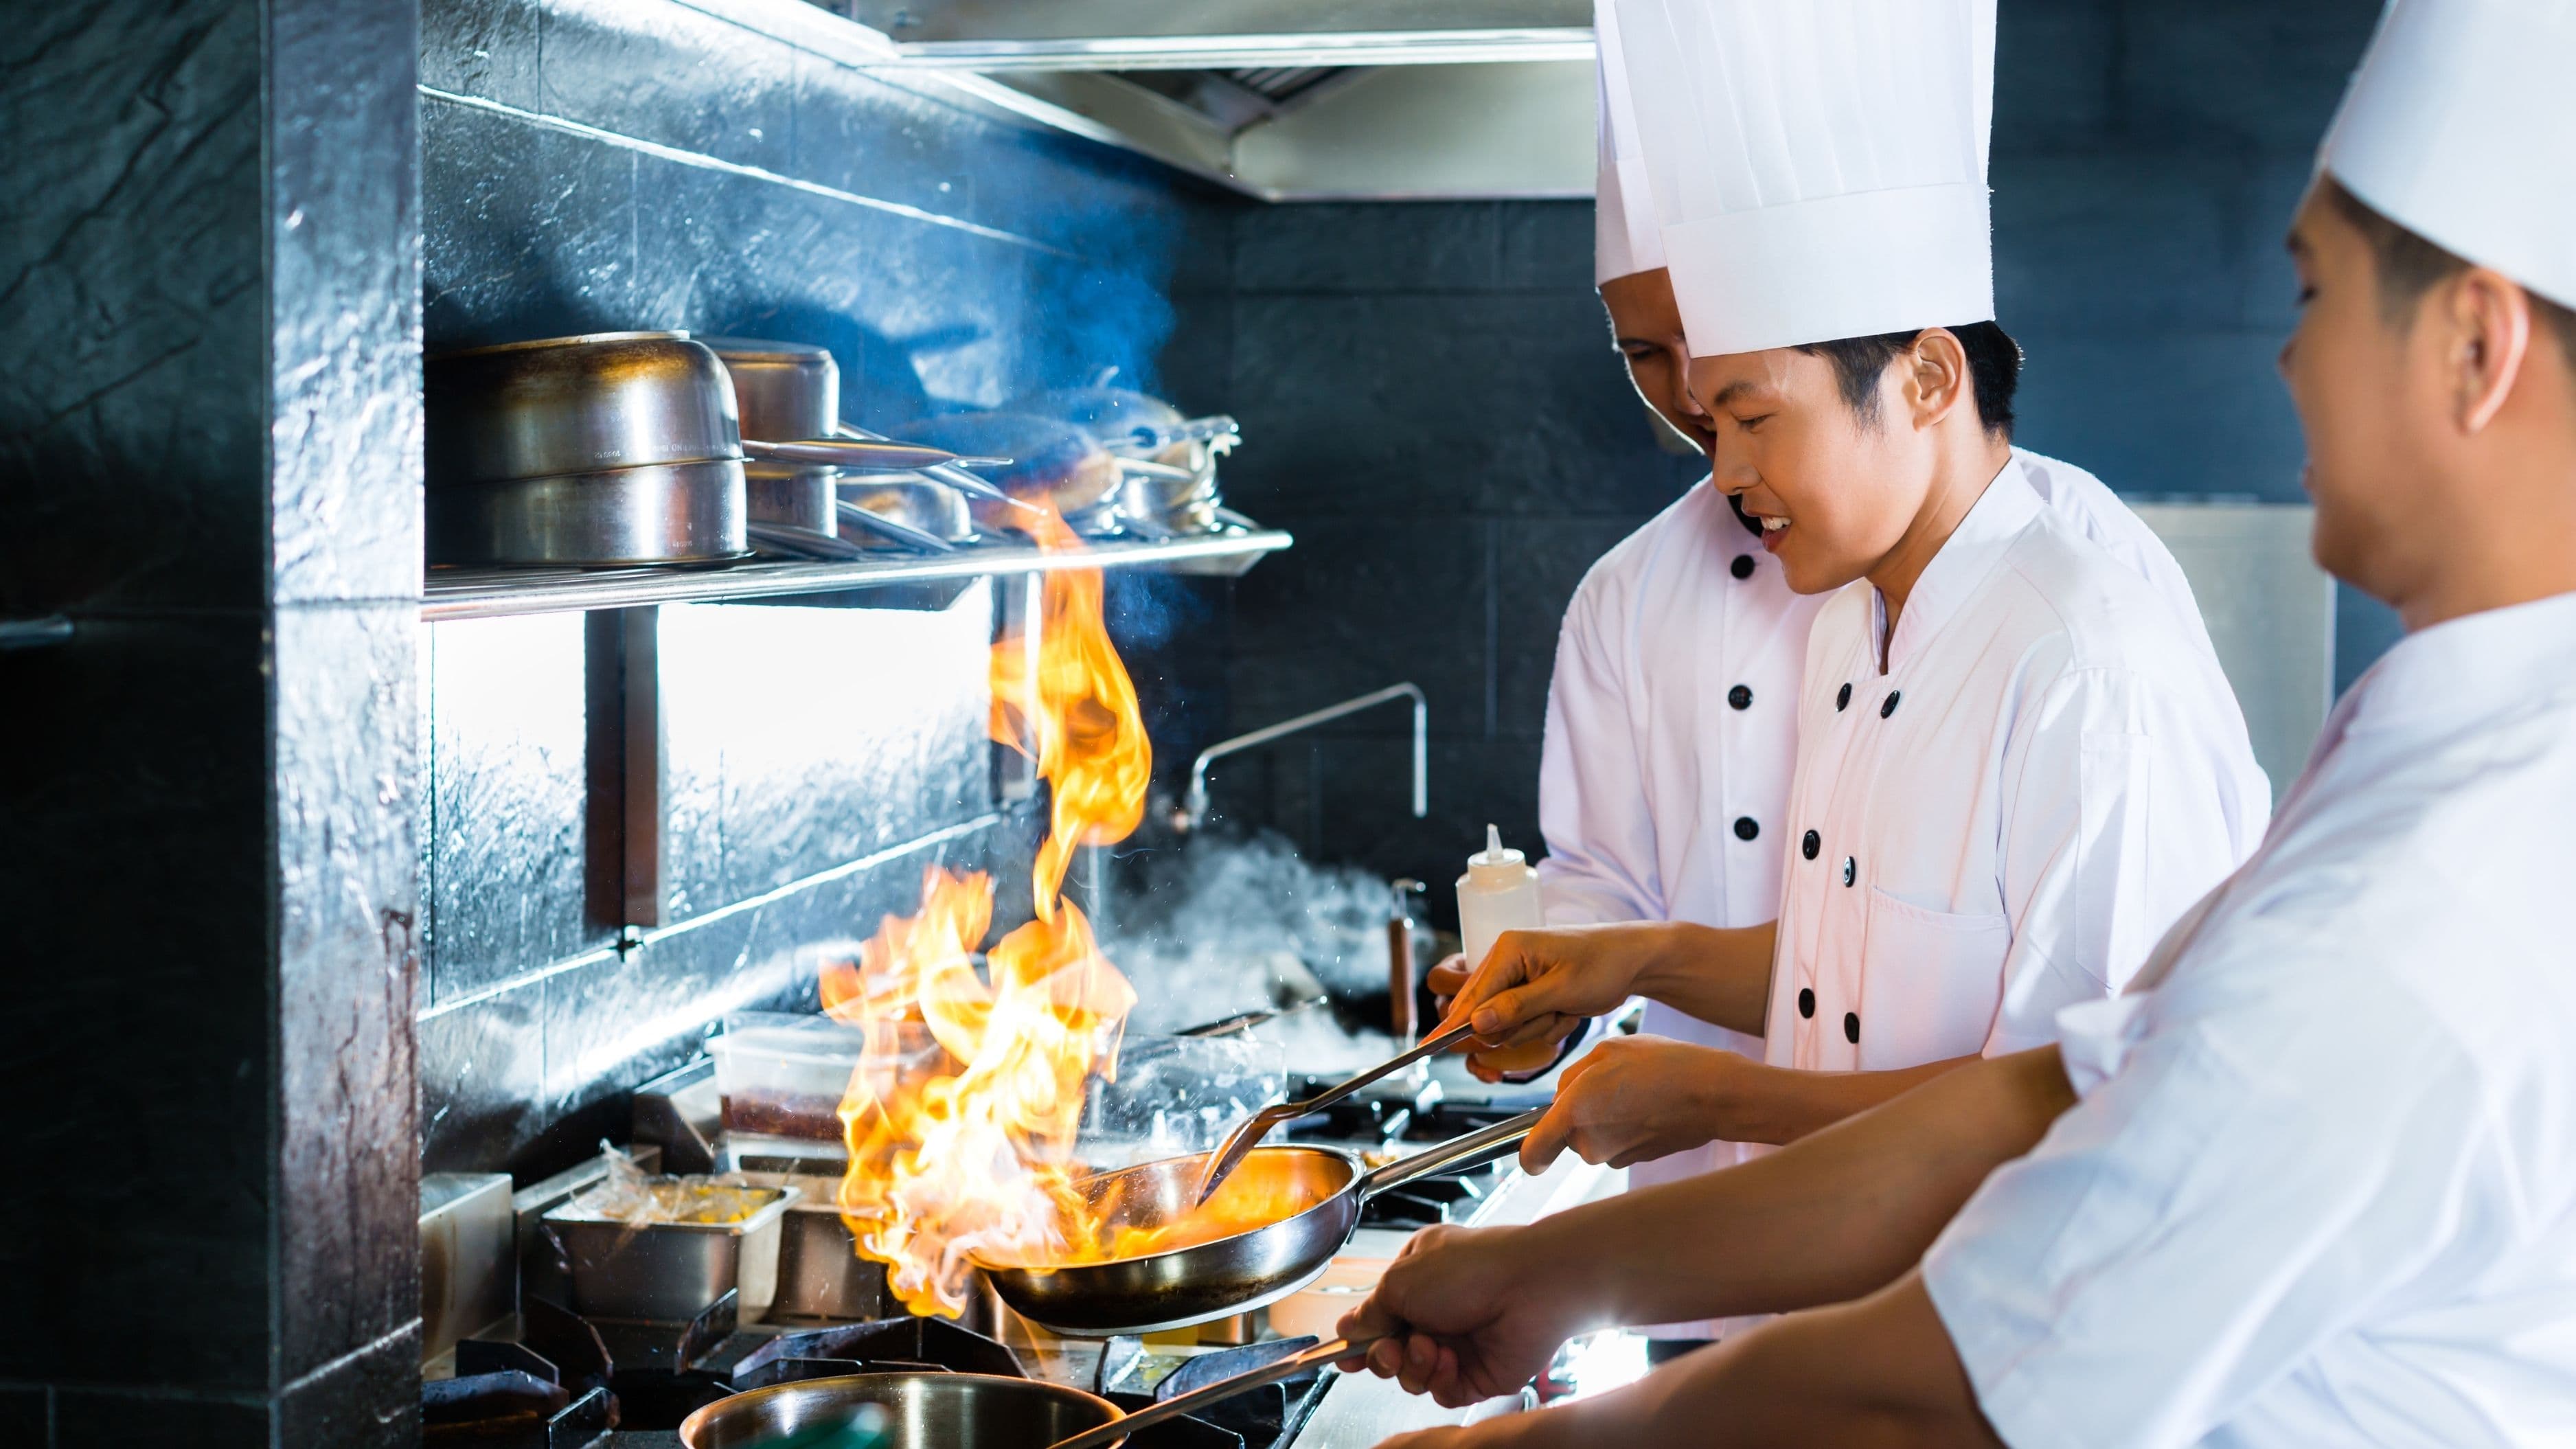
Why does restaurant meat always seem to have a better crust? Restaurant ranges produce significantly more BTUs (heat output) than residential stovetops, which helps maintain pan temperature even when cold protein is added. They also use heavy-duty cast iron and carbon steel cookware almost universally. At home, you can compensate by using cast iron, preheating longer, cooking smaller batches, and ensuring the meat is thoroughly dry before it goes into the pan.
Can you sear in butter from the start? Butter burns at around 300–350°F, well below ideal searing temperatures. Start with a high smoke point neutral oil for the initial sear, then add butter at the flip point for basting. Clarified butter or ghee, which has the milk solids removed, has a higher smoke point and can be used from the start, though it lacks the flavor complexity of whole butter basting.
Does searing seal in juices? This is a persistent myth that the food science is clear about: searing does not seal in juices. A seared piece of meat loses as much moisture during cooking as an unseared one. What searing does is develop flavor through the Maillard reaction and create a textural contrast – the crisp, savory exterior against the tender interior. The resting step after cooking is what preserves juiciness, not the sear itself.
What's the best cut for practicing this technique? A ribeye or New York strip in the 1–1.5 inch thickness range is the best practice cut. The fat content in both cuts is forgiving – they stay juicy even if timing isn't perfect – and their flat shape ensures even contact with the pan. Once the technique is consistent on steaks, it transfers directly to pork chops, chicken thighs, duck breast, lamb chops, and even firm fish like salmon.
A proper sear is one of those techniques that feels harder than it is until you've done it right once – and then it becomes almost automatic. Dry the meat, heat the pan properly, add oil at the right moment, put the meat down and leave it alone, baste with butter at the flip, and rest before cutting. That sequence, repeated consistently, produces the crust every time.
📚 Sources
Maillard Reaction in Cooking – Harold McGee, On Food and Cooking: https://www.simonandschuster.com/books/On-Food-and-Cooking/Harold-McGee/9780684800011
The Science of Searing Meat – Serious Eats Food Lab: https://www.seriouseats.com/the-food-lab-the-importance-of-drying-your-meat
Cast Iron Cookware Care and Use – Lodge Cast Iron: https://www.lodgecastiron.com/discover/cleaning-and-care/cast-iron/how-season-cast-iron-skillet
Smoke Points of Cooking Oils – North American Olive Oil Association: https://www.aboutoliveoil.org/olive-oil-smoke-point
Resting Meat After Cooking – America's Test Kitchen: https://www.americastestkitchen.com/articles/3994-the-truth-about-resting-meat
Dry Brining Technique – Salt Fat Acid Heat, Samin Nosrat: https://www.saltfatacidheat.com