By the end of this guide, you'll understand how shallow frying works, how to set it up properly, and what to watch for while cooking so you can adjust in the moment rather than hoping for the best.
What Shallow Frying Actually Is
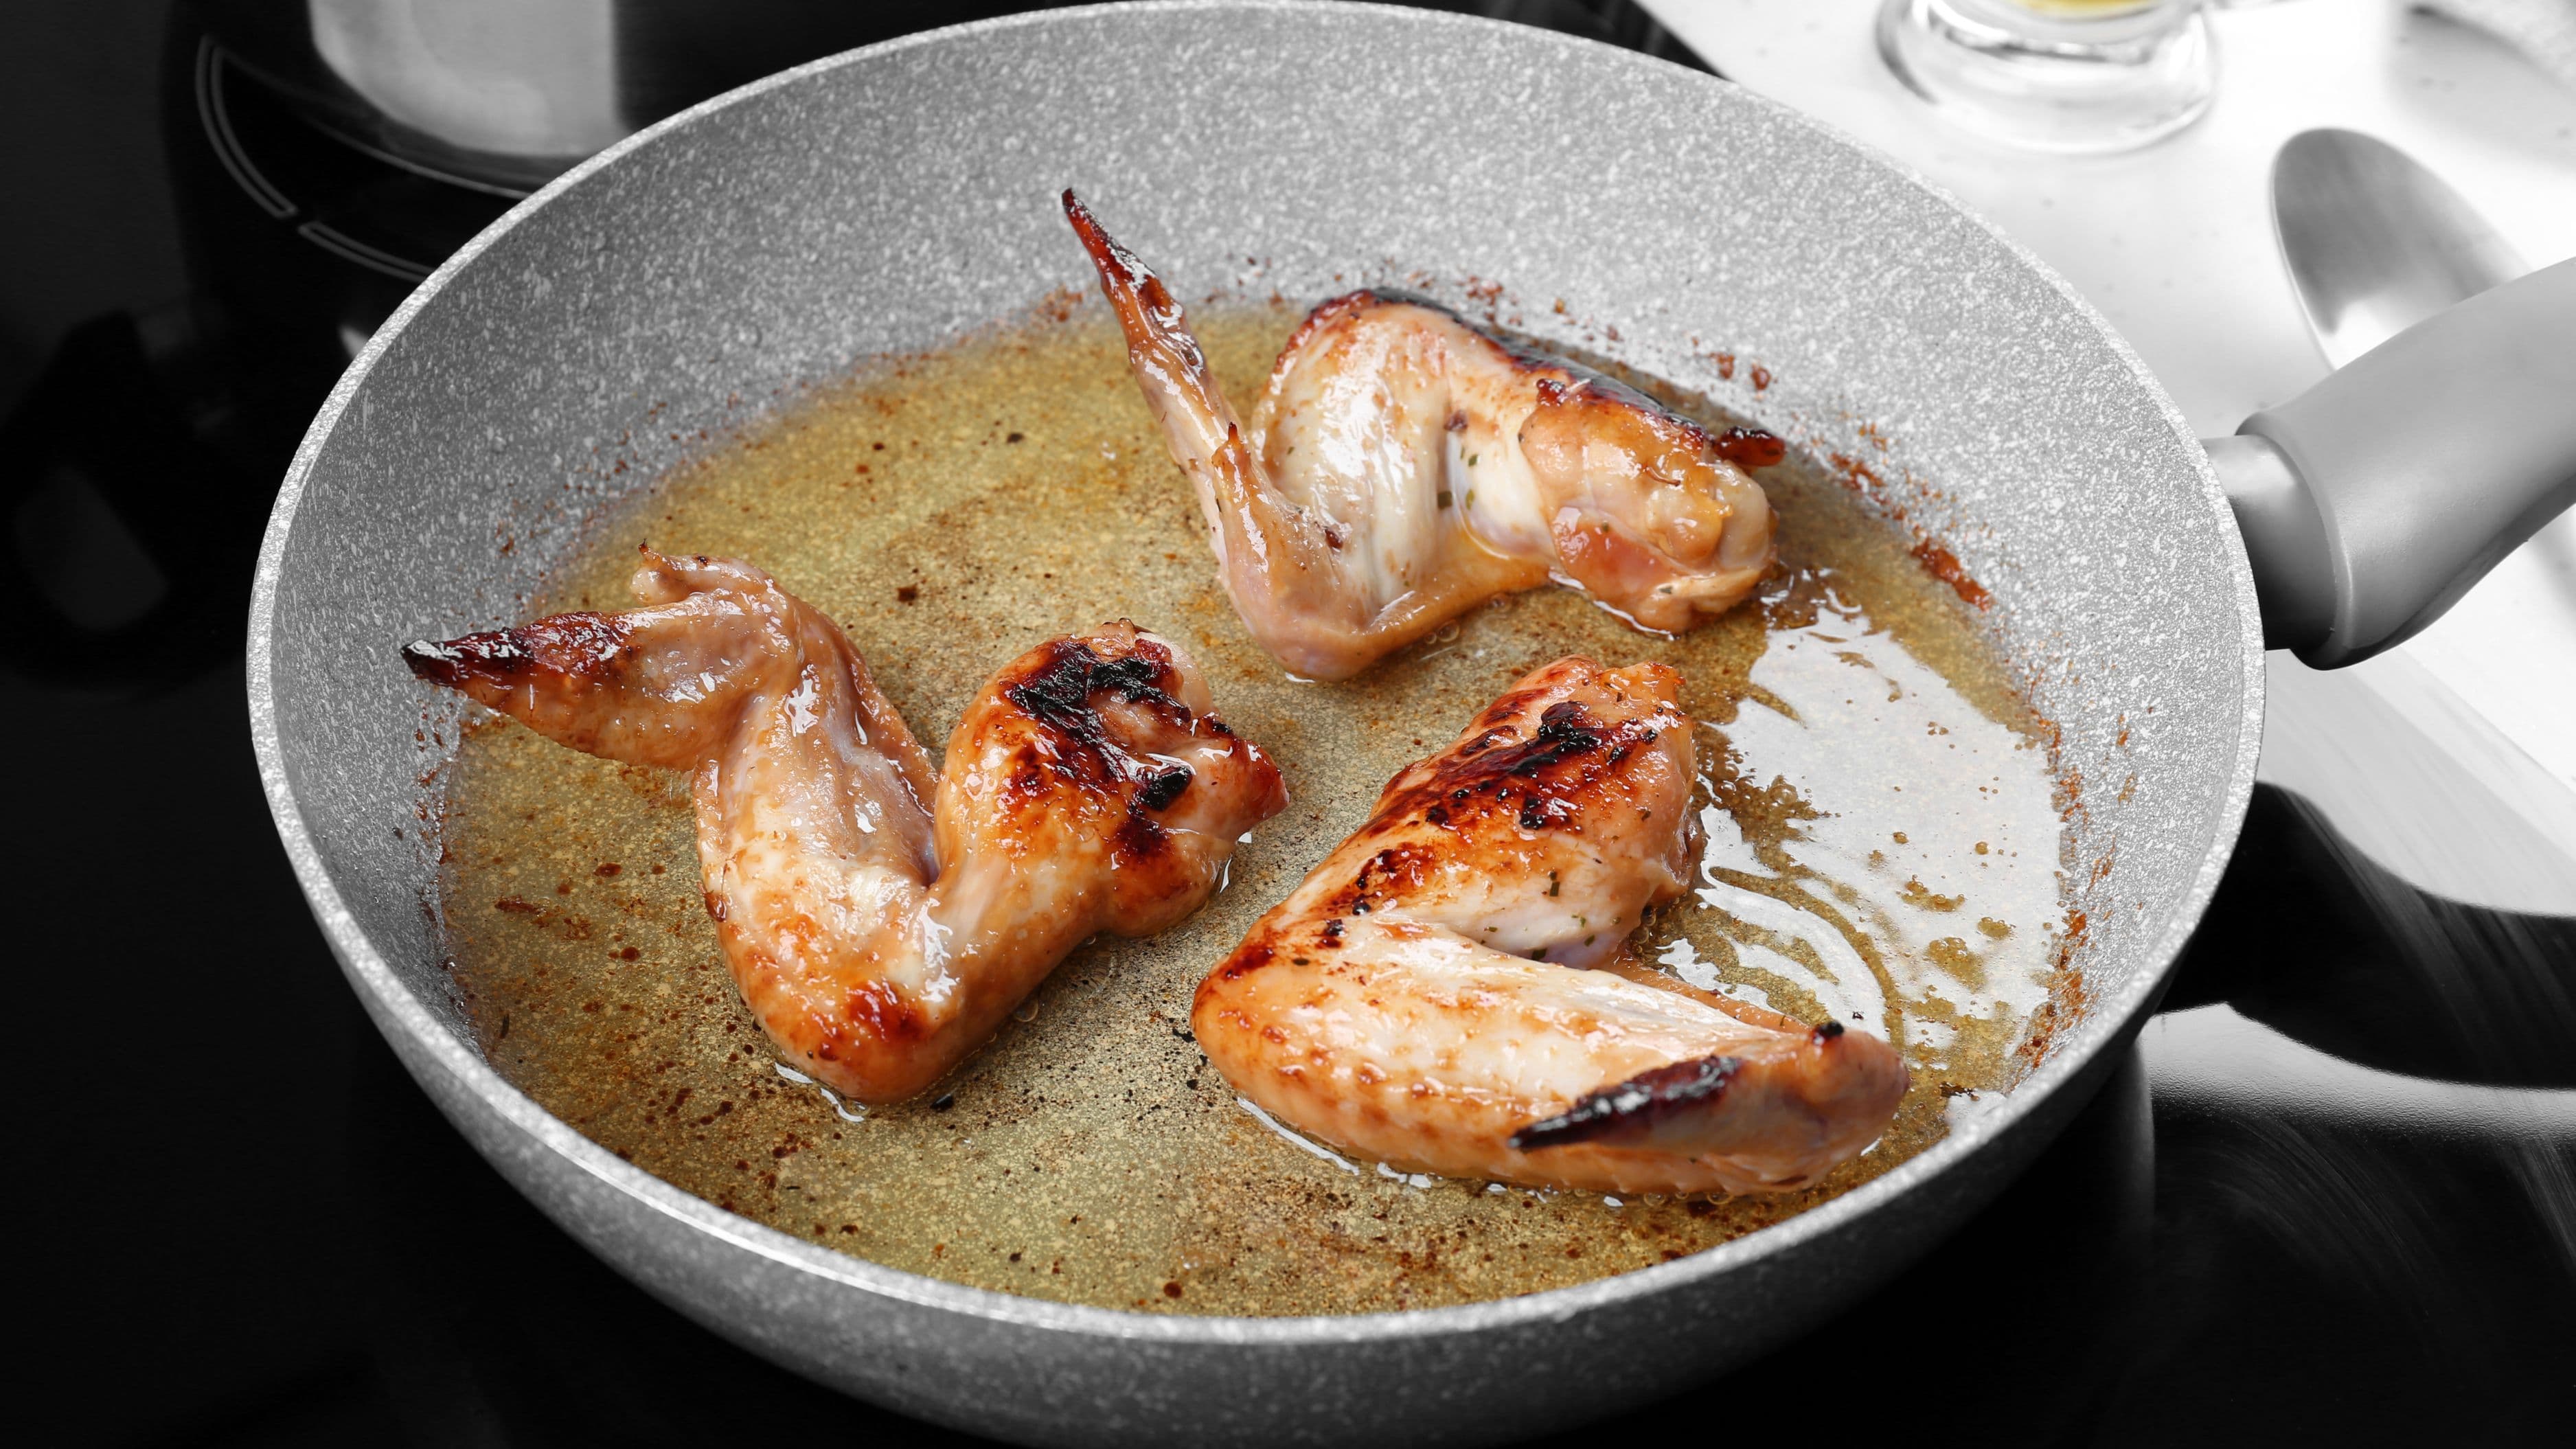
Shallow frying sits between pan-frying and deep frying. You use enough oil to come roughly halfway up the side of whatever you're cooking – typically a quarter to half an inch of oil in the pan – rather than fully submerging the food like deep frying. The food cooks in the hot oil on one side, then gets flipped to cook the other. The result is a crispy exterior and fully cooked interior achieved through direct contact with hot oil on both sides, rather than through total submersion.
It's a useful technique for foods that have a coating – breadcrumbs, flour, batter – that needs to set into a crust, and for foods like cutlets, patties, or fritters that are flat enough to cook through reliably with a single flip. It works better on your stovetop than deep frying because you need less oil, less specialized equipment, and less cleanup.
What You'll Need
You don't need anything exotic to shallow fry well. The choices you make in equipment and oil have a real effect on results, though.
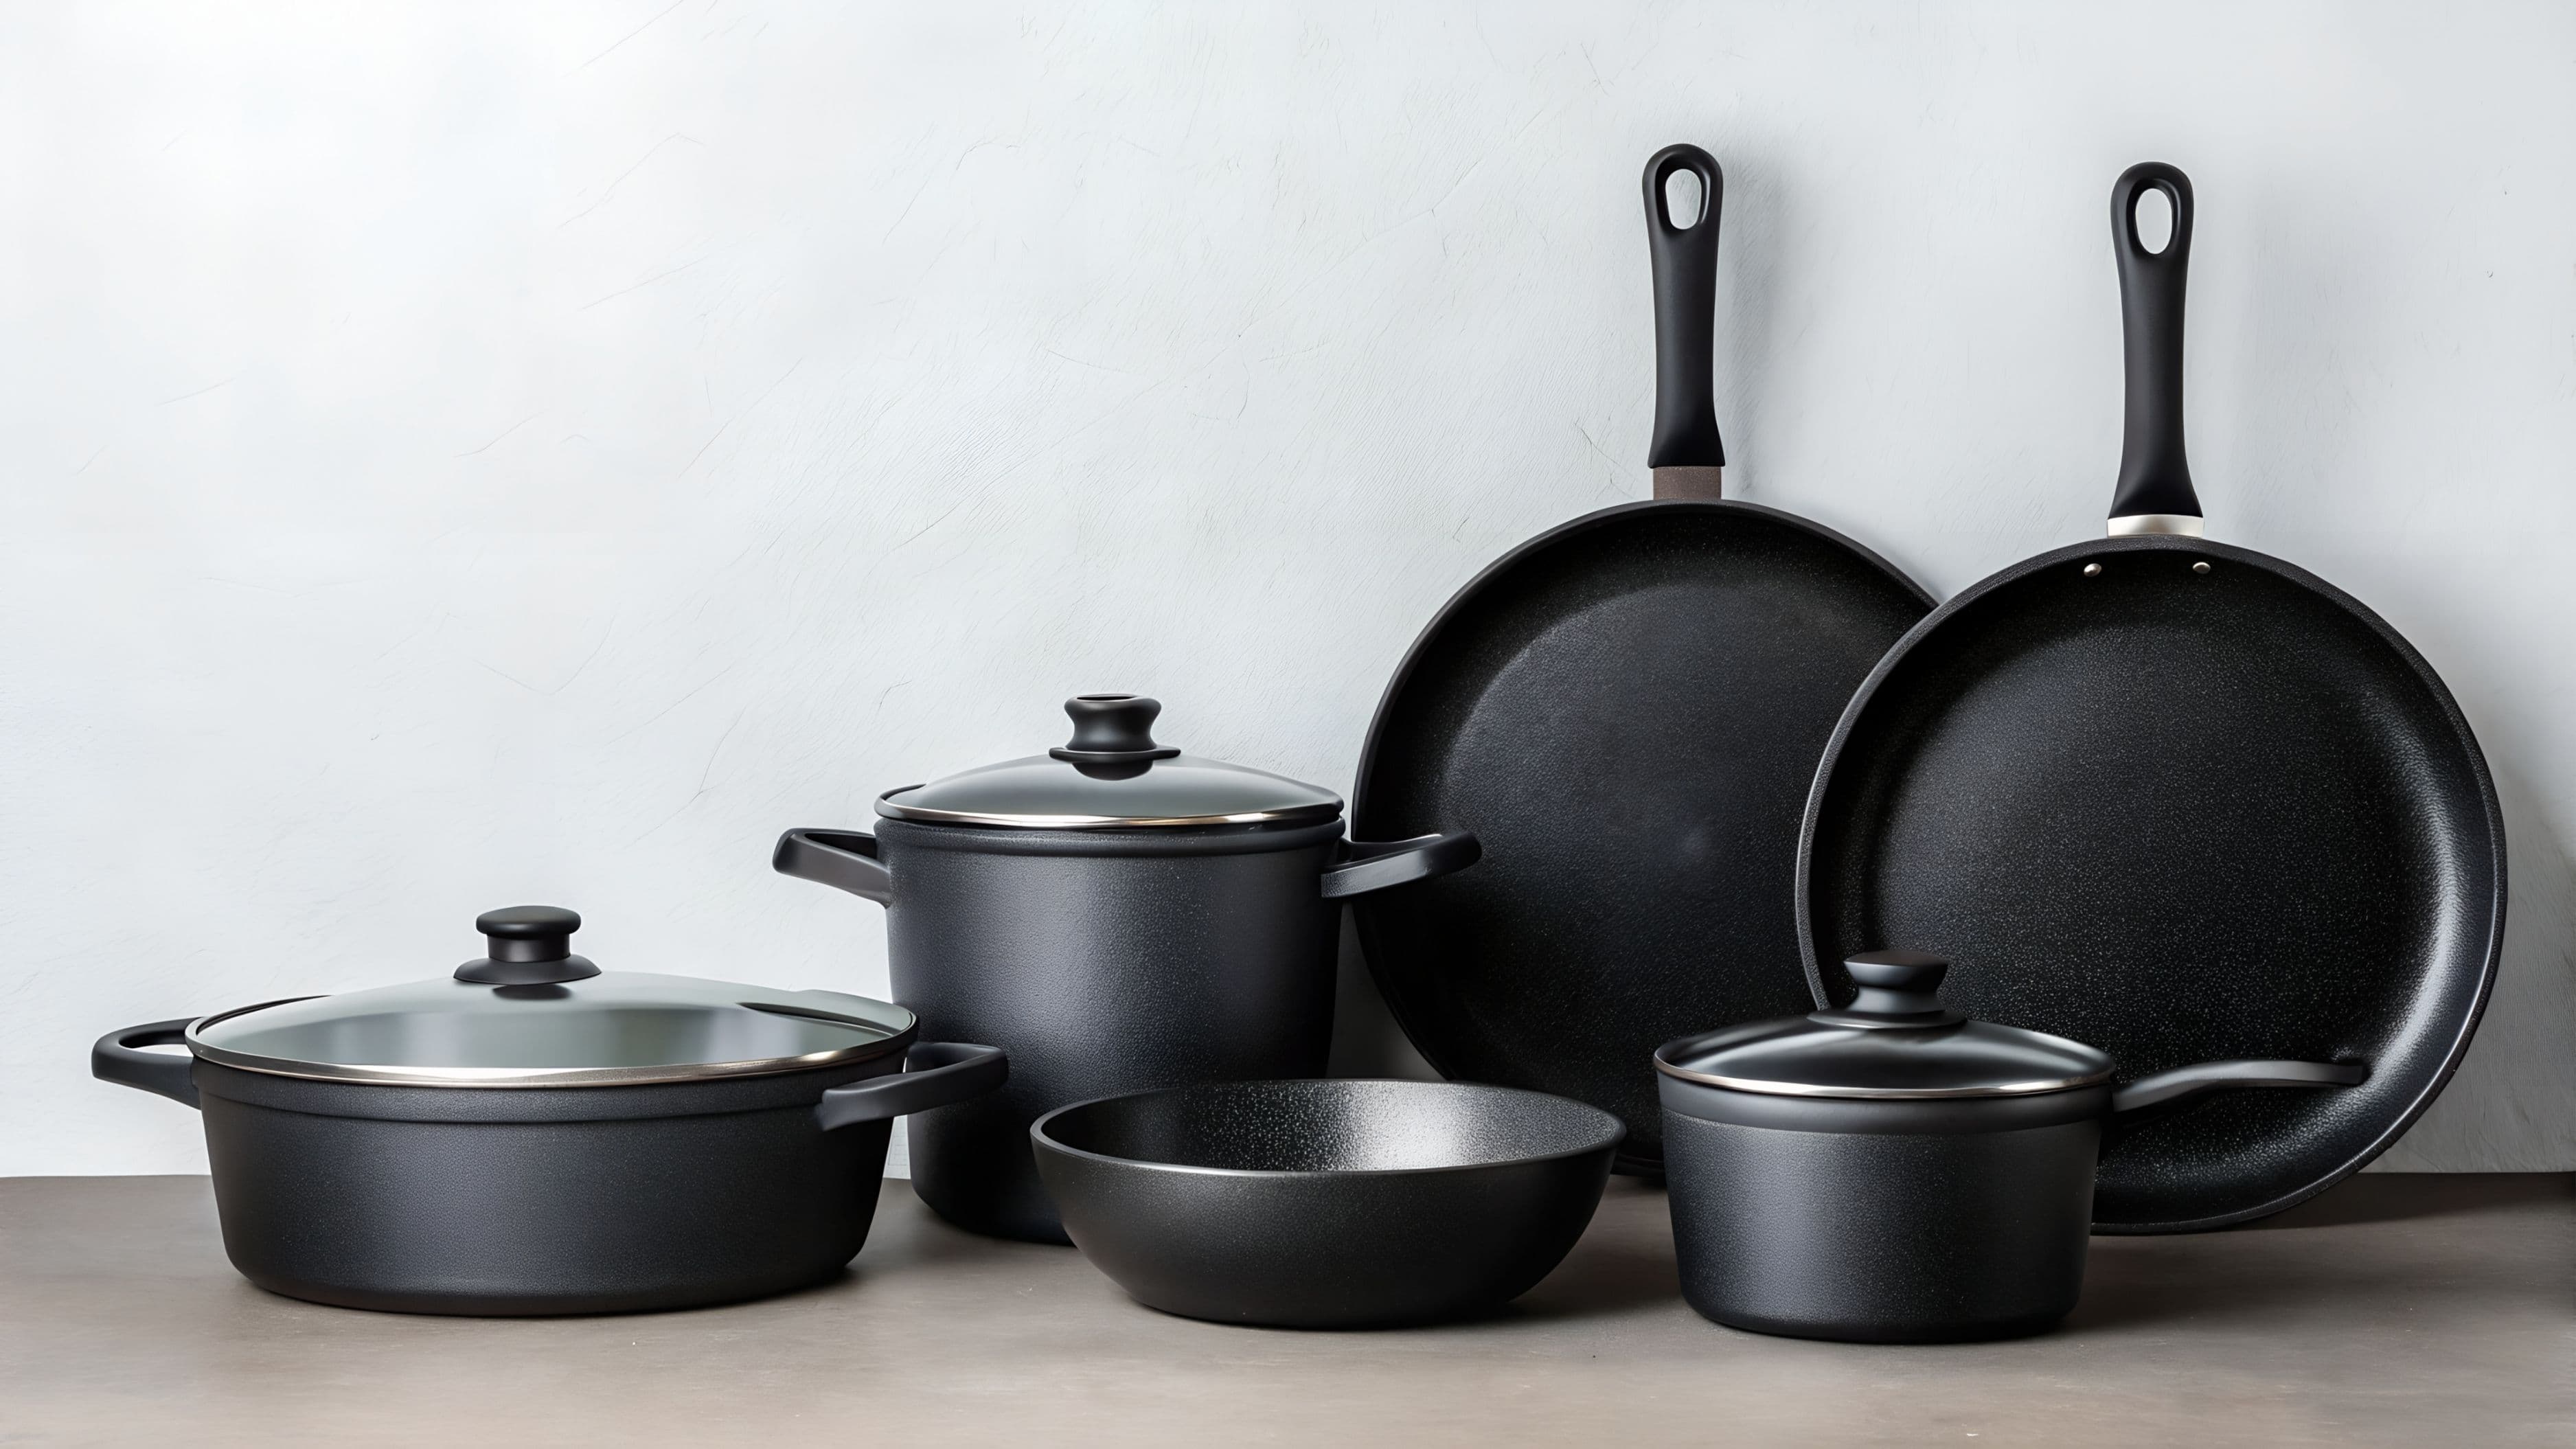
Pan: A heavy, straight-sided pan with a light-colored interior is ideal. Cast iron, stainless steel, and enameled pans all work well because they hold and distribute heat evenly. Avoid nonstick pans for shallow frying – they're not designed for the sustained high heat the technique requires, and the coating can degrade over time at frying temperatures. The straight sides help contain oil splatter. The light-colored interior lets you see what's happening to the food as it cooks, which is more useful than it sounds.
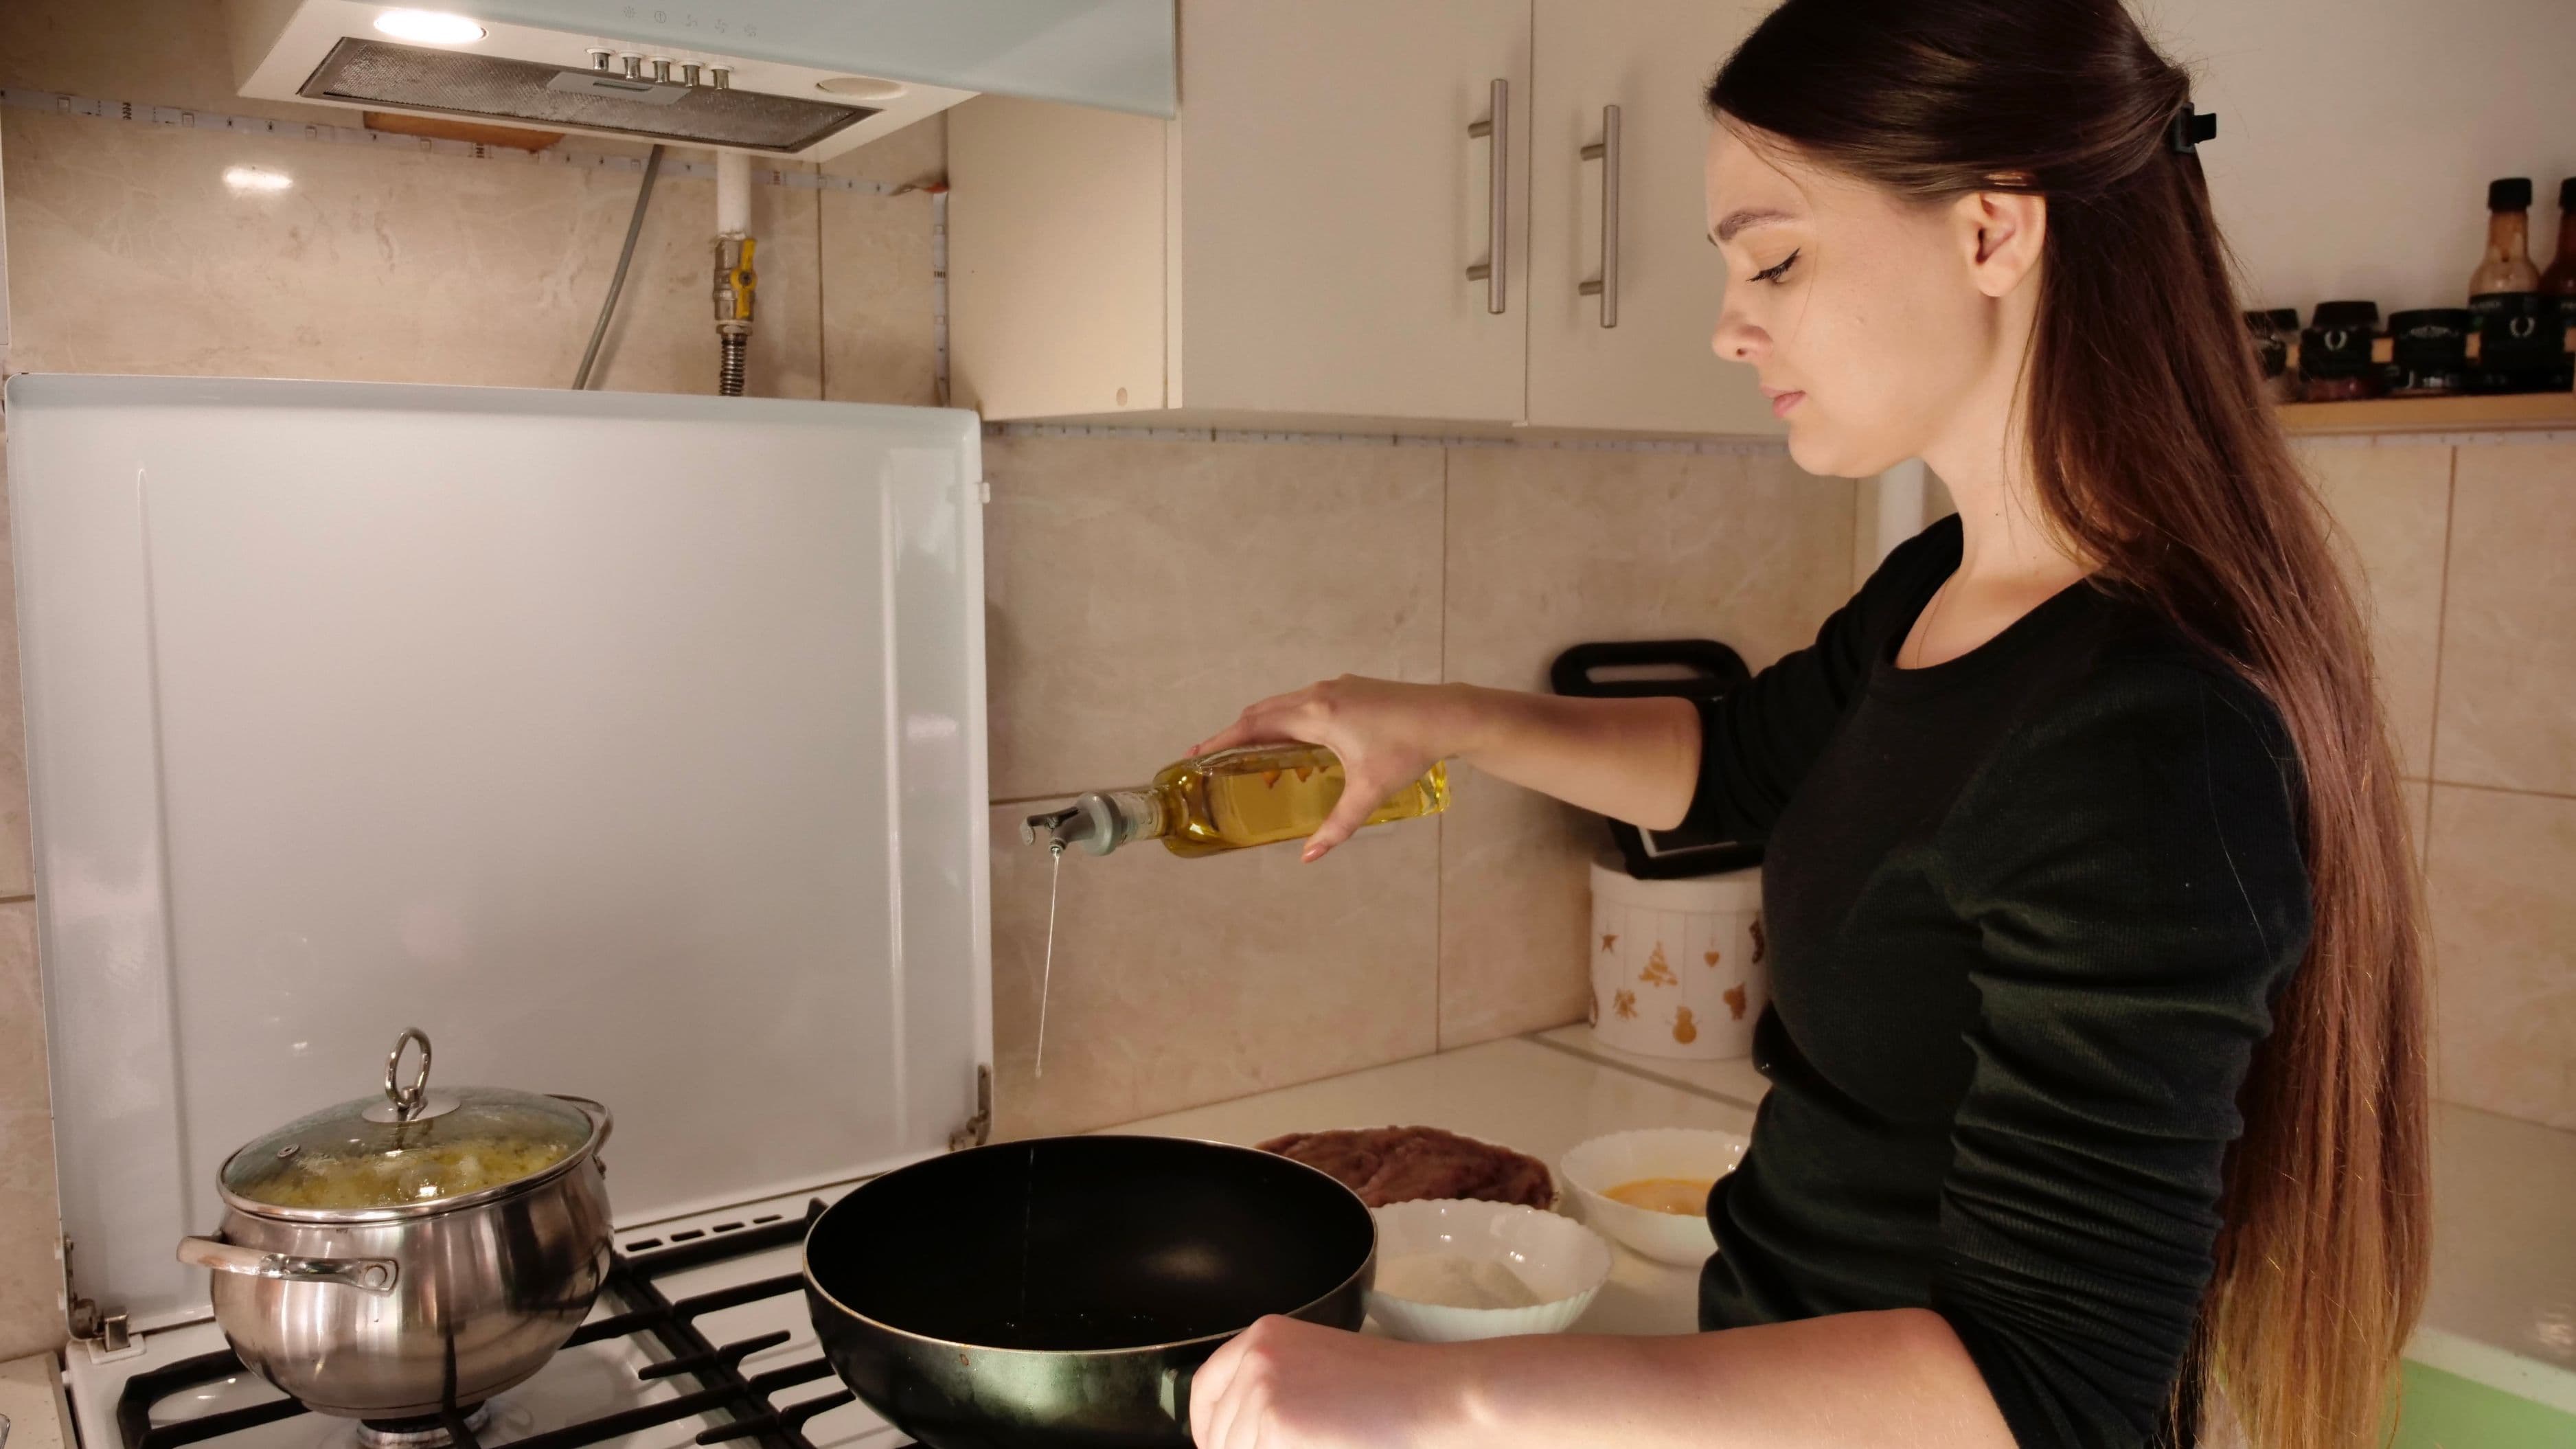
Oil: Choose an oil with a smoke point above 375°F (190°C), since that's the temperature range you'll be working in. Neutral-flavored oils work best for most foods because they don't compete with the flavor of what you're cooking. Vegetable oil, canola oil, sunflower oil, and refined peanut oil are all reliable choices. Olive oil is fine for some applications – pan-fried eggs, certain vegetables, lightly breaded items – but it has a lower smoke point than the refined options and adds a flavor that doesn't suit everything. Avoid extra virgin olive oil for shallow frying; it smokes at too low a temperature and burns before you reach the right cooking temperature.
Thermometer: An instant-read or candy thermometer is genuinely useful for getting oil temperature right, especially when you're starting out. You'll develop an eye for it with practice, but having the thermometer removes one variable while you're building that intuition.
Tools: A splatter screen is helpful for keeping your stovetop cleaner. A spider, slotted spoon, or tongs for turning and removing food. A wire rack set over a sheet pan for draining – this matters more than most people realize and is covered below.
Step 1: Prep Your Food Properly Before the Oil Is Hot
Everything you're going to fry should be ready to go before you heat the oil. Once the oil is at temperature, you're working quickly, and stopping to pat something dry or season a second batch while the pan is hot leads to errors.
Pat your food dry before coating or adding it to the pan. Surface moisture turns to steam when it hits hot oil, which causes aggressive splattering and prevents the surface from browning properly. If you're frying raw chicken, fish, or vegetables, pat them dry with paper towels and let them sit at room temperature for 15 to 30 minutes before frying. Food that's very cold from the refrigerator drops the oil temperature more sharply when added, which causes uneven cooking and increases the chance of oil absorption.
If you're using a breaded or flour coating, apply it and let the coated pieces rest for at least 5 minutes before they go in the oil. This rest period allows the coating to adhere more firmly, which means it's less likely to separate in the pan.
Step 2: Get the Oil Temperature Right
Oil temperature is the single biggest factor in whether shallow-fried food turns out well. The right range for most shallow frying is 325°F to 375°F (165°C to 190°C), with most recipes targeting around 350°F (175°C). Too cool and the food absorbs oil before the crust sets, coming out greasy. Too hot and the exterior burns before the interior is cooked through.
Add enough oil to your pan to come roughly halfway up the side of what you'll be frying, then heat it over medium to medium-high heat. Don't add food while the oil is still cold. Use your thermometer to check the temperature before adding anything, or use the wooden spoon test: dip the handle of a wooden spoon into the oil and if it produces a steady stream of small bubbles, the oil is around 350°F and ready to go.
One of the most common shallow frying mistakes is adding too much food at once and not accounting for the temperature drop that follows. Every time you add food, the oil temperature dips. If you add too many pieces at once, the temperature drops significantly and doesn't recover quickly enough, which means the food sits in lower-temperature oil longer than it should. Cook in batches that leave a little room between each piece, and give the oil a minute to return to temperature between batches.
Step 3: Add Food Carefully and Let It Cook
Lower food into the oil gently, moving away from yourself as you do to keep any splatter moving away from your hands and face. Don't drop food in from a height – it causes splatter and can move the food off-center in a way that creates uneven contact with the oil.
Once the food is in the pan, don't move it. This is important. The crust needs direct contact with hot oil to set and develop color. If you shift the food around, you interrupt that contact and the coating comes loose or doesn't form evenly. Leave it alone until it releases naturally from the pan and has developed a golden color on the bottom. Food that's ready to flip typically releases from the pan without sticking – if you need to force it, give it another minute.
Flip the food once. Multiple flips disrupt the crust and make it harder to achieve an even color. After the flip, cook until the second side reaches the same color and the food is cooked through. For proteins, use an instant-read thermometer to check internal temperature rather than guessing – chicken should reach 165°F (74°C), fish 145°F (63°C), and pork cutlets 145°F (63°C) with a brief rest.
Step 4: Drain on a Wire Rack, Not Paper Towels
This is one of the details that separates consistently crispy shallow-fried food from food that starts crispy and goes soft within a minute of leaving the pan. When you drain fried food on paper towels, it rests in contact with the paper, which traps steam under the food and softens the crust. A wire rack set over a sheet pan allows air to circulate under and around the food, which carries the steam away and keeps the crust crispy.
Transfer food directly from the pan to the wire rack as soon as it comes out of the oil. Season with salt immediately while the food is still hot and the surface is slightly moist – salt adheres better at this point and seasons more effectively than salt added after the food has cooled and dried.
When to Use Shallow Frying
Shallow frying works best for foods that are relatively flat and uniform in thickness so that both sides cook evenly in roughly the same amount of time. Chicken cutlets, fish fillets, pork schnitzel, crab cakes, vegetable fritters, falafel, and breaded cheese are all well-suited to the technique. Foods that are thick or irregular in shape – a whole chicken leg, a thick bone-in chop – are better suited to deep frying or a combination of shallow frying followed by oven finishing, since getting the interior cooked through without burning the exterior is difficult in a shallow pan.
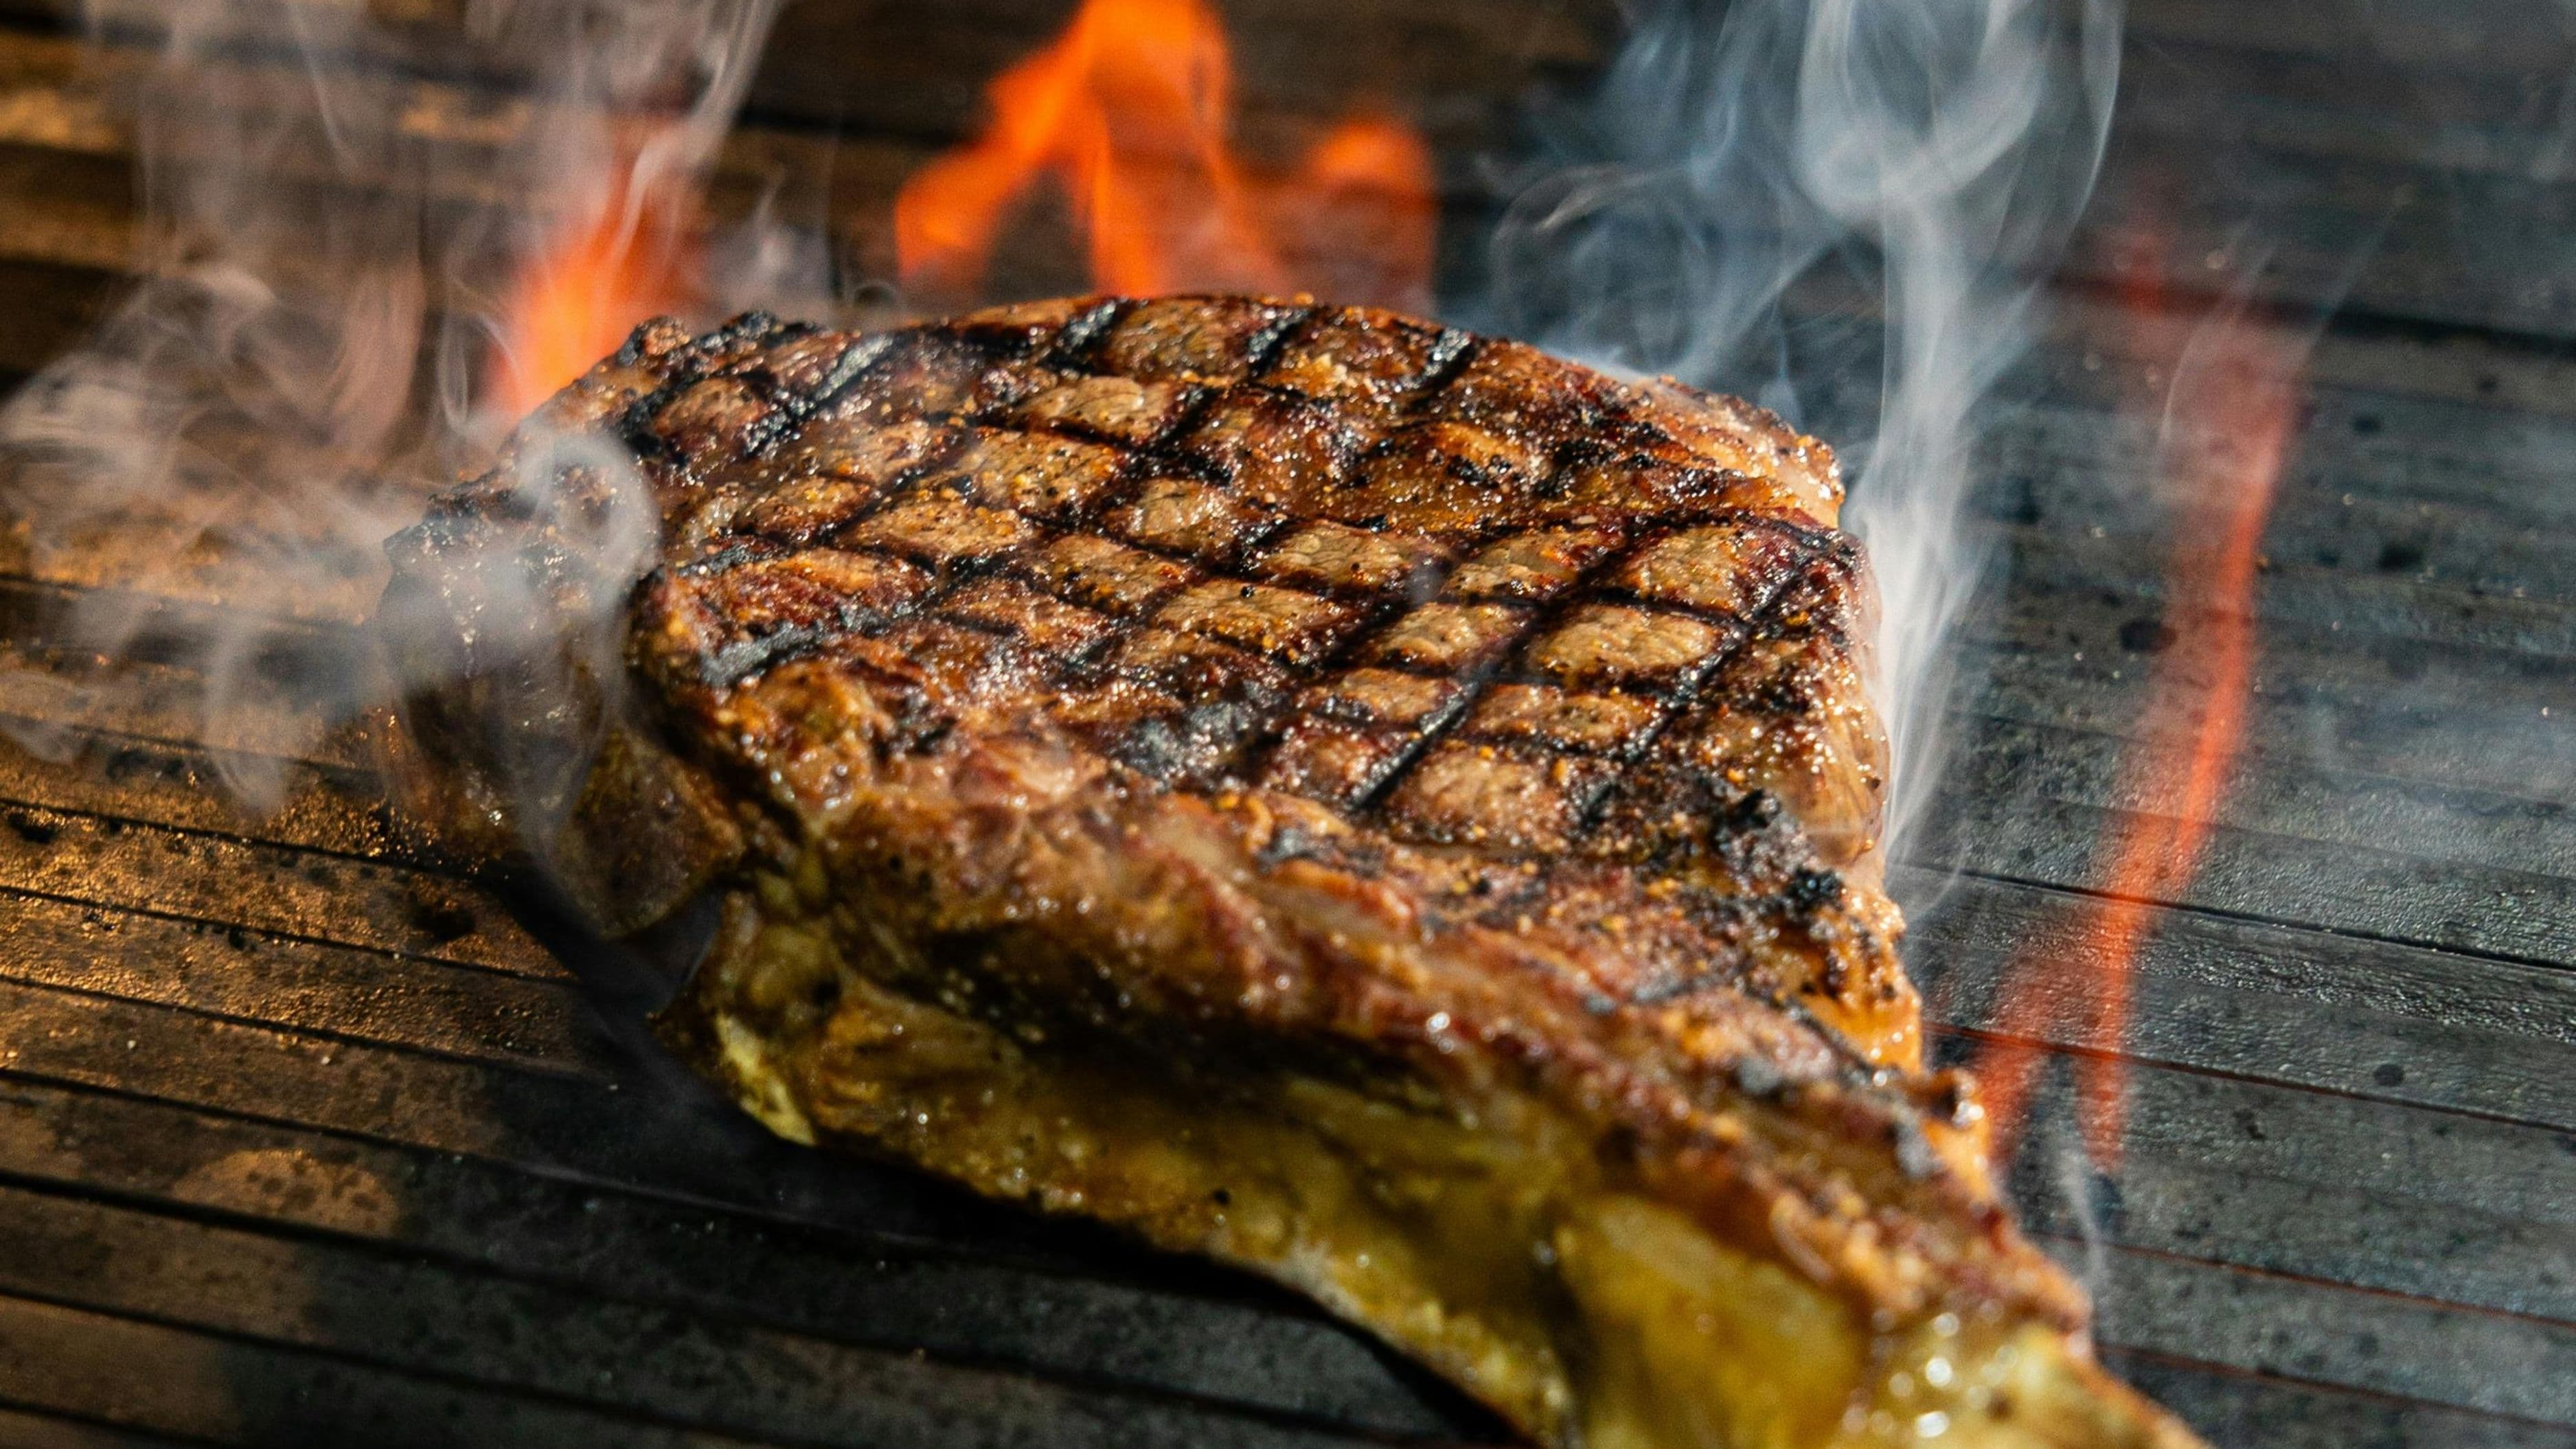
It's also useful to know when pan-frying (without breading, with minimal oil) is a better fit. If you're cooking a steak, a salmon fillet, or a pork chop without any coating, you want a good sear rather than a fried crust, and that's better achieved with a high-heat pan and a small amount of fat rather than the oil depth and temperature management that shallow frying requires.
Tips for Consistent Results
Keeping the oil temperature steady is the most useful habit to develop. A thermometer helps, but so does adjusting your burner based on what you're hearing. Oil at the right temperature produces a steady, active sizzle when food is added – not a faint hiss, not a violent splatter. Listen to the sound and adjust accordingly; if the sizzle dies down significantly during a batch, nudge the heat up slightly.
Using a light, neutral-flavored coating consistently across a batch helps too. Flour is the simplest coating and produces a thin, crispy crust. Breadcrumbs (especially panko) produce a thicker, crunchier crust. A flour-egg-breadcrumb progression (standard breading procedure) gives the most structured, reliably adhering crust. Whatever you use, coat each piece as uniformly as possible and shake off the excess before it goes in the pan – excess coating falls off in the oil, burns, and affects both the oil quality and subsequent batches.
Changing the oil when it gets dark is important for flavor and safety. Heavily used oil develops a lower smoke point and imparts off-flavors. For home shallow frying, the oil in the pan is typically used for one cooking session and then discarded – the quantities involved are small enough that reusing it isn't worth the flavor compromise.
Common Mistakes to Avoid
Starting with cold oil is the most frequent error and also the most damaging to results. Food added to under-temperature oil soaks up oil instead of searing, and the texture is greasy and heavy rather than light and crispy. Always confirm temperature before adding food.
Overcrowding the pan is the second most common problem. It's tempting to cook more at once to save time, but it reliably produces inferior results. Cook in smaller batches with patience and the total result will be better.
Moving the food too early – or constantly poking and checking it – disrupts the crust formation. Set it down, leave it, and trust the process. Check the underside once when you think it's ready; if it's golden and releases cleanly, it's time to flip.
Salting too early when using a wet batter can cause the batter to thin out and not adhere properly. Season the food itself lightly before coating, and add the final salt hit immediately after it comes out of the oil.
FAQ
How do I know if my oil is hot enough without a thermometer? The wooden spoon test is the most reliable low-tech method: dip the wooden handle into the oil – if steady bubbles stream up around it, the oil is around 350°F and ready to use. You can also drop a small piece of bread or a pinch of flour in – if it sizzles actively and begins to color within 30 to 60 seconds, you're in the right range.
Why does my breading fall off in the pan? The most common reasons are skipping the resting period after breading (the coating needs time to adhere), not patting the food dry before coating (moisture prevents adhesion), and moving the food too soon after adding it to the pan (the coating needs direct heat contact to set before it will release cleanly). Make sure the food is dry, rest the coated pieces before frying, and leave them alone once in the pan.
Can I reuse the oil after shallow frying? You can strain and reuse oil from a single frying session if it's still pale and clean-smelling, but for home cooking the quantity is usually small enough that it's not worth the effort. Discard used frying oil by letting it cool completely, pouring it into a sealed container, and disposing of it in the rubbish – not down the drain, where it solidifies and blocks pipes.
What's the best oil for shallow frying chicken? Refined peanut oil has a high smoke point and a neutral flavor that works particularly well with chicken. Canola and sunflower oil are equally good and widely available. The specific oil matters less than ensuring it has a smoke point above 375°F and that you're maintaining temperature correctly.
How do I stop oil splatter from making a mess? Pat food very dry before it goes in, avoid adding cold food directly from the refrigerator, and use a splatter screen on the pan during cooking. Lower food in gently rather than dropping it in. Keeping a folded kitchen towel near the stove to immediately wipe the rim and handle of the pan also helps contain the mess during cooking.
📚 Sources
Serious Eats – The Science of Frying: How to Fry Food Properly: https://www.seriouseats.com/the-food-lab-frying-foods-temperature-oil-crust
USDA – Safe Minimum Internal Temperatures for Cooked Foods: https://www.fsis.usda.gov/food-safety/safe-food-handling-and-preparation/food-safety-basics/safe-temperature-chart
Fine Cooking – Understanding Oil Smoke Points: https://www.finecooking.com/article/whats-a-smoke-point-and-why-does-it-matter
America's Test Kitchen – How to Shallow Fry Successfully: https://www.americastestkitchen.com/guides/cook-it-in-cast-iron/shallow-frying
Cook's Illustrated – The Best Oils for Frying: https://www.cooksillustrated.com/articles/1542-the-best-oil-for-frying