Tempering is actually two different techniques that happen to share a name. One is simple, takes 30 seconds, and saves your custards and sauces from curdling. The other is genuinely technical, matters primarily for chocolate work, and is one of the more satisfying skills to develop once you understand what's actually happening. Knowing which situation you're in – and what the technique actually accomplishes – makes both of them far less intimidating.
Tempering Eggs: The Simple One
When a recipe calls for tempering eggs, it means gradually raising the temperature of egg yolks (or whole eggs) before adding them to a hot liquid, so the eggs incorporate smoothly rather than scrambling. That's the entire technique.
Eggs begin to cook – meaning their proteins start to coagulate – at around 160°F. When you add cold or room-temperature eggs directly to a hot liquid at 180°F or higher, the immediate temperature shock causes the proteins to seize and clump. You get cooked egg bits in your sauce or custard instead of the smooth, velvety texture the recipe intended. Tempering prevents this by raising the eggs' temperature slowly, a little at a time, before they enter the main pot.
The method is genuinely straightforward. While whisking your eggs constantly in a bowl, ladle a small amount of the hot liquid into them – a few tablespoons at first, then a bit more. The eggs warm up gradually through several small additions rather than one dramatic plunge into heat. Once the egg mixture is warm (not hot) to the touch and has absorbed two or three ladles of the hot liquid, you can pour it all back into the pot safely. The eggs will continue to cook gently and thicken the sauce without scrambling.
This matters for crème brûlée, pastry cream, hollandaise, lemon curd, zabaglione, some soups thickened with egg yolks, and any custard or sauce where eggs provide both structure and richness. In all of these, the eggs need to cook enough to thicken but not so fast that they curdle. Tempering gives you that control.
When You Actually Need to Temper Eggs
The honest answer is: whenever hot liquid meets eggs in a recipe that expects a smooth result.
If the liquid temperature is above 160°F and the eggs are going in for the purpose of thickening or enriching rather than scrambling, temper them. If you're making a sauce or soup that calls for adding egg yolks at the end for body – a traditional Greek avgolemono, for instance, or a carbonara-style pasta – temper the eggs with a ladle of the hot cooking liquid before adding them to the pot.
Where you can skip it: if you're making a frittata, a quiche, or a baked egg dish where the eggs are the main structure and you expect them to fully set, tempering isn't relevant. Same with scrambled eggs or fried eggs. The technique applies specifically to situations where you want the eggs to remain silky and just-cooked, not fully firm.
A common point of confusion is cream-based pasta sauces. A carbonara made with egg yolks, Pecorino, and pasta cooking water needs tempering if you want to be safe – whisk your yolks and cheese together, add a ladle of hot pasta water while whisking, then pour over the pasta off the heat. Skipping this step and relying on technique (tossing quickly, not too much heat) works for experienced cooks but reliably causes issues for beginners.
Tempering Chocolate: The Technical One
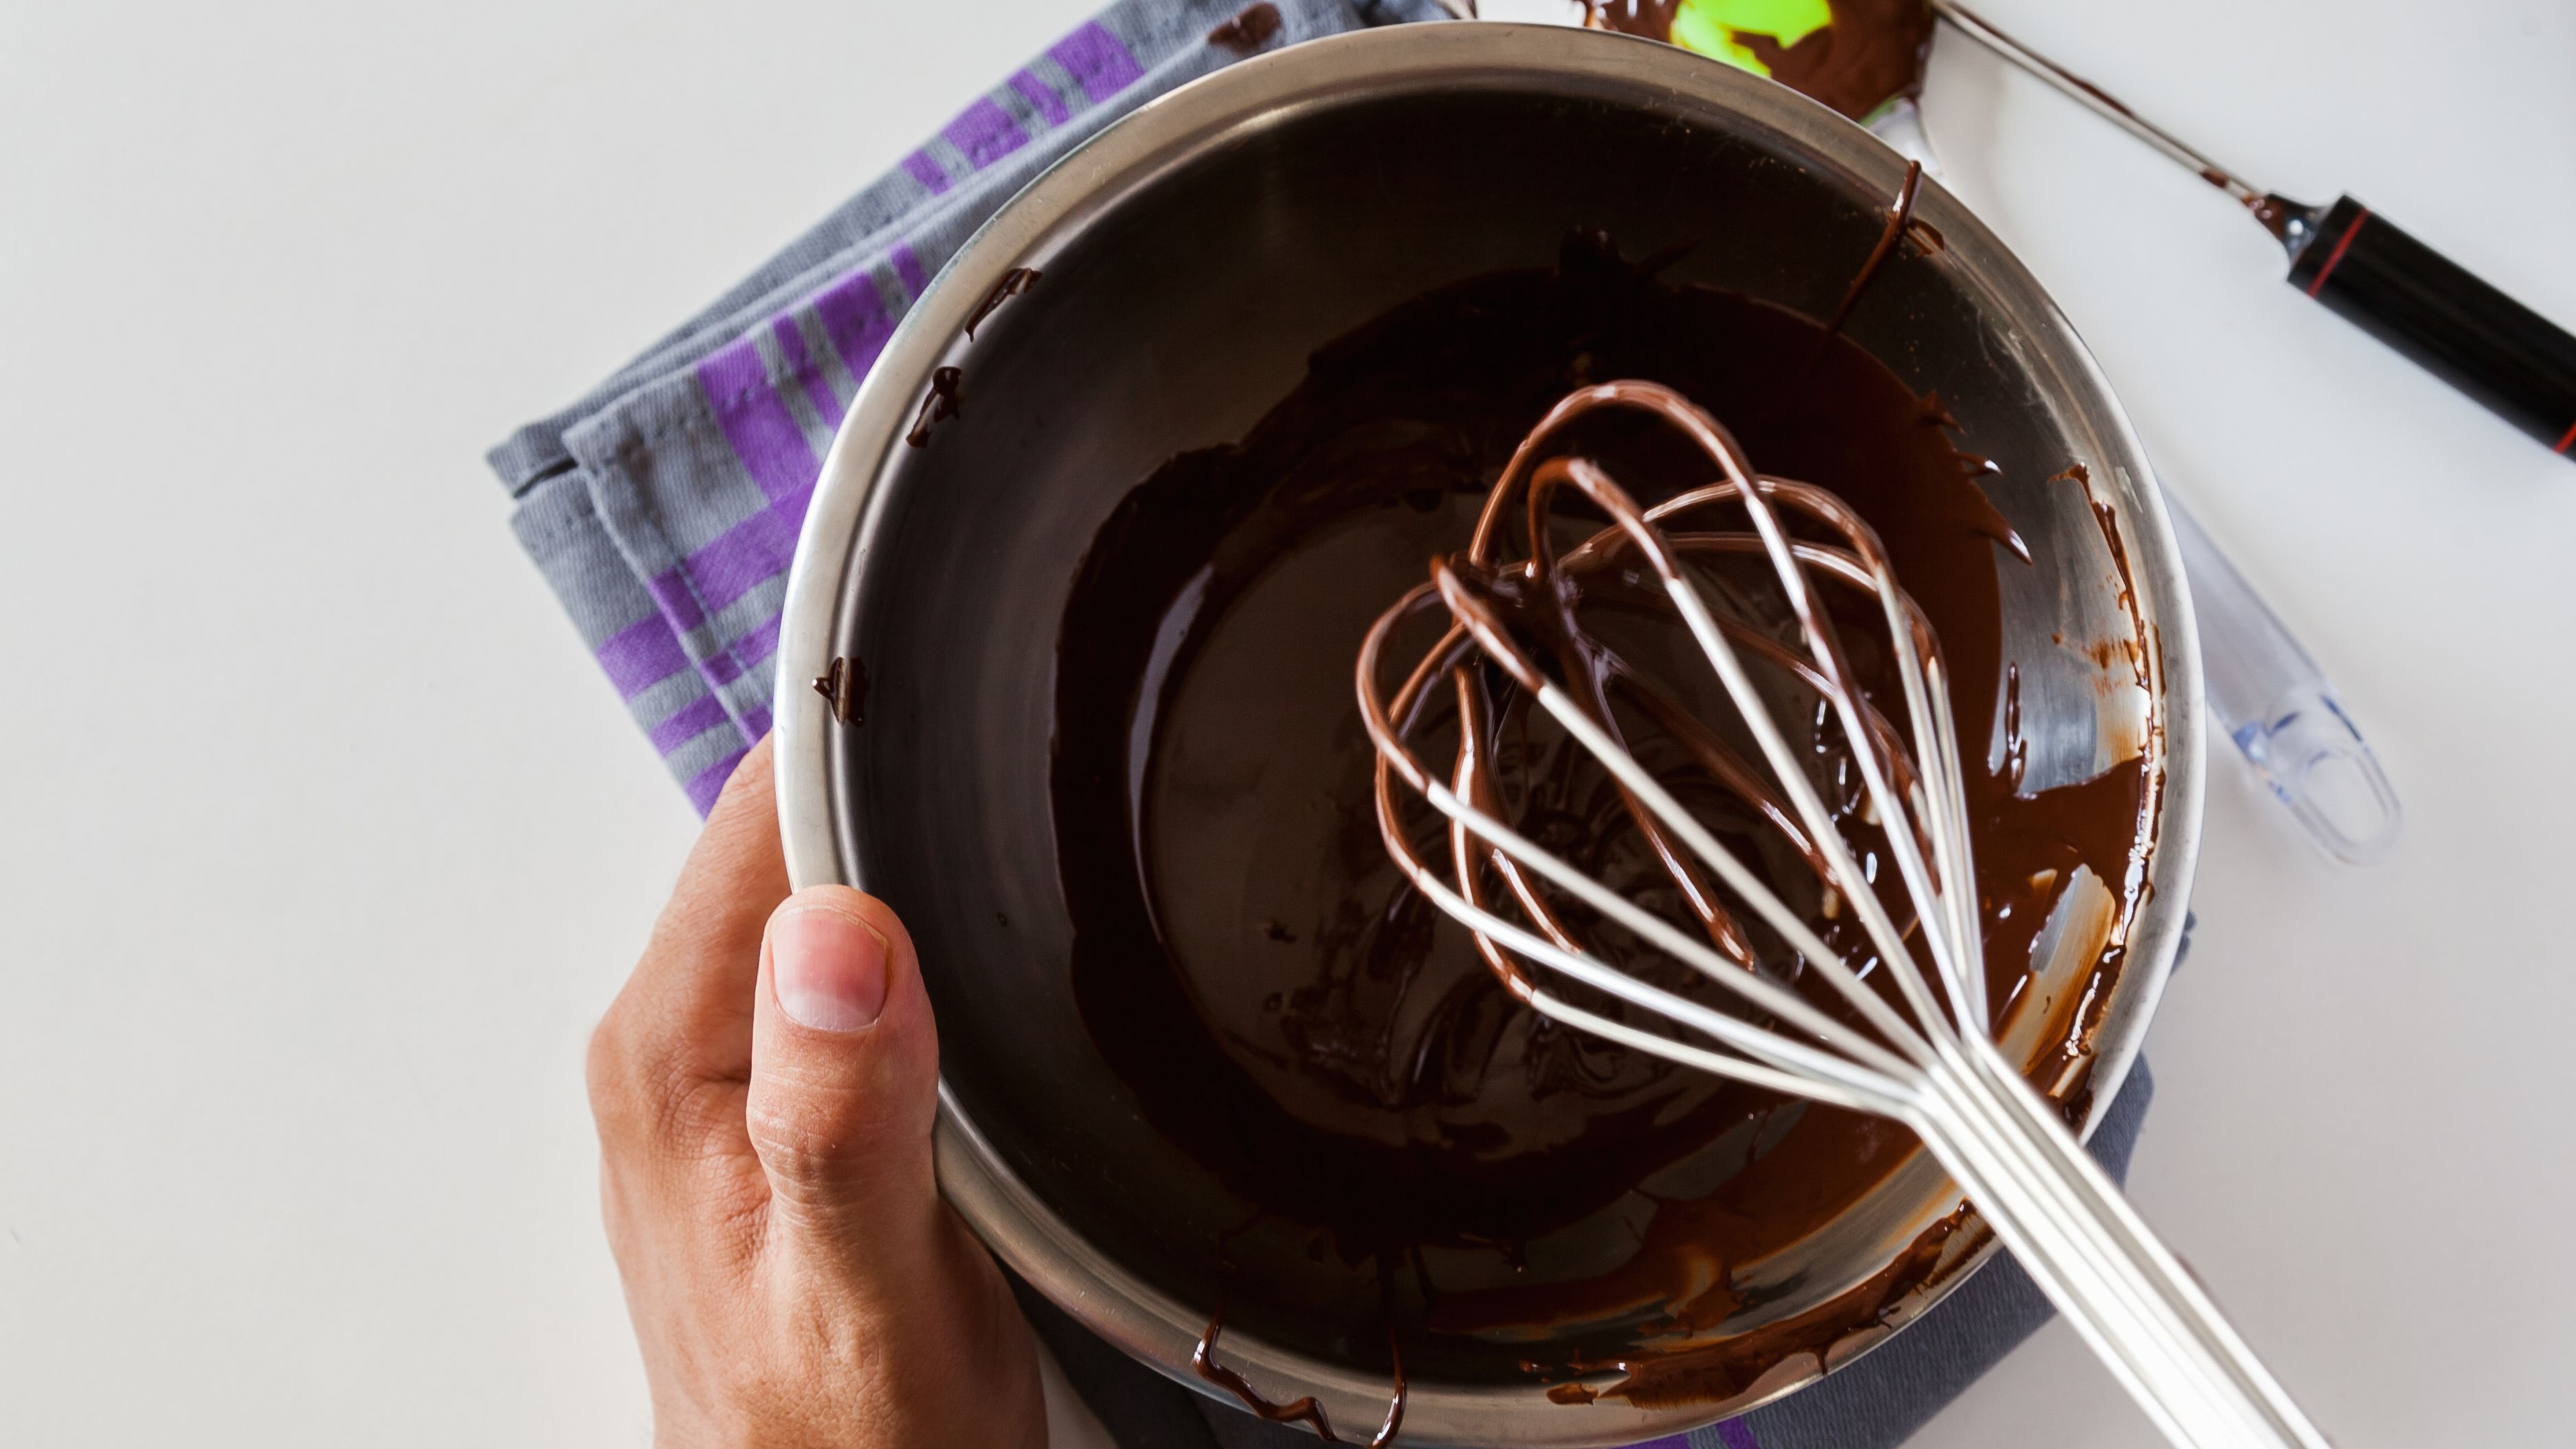
Chocolate tempering is a different animal entirely. Here, tempering refers to a specific process of melting and cooling chocolate in a controlled way to encourage the formation of stable fat crystals in the cocoa butter. The result is chocolate that sets firm, has a clean snap when broken, melts smoothly at mouth temperature, and has a glossy appearance. Improperly tempered or untempered chocolate sets soft and streaky, develops a white or gray bloom on the surface, and has a waxy or grainy texture.
To understand why this matters, you need to understand what cocoa butter actually does. Cocoa butter – the fat in chocolate – can crystallize into six different forms when it solidifies, only one of which (called Form V or beta crystals) produces the qualities associated with good chocolate. Tempering is the process of creating conditions that favor Form V crystals over the others. It's essentially a controlled crystallization process, and temperature is the precise tool you use to manage it.
This is why unmelted chocolate seems to set fine after you melt it for a ganache or a sauce, but then doesn't firm up properly, blooms, or has a soft set: when you melted it, you destroyed the existing crystal structure. Without proper tempering, the cocoa butter re-crystallizes into a random mix of forms rather than the stable Form V crystals that give chocolate its best qualities.
When You Actually Need to Temper Chocolate
The critical distinction is whether you care about the final texture, snap, and appearance of the chocolate after it sets.
You need to temper if you are: dipping or enrobing candies, truffles, or strawberries; making chocolate bark, molded chocolates, or candy bars; creating chocolate decorations or curls that will be handled; or making any application where the chocolate will be eaten at room temperature as a standalone product.
You don't need to temper if: the chocolate is going into a ganache, brownie batter, cake, mousse, or any recipe where it's combined with other ingredients. You also don't need to temper if the finished product will be served cold (a chocolate shell on a refrigerated dessert can set acceptably without perfect tempering) or if appearance and snap are genuinely not a priority for your application. Chocolate fondue, chocolate sauce, and melted chocolate as a dip are not tempered – they're meant to be fluid.
How to Temper Chocolate at Home
There are three main methods, ranging from the most precise to the most accessible. All of them work; which one you use depends on your equipment and comfort level.
The Seeding Method (Most Reliable for Home Cooks)
This is the method most accessible without professional equipment. You melt two-thirds of your chocolate (ideally chopped couverture chocolate with high cocoa butter content, not chips), then stir in the remaining one-third – finely chopped or grated – off the heat. The unmelted chocolate contains Form V crystals that act as seeds, encouraging the rest of the cocoa butter to crystallize in the same stable form as it cools. Stir constantly until the chocolate is smooth, uniform in temperature, and passes the set test below.
Working temperature targets for the seeding method:
Dark chocolate: melt to 122°F (50°C), cool to 84–86°F (29–30°C) by adding seed chocolate, then gently warm back to 88–90°F (31–32°C) for working
Milk chocolate: melt to 113°F (45°C), cool to 80–82°F (27°C), warm to 84–86°F (29°C) for working
White chocolate: melt to 109°F (43°C), cool to 78–80°F (26°C), warm to 82–84°F (28°C) for working
An instant-read or infrared thermometer is essential for this method. You're managing a range of a few degrees, and touch and visual cues alone aren't precise enough.
The Tabling Method (Traditional, Requires Marble)
This is the method you see in professional chocolatier demonstrations. Two-thirds of the melted chocolate is poured onto a marble or granite surface and worked back and forth with a scraper and palette knife until it cools and begins to thicken. It's then scraped back into the remaining hot chocolate in the bowl to bring the temperature back up to working range. The cold surface cools the chocolate rapidly while the constant movement prevents the formation of large crystals.
This method works very well but requires a marble slab, specific tools, and some practice with the spreading motion. For occasional home use, the seeding method is more practical.
The Microwave Method (Fastest, Requires Attention)
Melt chocolate in short bursts (15 to 20 seconds at 50% power), stirring between each, until only small pieces remain unmelted. Stop microwaving and stir until everything melts from residual heat. The idea is to bring the chocolate just to the melting point without exceeding it significantly, which can preserve enough existing crystals to give you a temper without the full cooling step. This works reliably for small quantities of good-quality chocolate but is less forgiving than the seeding method if you overshoot.
Testing Whether Your Chocolate Is in Temper
Before you use your tempered chocolate, test it. Dip a knife tip, offset spatula, or a small piece of parchment into the chocolate and set it aside at room temperature (not in the refrigerator). Within 3 to 5 minutes, properly tempered chocolate should begin to set and look matte rather than wet and glossy. Within 5 minutes it should be nearly firm and have a slight sheen. If it takes longer than 10 minutes to begin setting, or if it sets soft and dull, the temper isn't right.
If it's not in temper, you have two options: reheat gently and try again (the seeding method lends itself to this), or proceed anyway for applications where appearance doesn't matter.
Common Mistakes With Both Types
Egg tempering mistakes:
Adding the hot liquid too quickly is the most common error. Go slower than you think you need to – a few tablespoons at a time, with constant whisking. Also, don't stop whisking at any point once you start. Continuous motion keeps the heat distributing evenly through the egg mixture.
Returning the tempered eggs to a pot that's still over high heat is another frequent problem. After incorporating the egg mixture back into the main pot, cook over low or medium-low heat and stir constantly. High heat at this stage will cook the eggs too aggressively regardless of how well you tempered them.
Chocolate tempering mistakes:
Using chocolate chips instead of couverture is the most common reason tempering fails for home cooks. Chocolate chips contain stabilizers that discourage melting and make proper crystallization harder. Couverture chocolate – which has a higher percentage of cocoa butter – flows better when melted, sets properly when tempered, and produces better results in every chocolate application. Valrhona, Callebaut, and Guittard are widely available brands.
Introducing even a single drop of water into your tempered chocolate will cause it to seize. Make sure all bowls, spatulas, and surfaces are completely dry. Steam from a bain-marie (double boiler) can sometimes drip back in if the bowl sits too low over the water.
Working in a room that's too warm is an underrated problem. Tempering is easier in a cool kitchen – ideally around 65 to 68°F (18 to 20°C). A warm, humid room makes it harder to cool the chocolate into its working temperature range and slows the set time significantly.
Frequently Asked Questions
Can I use a double boiler instead of a microwave to melt chocolate for tempering? Yes, and many cooks prefer it for more controlled melting. Keep the water in the lower pot at a gentle simmer, not a boil, and make sure the bowl sits above (not in contact with) the water to avoid steam dripping in. Stir frequently and remove from heat before all the chocolate has melted, allowing residual heat to finish the job.
What causes chocolate bloom and is it harmful? Chocolate bloom – the white or grayish streaks or powdery coating that appears on chocolate – is caused by either fat bloom (cocoa butter migrating to the surface as a result of temperature fluctuation or poor tempering) or sugar bloom (caused by moisture). Bloomed chocolate is safe to eat and tastes fine, but the texture and appearance are degraded. It's not a sign of spoilage.
My custard curdled despite tempering. What went wrong? The most common reason is adding the tempered egg mixture back to the pot over too-high heat, or not stirring constantly as it thickened. Once curdling starts, it's difficult to reverse for egg custards. For some applications you can strain through a fine-mesh sieve to remove the curds and salvage the liquid. For others, starting fresh is the better option.
Do I need to temper chocolate for ganache? No. Ganache is a combination of chocolate and cream (and sometimes butter) that sets into a soft, creamy texture. Because ganache has other fats and liquids incorporated, the cocoa butter crystals behave differently and the tempering concerns don't apply. Ganache is made by simply melting chocolate and combining it with warm cream.
How long does tempered chocolate stay in temper? Once tempered, chocolate can be kept at its working temperature (using a heating pad, warm water bath, or a chocolate tempering machine set to the correct temperature) for several hours. If it begins to thicken as it cools, you can gently rewarm it – but if it drops too far below working temperature, you'll need to re-temper. Once fully set, tempered chocolate is stable indefinitely if stored properly away from heat and humidity.
These are two completely separate techniques with the same name, and once you understand what each one is actually doing, both of them become approachable rather than daunting. Tempering eggs is a 30-second habit that protects your custards every time. Tempering chocolate is a skill that takes a few practice sessions and then becomes reliable and deeply satisfying. Neither one requires professional equipment or years of training – just an understanding of what you're trying to accomplish and why the steps work the way they do.
📚 Sources
Harold McGee – On Food and Cooking: The Science and Lore of the Kitchen (cocoa butter crystallization and egg protein coagulation): https://www.simonandschuster.com/books/On-Food-and-Cooking/Harold-McGee/9780684800011
Serious Eats – The Science of Chocolate Tempering: https://www.seriouseats.com/chocolate-tempering-science
America's Test Kitchen – How to Temper Eggs: https://www.americastestkitchen.com/articles/3060-how-to-temper-eggs
Valrhona L'École du Grand Chocolat – Chocolate Tempering Techniques: https://www.valrhona.com/en-US/school-of-chocolate
Fine Cooking – Understanding Chocolate Bloom: https://www.finecooking.com/article/chocolate-bloom
The Culinary Institute of America – Pastry and Baking Arts Chocolate Techniques: https://www.ciachef.edu/programs/baking-pastry-arts
🔍 Explore Related Topics