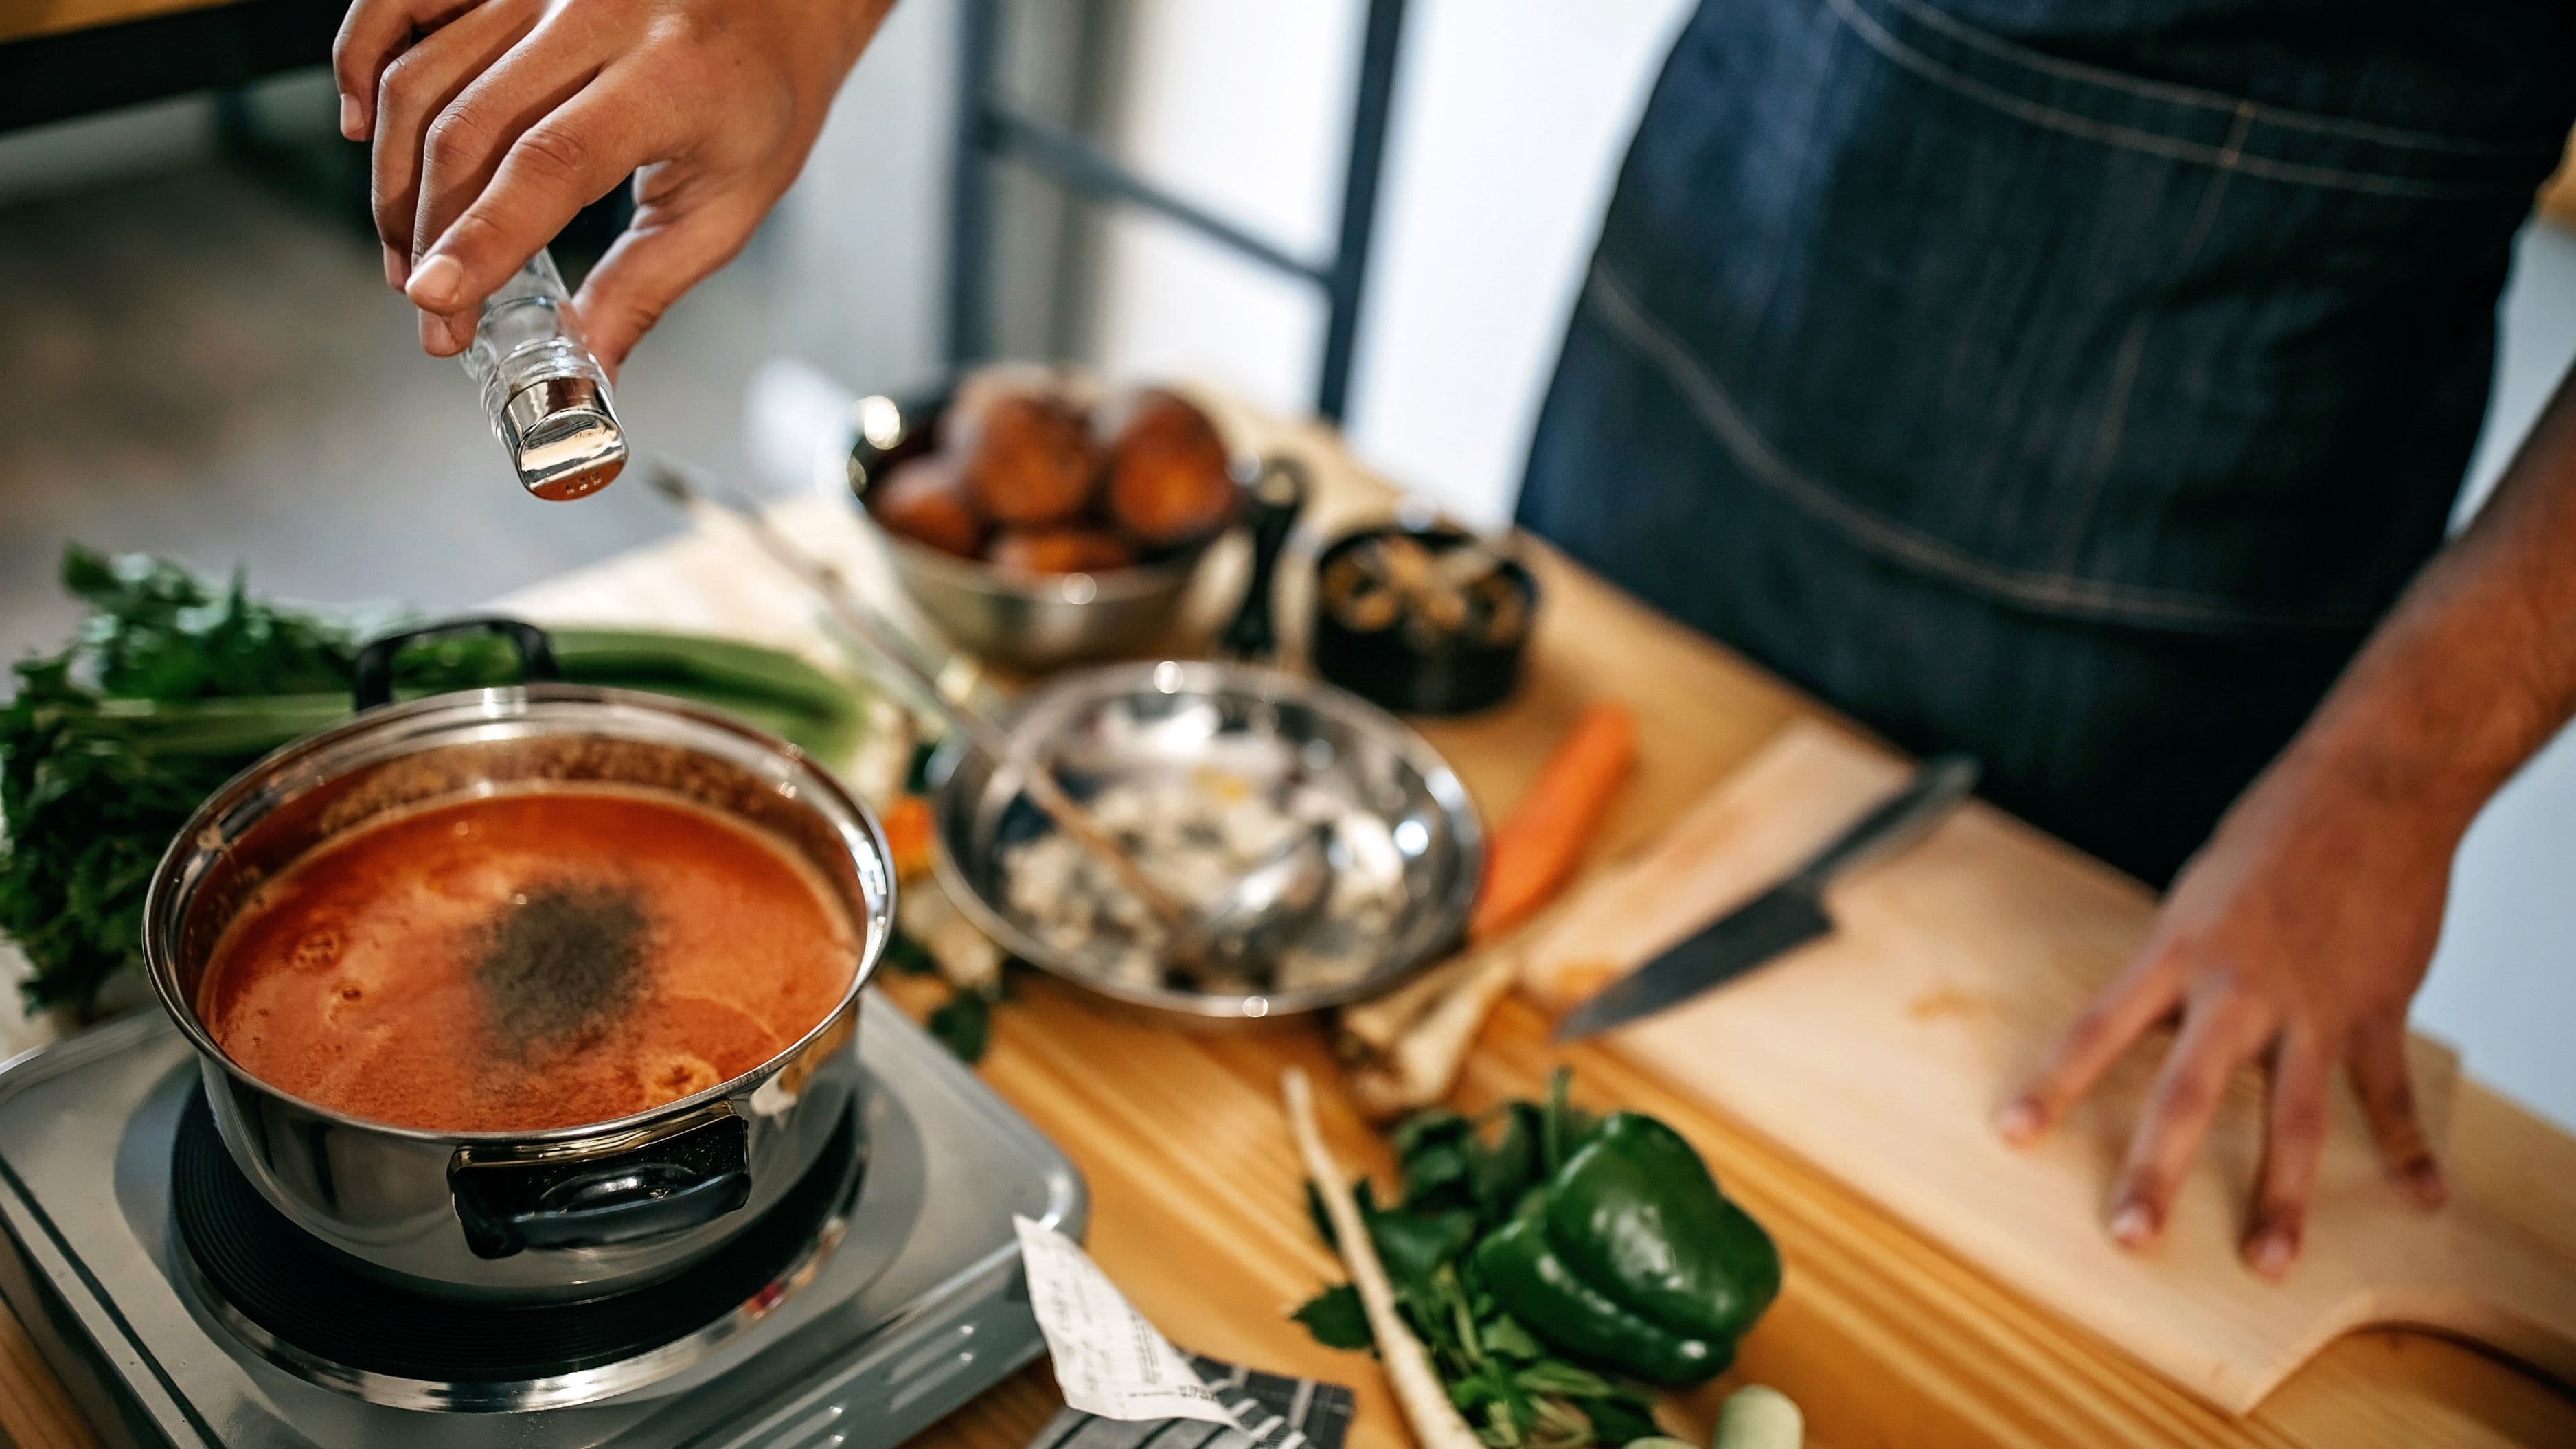
Making vegetable broth from scraps is one of the easiest kitchen habits you can build. You collect as you cook, freeze as you go, and when the bag is full, you turn it into a pot of broth with about ten minutes of hands-on work. This guide shows you exactly what to save, what to skip, and how to make it taste great every time.
Skill level: Beginner
Active time: About 10 minutes
Total time: About 1 hour 15 minutes
Yield: About 8 cups
Why Scrap Broth Is Worth It
According to the U.S. Environmental Protection Agency, food is one of the largest categories of material sent to landfills in the United States. Turning vegetable trimmings into broth uses food you already paid for and cuts down what you throw away.
It also improves your cooking. Homemade broth adds depth to soups, risotto, grains, beans, and sauces, and you control the salt level. Once you get into the rhythm, you'll rarely need to buy broth again.
Step 1: Build Your Scrap Bag
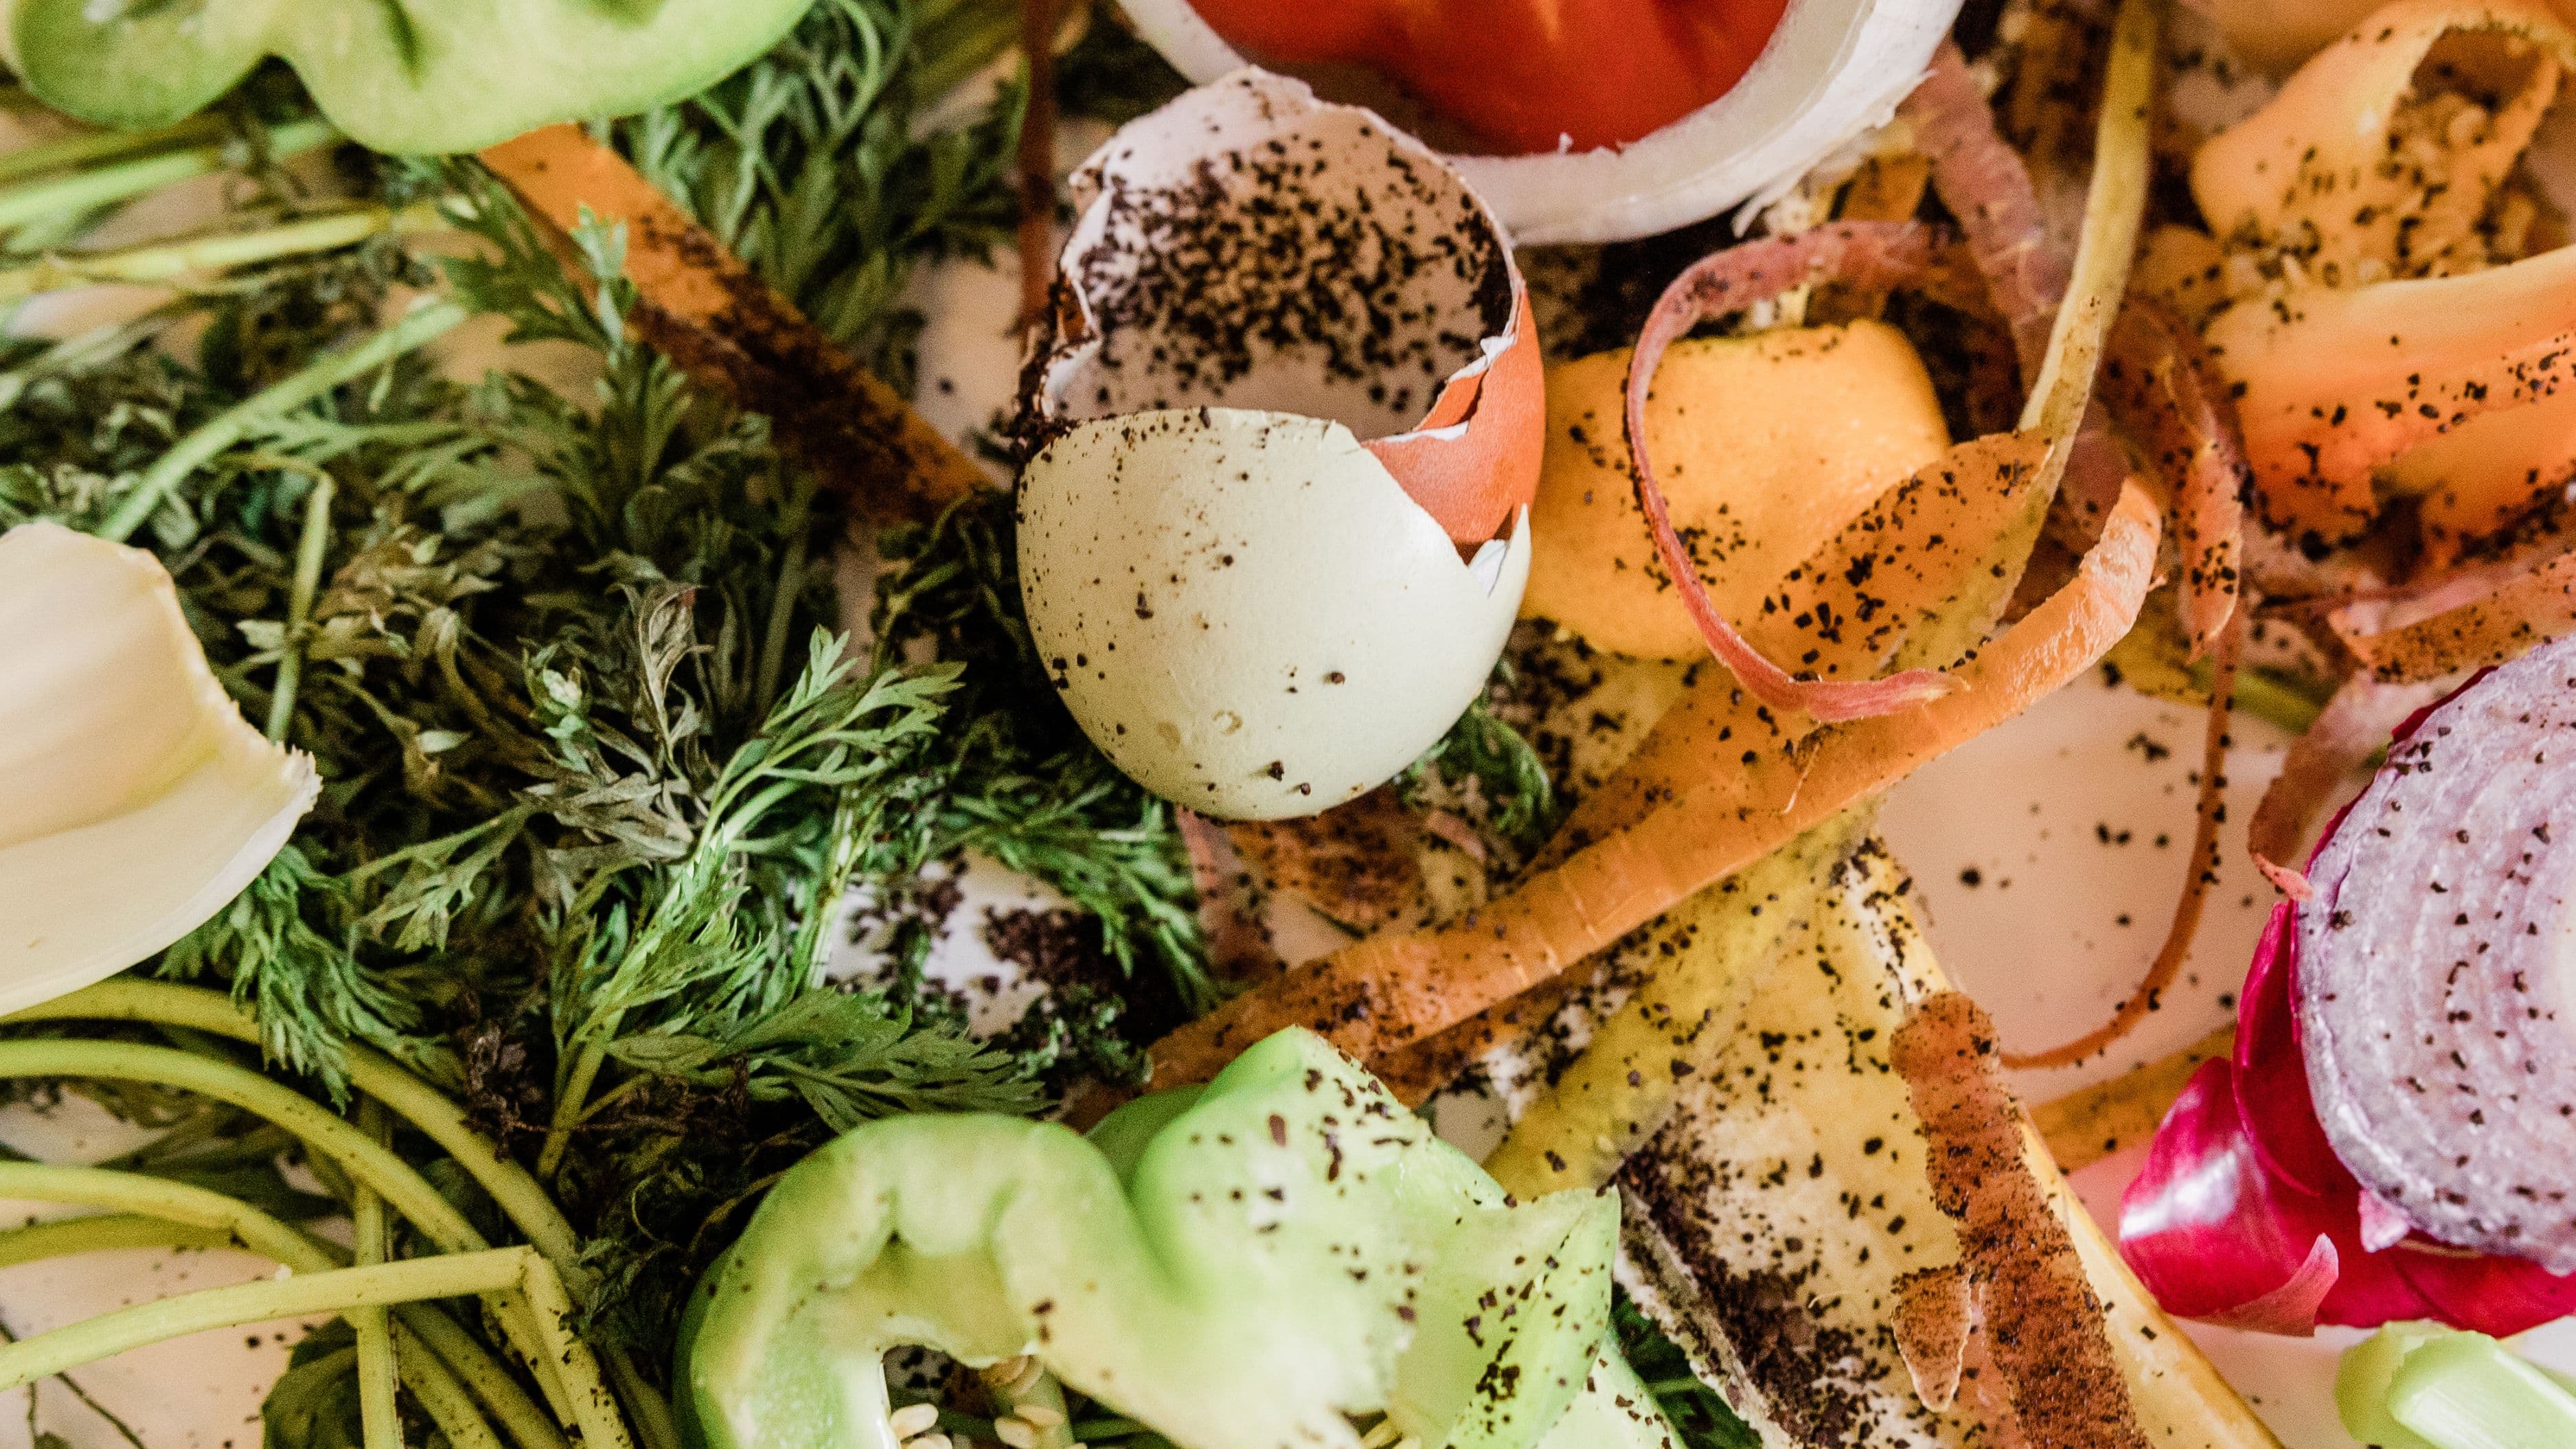
Keep a large, freezer-safe bag or container in your freezer. Each time you cook, add clean vegetable trimmings. Freezing keeps the scraps fresh until you have enough, which is usually about 6 to 8 cups packed.
Great scraps to save
Onion, shallot, and leek ends and trimmings (skins add golden color)
Carrot peels and tops
Celery ends and leaves
Garlic skins and ends
Mushroom stems
Fresh herb stems like parsley, thyme, and dill
Tomato cores and ends
Zucchini and squash ends
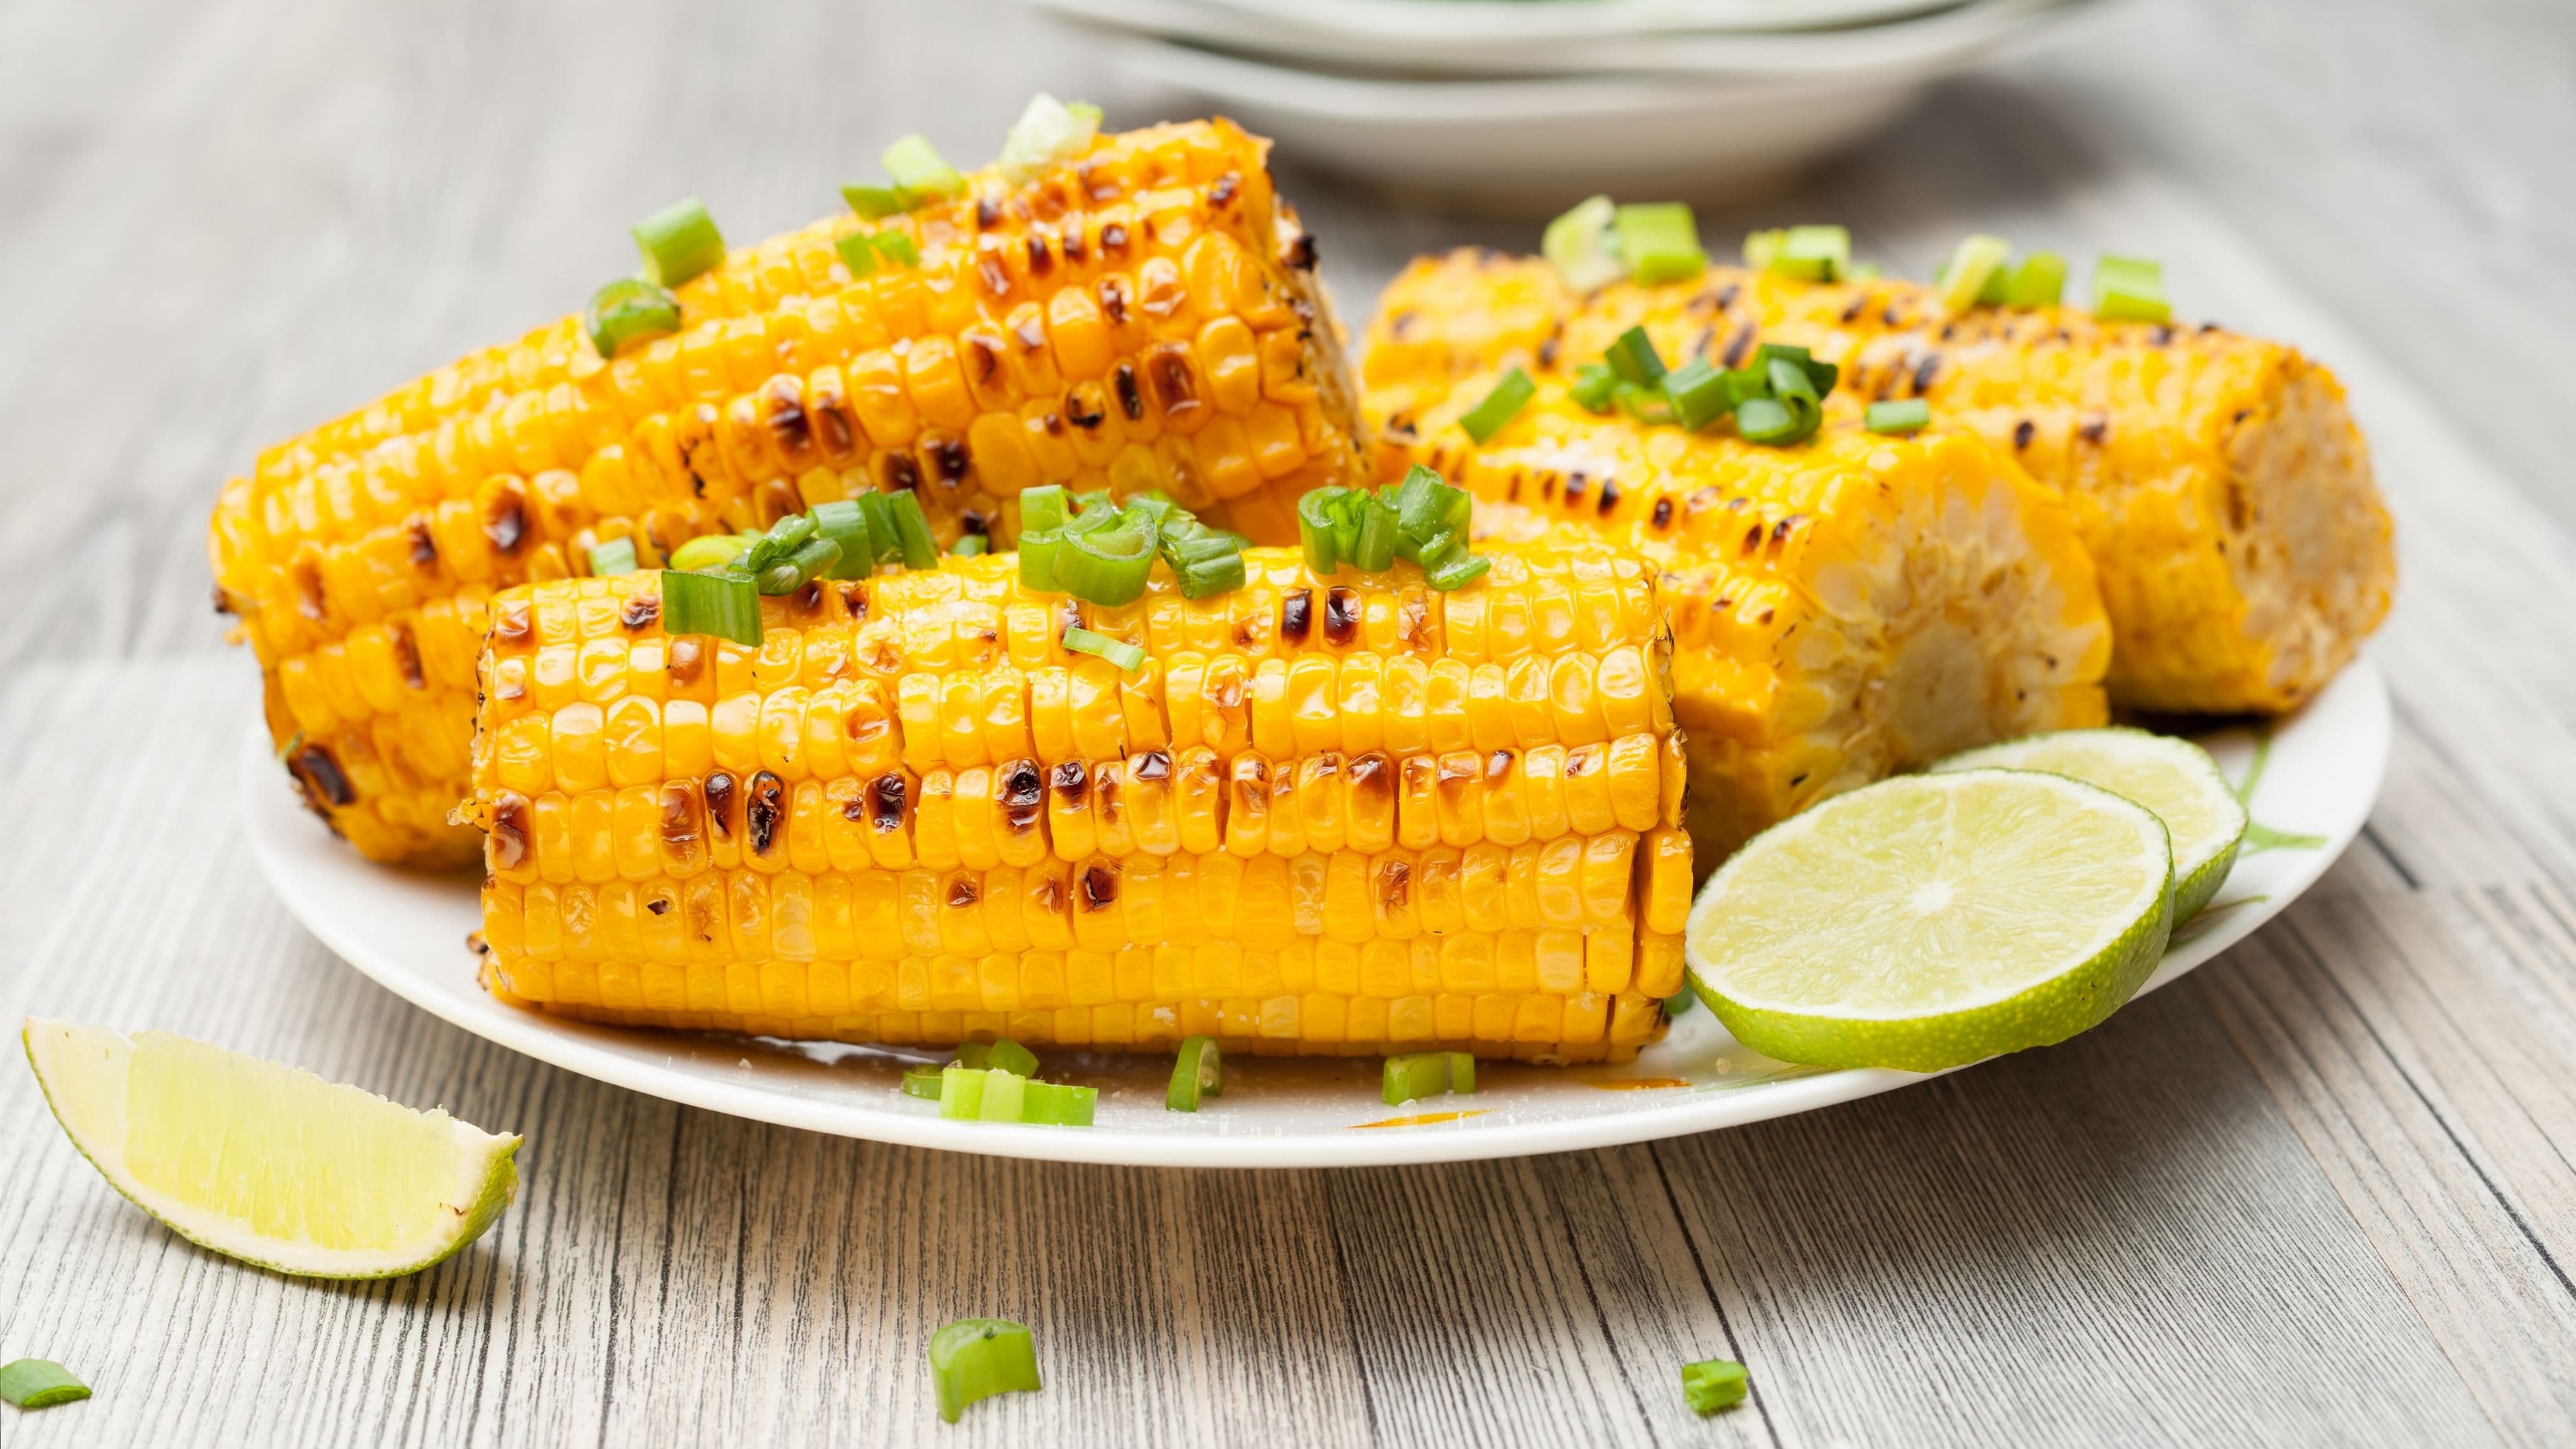
Corn cobs (they add natural sweetness)
Scraps to skip or use sparingly
Broccoli, cauliflower, cabbage, Brussels sprouts, and other cruciferous vegetables can make broth taste bitter or sulfurous, so leave them out or use just a little. Beet peels will turn the broth deep red. Starchy potato peels can make broth cloudy. Always skip anything moldy, slimy, or spoiled. Broth concentrates flavors, and it also concentrates off-flavors.
Ingredients
6 to 8 cups frozen vegetable scraps
10 to 12 cups cold water (enough to cover scraps by about 2 inches)
1 tablespoon olive oil (optional)
2 bay leaves
1 teaspoon whole black peppercorns
1 tablespoon tomato paste or a small piece of kombu (optional, for depth)
Salt, to taste (add at the end)
Step-by-Step Instructions
Step 2: Sweat the scraps (optional but worth it)
Heat the olive oil in a large stockpot over medium heat. Add the frozen scraps and stir for 5 to 8 minutes until they soften slightly and smell fragrant. This step builds a deeper, rounder flavor, though you can skip it and go straight to water if you're short on time. If using tomato paste, stir it in for the last minute.
Step 3: Add water and aromatics
Pour in the cold water, then add the bay leaves and peppercorns. If using kombu, add it now. Bring the pot to a boil over high heat, then reduce to a gentle simmer.
Step 4: Simmer gently
Simmer uncovered or partially covered for 45 minutes to 1 hour. Avoid a hard boil, which can make the broth cloudy and muddy. Longer isn't always better with vegetable broth, since cooking past about an hour can pull out bitter flavors.
Step 5: Strain
Set a fine-mesh strainer over a large bowl or pot and pour the broth through it. Press gently on the solids to extract liquid, but don't mash them hard, which can cloud the broth. If using kombu, remove it before straining.
Step 6: Season and cool
Taste and add salt a little at a time. Leaving it lightly salted gives you flexibility, since you'll often reduce broth in recipes. Cool it quickly by dividing it into smaller containers so it chills fast.
Storing Your Broth
Refrigerate broth within two hours of cooking. USDA guidance suggests using refrigerated leftovers within three to four days. For longer storage, freeze broth in portions, such as 1-cup containers, jars with headspace, or ice cube trays for small amounts. Frozen broth keeps best quality for several months.
Closing the Zero-Waste Loop
After straining, the spent vegetables can go into compost if you have a bin or a local food scrap program. That makes the process genuinely low-waste from start to finish.
Tips for Best Results
Balance your bag. A mix of onion, carrot, and celery scraps gives a classic, balanced flavor. If your bag is mostly one vegetable, the broth will lean heavily in that direction.
Add umami boosters. Mushroom stems, a Parmesan rind (if not vegetarian-strict), kombu, or tomato paste add savory depth.
Wash before freezing. Rinse scraps well, especially leeks and mushrooms, to avoid grit.
Label and date your bag. Use scraps within a few months for the freshest flavor.
Variations
For an Asian-inspired broth, add ginger peels, scallion ends, and kombu. For a roasted broth with deeper color, roast the scraps on a sheet pan at 425°F for about 25 minutes before simmering. For a mushroom-forward broth ideal for risotto, add extra mushroom stems and a few dried mushrooms.
What to Avoid
Using spoiled scraps. Only save trimmings you'd be happy to eat.
Overloading bitter vegetables. Too much cabbage or broccoli can ruin the flavor.
Boiling hard. Keep it at a gentle simmer for clearer, cleaner broth.
Salting too early. Season at the end so you don't overdo it.
Leaving broth out to cool for hours. Cool it quickly and refrigerate promptly.
FAQ
How long does homemade vegetable broth last?
About three to four days in the refrigerator, or several months in the freezer.
Can I use onion skins in broth?
Yes. Onion skins add a lovely golden color and mild flavor.
Why does my vegetable broth taste bitter?
Too many cruciferous vegetables or simmering too long are common causes.
Do I need to peel vegetables before saving scraps?
No, just wash them well. Peels add flavor and nutrients to broth.
The Takeaway
Zero-waste vegetable broth turns trimmings you'd normally toss into something genuinely useful. Keep a bag in the freezer, skip the bitter scraps, simmer gently, and season at the end. It's one of the simplest ways to cook better and waste less at the same time.
📚 Sources
U.S. Environmental Protection Agency – "Preventing Wasted Food At Home": https://www.epa.gov/recycle/preventing-wasted-food-home
USDA Food Safety and Inspection Service – "Leftovers and Food Safety": https://www.fsis.usda.gov/food-safety/safe-food-handling-and-preparation/food-safety-basics/leftovers-and-food-safety
U.S. Environmental Protection Agency – "Composting At Home": https://www.epa.gov/recycle/composting-home